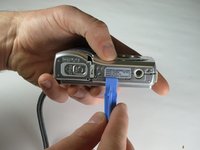
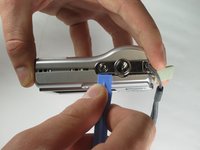
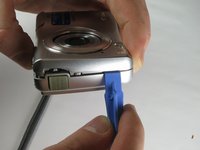
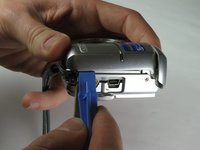
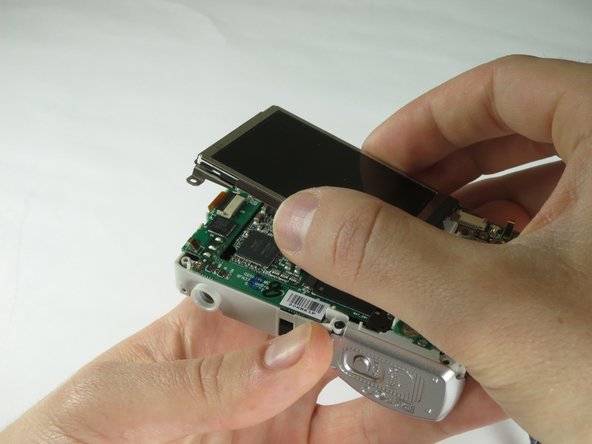
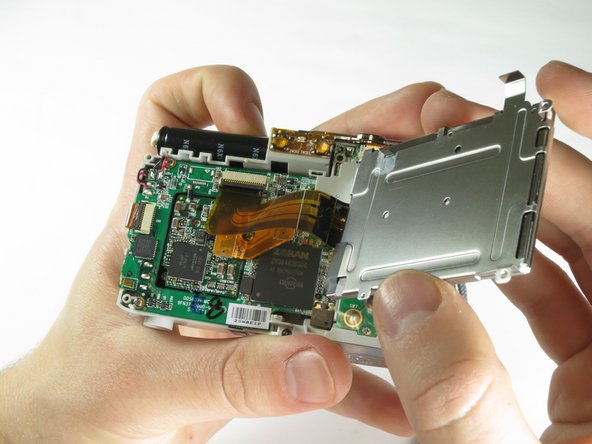
Ana içeriğe geç

Olympus FE-170 LCD Screen Replacement

Neye ihtiyacın var

  1. Olympus FE-170 LCD Screen Replacement, Casing: adım 1, 2 resimden 1. Olympus FE-170 LCD Screen Replacement, Casing: adım 1, 2 resimden 2.
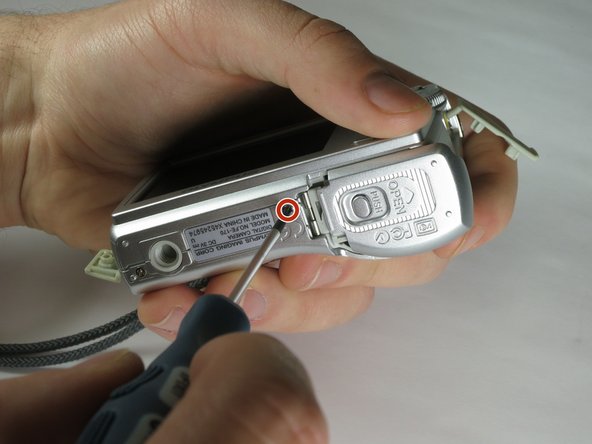
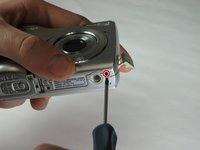
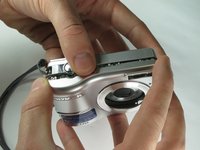
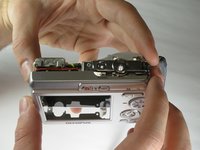
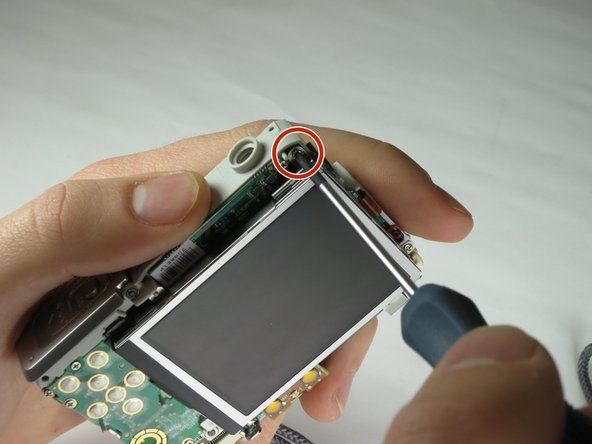
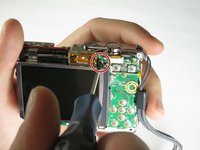
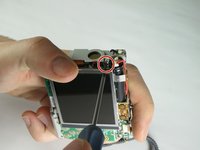
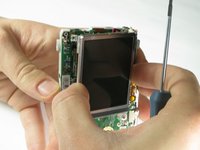
    • Remove the 2 exposed screws on opposite sides of the camera. Turn the screws counter-clockwise to remove.

  2. Olympus FE-170 LCD Screen Replacement: adım 2, 2 resimden 1. Olympus FE-170 LCD Screen Replacement: adım 2, 2 resimden 2.
    • Open the battery compartment and remove the 2 screws in the top of the opening.

  3. Olympus FE-170 LCD Screen Replacement: adım 3, 2 resimden 1. Olympus FE-170 LCD Screen Replacement: adım 3, 2 resimden 2.
    • Remove the 2 exposed screws on the bottom of the camera.

  4. Olympus FE-170 LCD Screen Replacement: adım 4, 1 resimden 1.
    • Uncover the mini-usb dock on the side of the camera and unscrew the screw next to the flap joint

  5. Olympus FE-170 LCD Screen Replacement: adım 5, 1 resimden 1.
    • Uncover the video cable port on the side of the camera and remove the screw

  6. Olympus FE-170 LCD Screen Replacement: adım 6, 2 resimden 1. Olympus FE-170 LCD Screen Replacement: adım 6, 2 resimden 2.
    • Carefully slip the head of the plastic opening tool under the panels by finding the crack between the panels. Lightly apply pressure in the shown places at the top and bottom of the camera.

  7. Olympus FE-170 LCD Screen Replacement: adım 7, 2 resimden 1. Olympus FE-170 LCD Screen Replacement: adım 7, 2 resimden 2.
    • Loosen the panels on the sides of the camera in the shown places by slipping the plastic opening tool in the crack between the panels. Lightly apply pressure.

  8. Olympus FE-170 LCD Screen Replacement: adım 8, 2 resimden 1. Olympus FE-170 LCD Screen Replacement: adım 8, 2 resimden 2.
    • Ensure that the panels have been loosened. Carefully use hands to pull back and remove the panels.

  9. Olympus FE-170 LCD Screen Replacement, LCD Screen: adım 9, 3 resimden 1. Olympus FE-170 LCD Screen Replacement, LCD Screen: adım 9, 3 resimden 2. Olympus FE-170 LCD Screen Replacement, LCD Screen: adım 9, 3 resimden 3.
    • Remove the three screws holding the LCD Screen in place.

    • The screws are located at the upper right, upper left, and lower left corners of the screen, as shown in the pictures.

    • After removing the screws, do not let the screen drop away or try to pull it out. It is still connected by a ribbon of wires.

  10. Olympus FE-170 LCD Screen Replacement: adım 10, 3 resimden 1. Olympus FE-170 LCD Screen Replacement: adım 10, 3 resimden 2. Olympus FE-170 LCD Screen Replacement: adım 10, 3 resimden 3.
    • Carefully lift the LCD screen away

    • Don't pull away. The ribbon will still be connected to the camera.

  11. Olympus FE-170 LCD Screen Replacement: adım 11, 2 resimden 1. Olympus FE-170 LCD Screen Replacement: adım 11, 2 resimden 2.
    • Using a plastic opening tool, lift the latch on the ribbon connector.

    • Insert the plastic opening tool beneath the latch, and gently pull up.

    • Carefully pull the ribbon out, and lift the LCD screen out and away.

Sonuç

To reassemble your device, follow these instructions in reverse order.

Who Knows?

Üyelik tarihi: 03/24/15

104 İtibar

1 Kılavuz yazıldı

Ekip

Baylor, Team 6-4, Shaver Spring 2015 Baylor, Team 6-4, Shaver Spring 2015 üyesi

BU-SHAVER-S15S6G4

3 Üyeler

12 adet Kılavuz yazıldı

0 Yorum

Yorum Ekle

İstatistikleri Görüntüle:

Son 24 Saat: 0

Son 7 gün: 2

Son 30 gün: 11

Her zaman: 658