Ana içeriğe geç

Olympus SP-320 Back casing and LCD screen Replacement

Neye ihtiyacın var

  1. Olympus SP-320 Back casing and LCD screen Replacement, Back casing and LCD screen: adım 1, 3 resimden 1. Olympus SP-320 Back casing and LCD screen Replacement, Back casing and LCD screen: adım 1, 3 resimden 2. Olympus SP-320 Back casing and LCD screen Replacement, Back casing and LCD screen: adım 1, 3 resimden 3.
    • Remove the 3 mm long screws with a Phillips head screwdriver that has a PH000 size bit.

  2. Olympus SP-320 Back casing and LCD screen Replacement: adım 2, 1 resimden 1.
    • Remove the 3 mm long screw using Phillips head screwdriver that has a PH000 size bit.

  3. Olympus SP-320 Back casing and LCD screen Replacement: adım 3, 1 resimden 1.
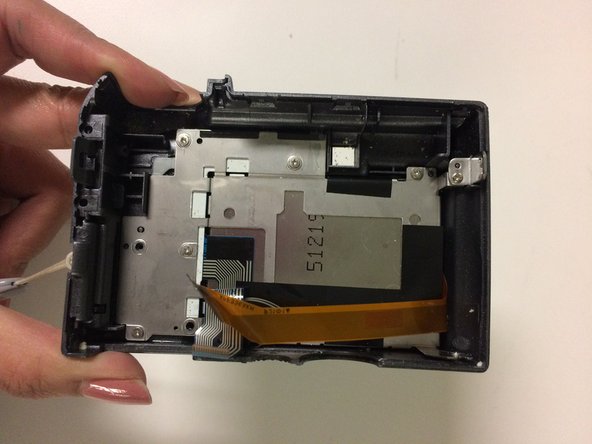
    • Pry the outer case open using a blue, plastic opening tool.

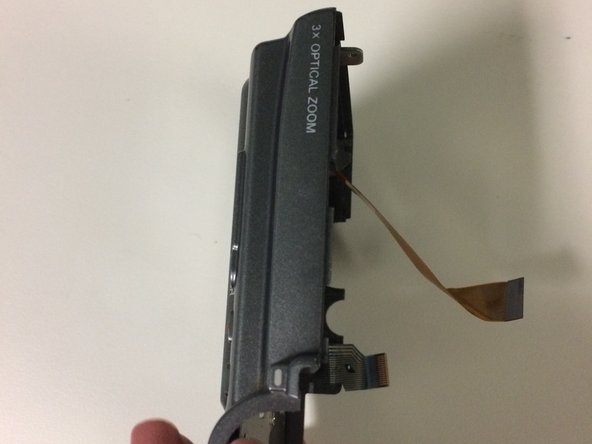
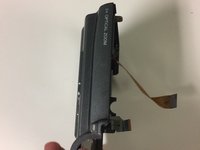
    • Pry case open gently to avoid tearing the ribbon that connects the front part of the case to the back of the case.

  4. Olympus SP-320 Back casing and LCD screen Replacement: adım 4, 3 resimden 1. Olympus SP-320 Back casing and LCD screen Replacement: adım 4, 3 resimden 2. Olympus SP-320 Back casing and LCD screen Replacement: adım 4, 3 resimden 3.
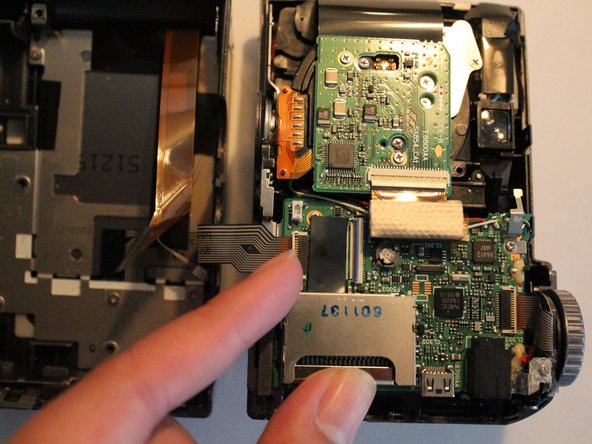
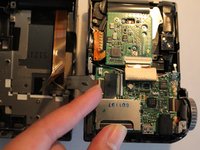
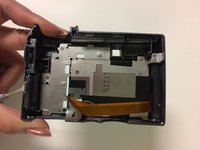
    • Detach camera body from back casing and LCD screen.

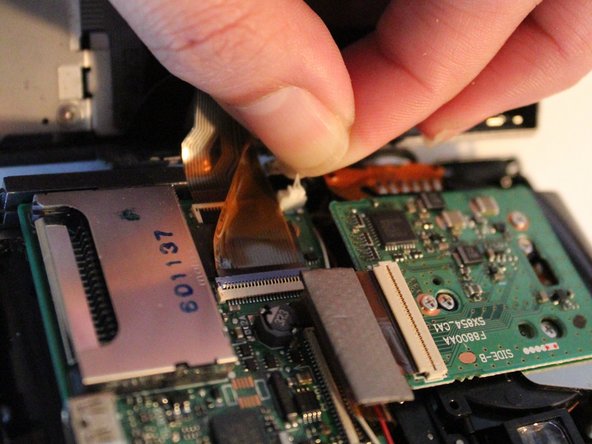
    • Pull gently on the white connecting cable to detach it from the main body of the camera.

    • Lift the small, plastic clip, detaching the ribbon from the main body of the camera.

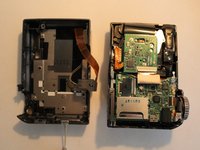
  5. Olympus SP-320 Back casing and LCD screen Replacement: adım 5, 3 resimden 1. Olympus SP-320 Back casing and LCD screen Replacement: adım 5, 3 resimden 2. Olympus SP-320 Back casing and LCD screen Replacement: adım 5, 3 resimden 3.
    • You have detached the back casing and LCD screen.

Sonuç

To reassemble your device, follow these instructions in reverse order.

Bir Yorum

Is that thin white connector - a powercable to screen led-light? thnx

Alex CalmCroft Tokarsky - Yanıt

Yorum Ekle

İstatistikleri Görüntüle:

Son 24 Saat: 1

Son 7 gün: 7

Son 30 gün: 12

Her zaman: 516