Ana içeriğe geç
Onarım Topluluğuna Katılın - Hesap Oluşturun

Olympus Stylus 760 LCD Screen Replacement

Neye ihtiyacın var

  1. Olympus Stylus 760 LCD Screen Replacement, Battery door: adım 1, 1 resimden 1.
    • Slide the door located on the bottom of the camera in an outward direction

    FixBot'a Sor

    Yorum Ekle

  2. Olympus Stylus 760 LCD Screen Replacement, Release: adım 2, 1 resimden 1.
    • Pull back on the red release tab located on the left side of the battery.

    FixBot'a Sor

    Yorum Ekle

  3. Olympus Stylus 760 LCD Screen Replacement, Replacement: adım 3, 1 resimden 1.
    • Slide battery out of camera

    FixBot'a Sor

    Yorum Ekle

  4. Olympus Stylus 760 LCD Screen Replacement, LCD Screen: adım 4, 1 resimden 1.
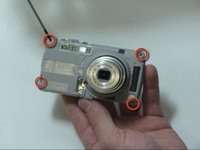
    • Remove the 2 screws from the bottom of the camera

    FixBot'a Sor

    Yorum Ekle

  5. Olympus Stylus 760 LCD Screen Replacement: adım 5, 1 resimden 1.
    • Using a Phillips head size 0 screwdriver, remove the screw from the right side of the camera

    FixBot'a Sor

    Yorum Ekle

  6. Olympus Stylus 760 LCD Screen Replacement: adım 6, 1 resimden 1.
    • Remove the 2 screws from the left side of the camera

    FixBot'a Sor

    Yorum Ekle

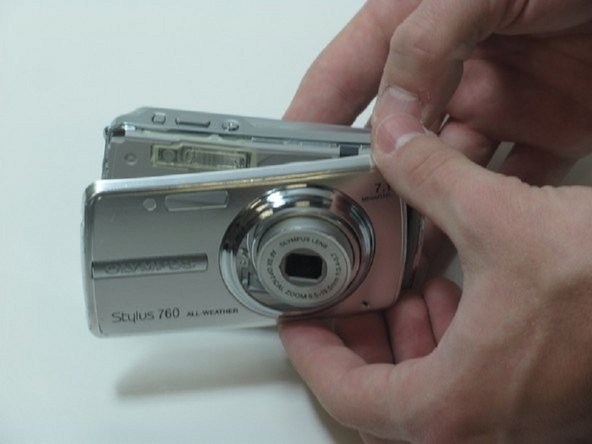
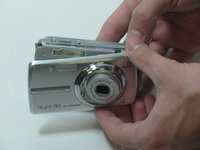
  7. Olympus Stylus 760 LCD Screen Replacement: adım 7, 3 resimden 1. Olympus Stylus 760 LCD Screen Replacement: adım 7, 3 resimden 2. Olympus Stylus 760 LCD Screen Replacement: adım 7, 3 resimden 3.
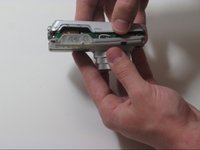
    • Separate the front casing from the back using a plastic opening tool, gently.

    • Silver band and buttons will become loose when you remove the two pieces.

    FixBot'a Sor

    Yorum Ekle

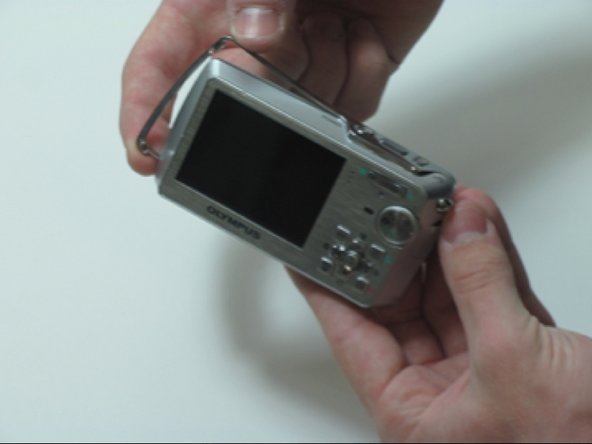
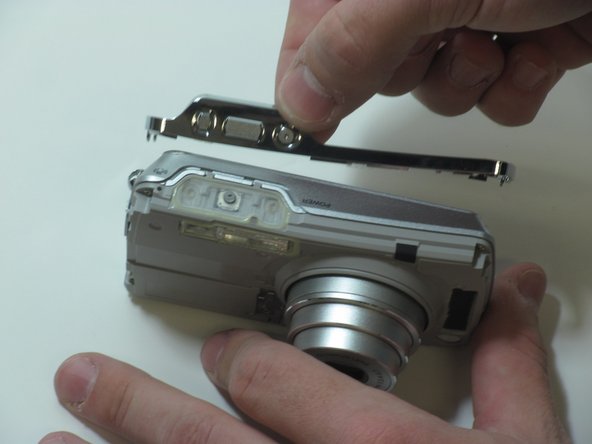
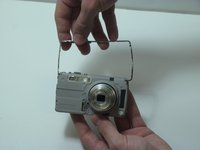
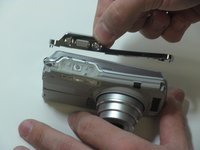
  8. Olympus Stylus 760 LCD Screen Replacement: adım 8, 2 resimden 1. Olympus Stylus 760 LCD Screen Replacement: adım 8, 2 resimden 2.
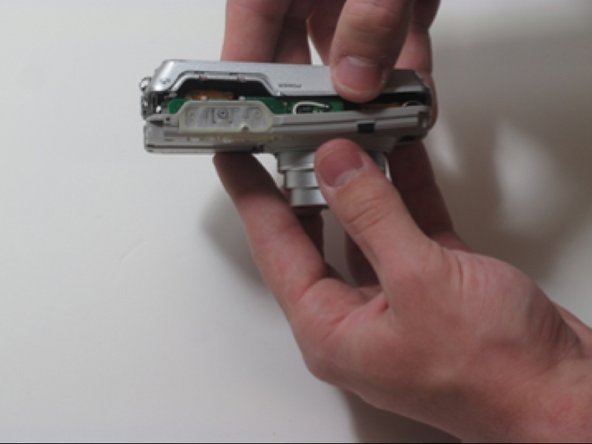
    • Pull the silver bracket off of the camera

    FixBot'a Sor

    Yorum Ekle

  9. Olympus Stylus 760 LCD Screen Replacement: adım 9, 3 resimden 1. Olympus Stylus 760 LCD Screen Replacement: adım 9, 3 resimden 2. Olympus Stylus 760 LCD Screen Replacement: adım 9, 3 resimden 3.
    • Remove the 4 screws on the inner face of the camera.

    • Circuit ribbon is attached at the top left of the camera. Be careful when separating the front and back of the camera.

    • Pull the camera apart into 2 separate pieces.

    FixBot'a Sor

    Yorum Ekle

  10. Olympus Stylus 760 LCD Screen Replacement: adım 10, 1 resimden 1.
    • You should be left with 4 large pieces, the outer case, inner lens piece, outer silver band and back case containing the LCD display.

    FixBot'a Sor

    Yorum Ekle

  11. Olympus Stylus 760 LCD Screen Replacement: adım 11, 2 resimden 1. Olympus Stylus 760 LCD Screen Replacement: adım 11, 2 resimden 2.
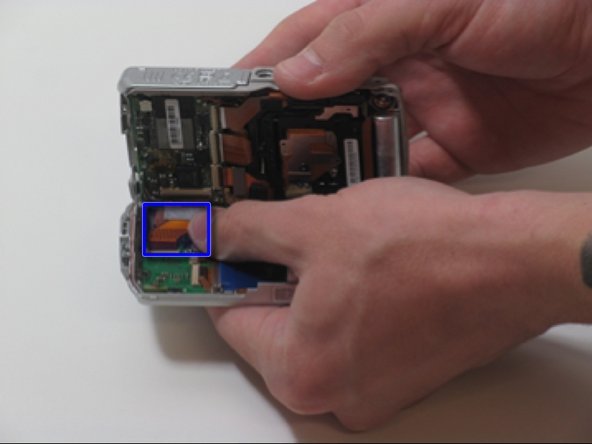
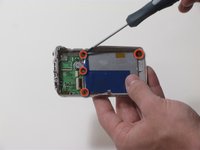
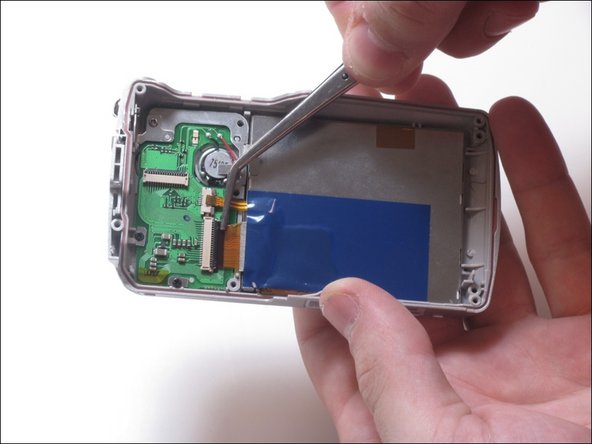
    • Remove 4 screws holding the LCD screen in place.

    • Be cautious of the brackets that come loose when you remove the 3 screws on the right side of the camera

    • LCD Screen is attached to 2 ribbon wires

    FixBot'a Sor

    Yorum Ekle

  12. Olympus Stylus 760 LCD Screen Replacement: adım 12, 2 resimden 1. Olympus Stylus 760 LCD Screen Replacement: adım 12, 2 resimden 2.
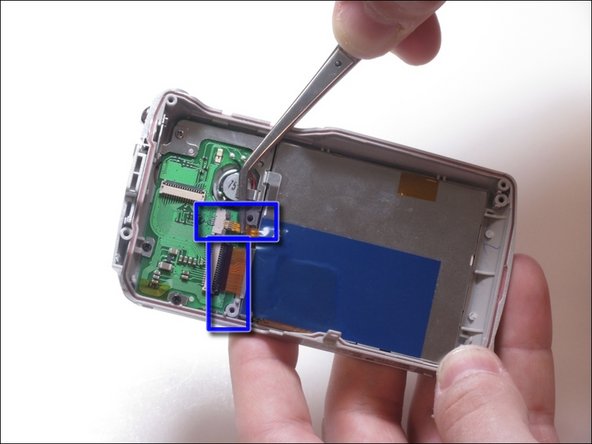
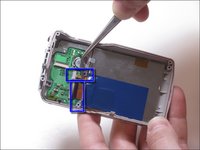
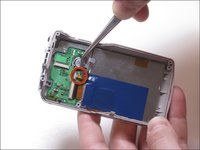
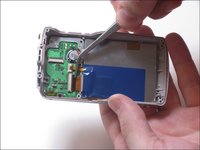
    • Pull up on the small ribbon wire to disconnect it from the circuit board

    • Flip the little black clip up to remove the larger ribbon wire from the circuit board.

    FixBot'a Sor

    Yorum Ekle

  13. Olympus Stylus 760 LCD Screen Replacement: adım 13, 1 resimden 1.
    • Using a plastic separating tool, remove the LCD screen from the plastic casing.

    FixBot'a Sor

    Yorum Ekle

Sonuç

To reassemble your device, follow these instructions in reverse order.

İptal et: Bu kılavuzu tamamlamadım.

Bir başkası bu kılavuzu tamamladı.

Ryan Cosgrove

Üyelik tarihi: 02/10/12

39 İtibar

1 Kılavuz yazıldı

Ekip

James Madison, Team 3-3, Klein Spring 2012 James Madison, Team 3-3, Klein Spring 2012 üyesi

JMU-KLEIN-S12S3G3

4 Üyeler

7 adet Kılavuz yazıldı

1Rehber Yorum

from where i can get repaired u760 camera

tahir zafar - Yanıt Paylaş

Yorum Ekle

İstatistikleri Görüntüle:

Son 24 Saat: 2

Son 7 gün: 13

Son 30 gün: 48

Her zaman: 2,388