Giriş
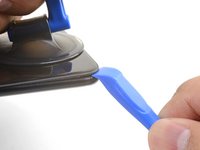
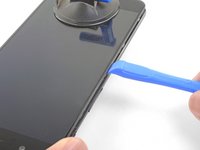
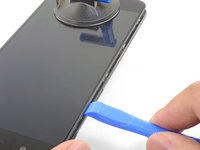
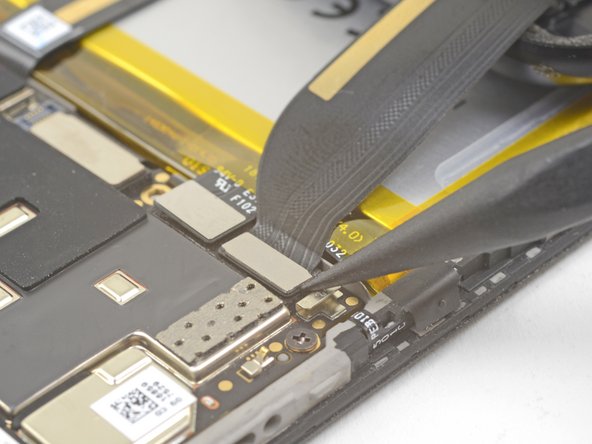
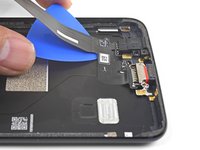
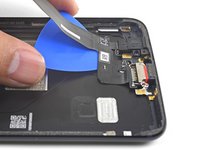
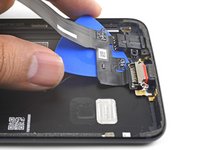
This is a guide for replacing a faulty charging port and headphone jack port in the OnePlus 5. These are part of the lower port assembly and must be replaced together. The most difficult part of the guide is getting the frame clips of the back cover free.
Neye ihtiyacın var
-
-
Insert a SIM card eject tool, bit, or a straightened paperclip into the small hole below the SIM card tray, located near the rear cameras on the edge of the phone.
-
Press firmly to eject the tray.
-
-
-
Remove the two 2.6 mm T2 screws straddling the USB-C port on the bottom edge of the phone.
-
-
-
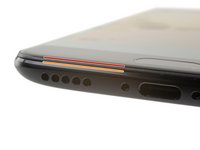
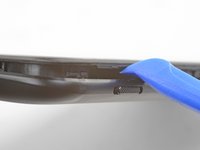
Display panel seam: This seam is part of the display assembly. Do not pry at this seam, or you will separate and damage the display panel.
-
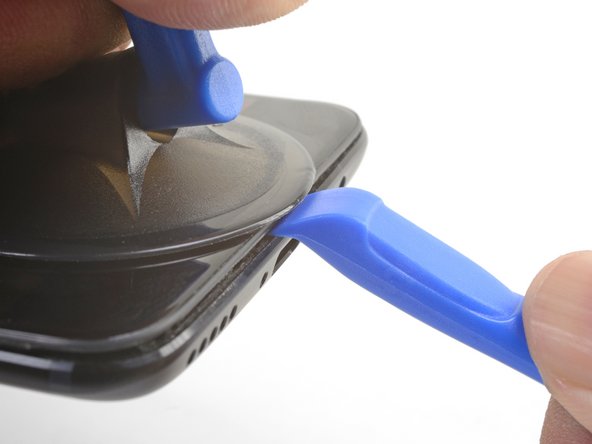
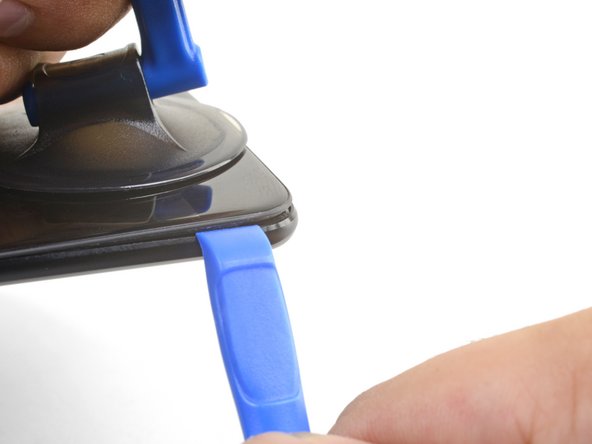
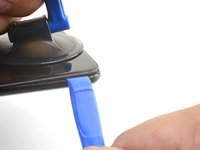
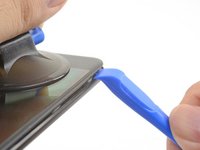
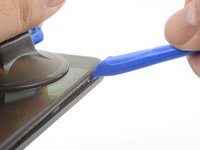
Frame seam: This is where the plastic frame meets the back cover. Only pry at this seam.
-
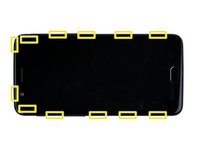
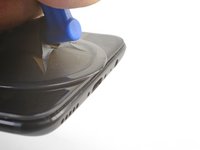
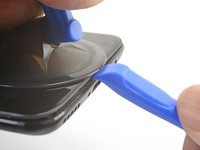
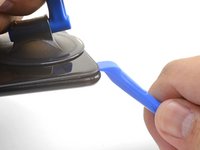
There are twelve clips that hold the frame against the rear case. Be aware of their location as you pry the back cover off in the following steps.
-
-
-
-
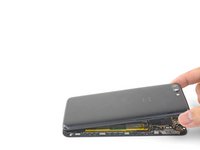
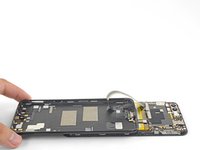
With the bottom and left edge of the phone freed, gently wiggle the frame to release the top and right edge clips.
-
Align the top edge of the frame to the back cover and ensure that the top clips slip into place.
-
Squeeze along the long edges of the phone to snap the remaining clips into place.
-
-
-
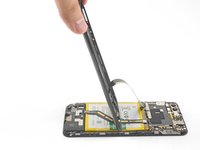
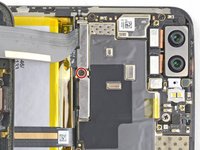
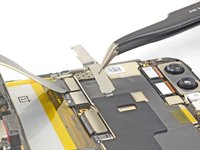
Remove the four 2.6 mm Phillips screws holding the port assembly to the back cover.
-
To reassemble your device, follow these instructions in reverse order.
Repair didn’t go as planned? Check out our OnePlus 5 Answers Community for troubleshooting help.
To reassemble your device, follow these instructions in reverse order.
Repair didn’t go as planned? Check out our OnePlus 5 Answers Community for troubleshooting help.
İptal et: Bu kılavuzu tamamlamadım.
42 farklı kişi bu kılavuzu tamamladı.
26Kılavuz Yorumları
The screen is a pain to pry up but the guide itself was good and helped me to successfully fix my phone thank you Jose
My headphone jack had stopped holding my headphones in place meaning that the headphones would pop out of the jack very easily. Replacing the jack using this guide was a breeze once the screen had been removed which was the most difficult part of the repair.
I did not have a suction cup to help lift the screen which I in retrospect would recommend anyone doing this repair to get.
Thanks Jose! :)
Great guide, simple repair. A new charging port fixed my connection issues. I used a plastic butter knife to pry the screen, it took some work but wasn’t that hard.
Thanks!
I just attempted to do this with my phone and the bottom two screws in step 2 were T-1 torx where the instructions are claiming a T-2.
I had the same issue, defintely T1 on my phone rather than T2. T1 is not included in the iFixit srewdriver set unfortunately. Other than that, this guide is great, as other people mentioned prying the back of is difficult but doable. After that it’s a breeze.


