Giriş
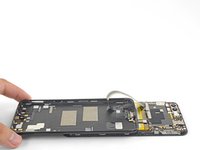
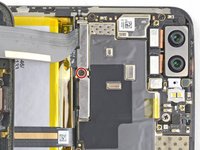
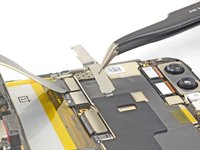
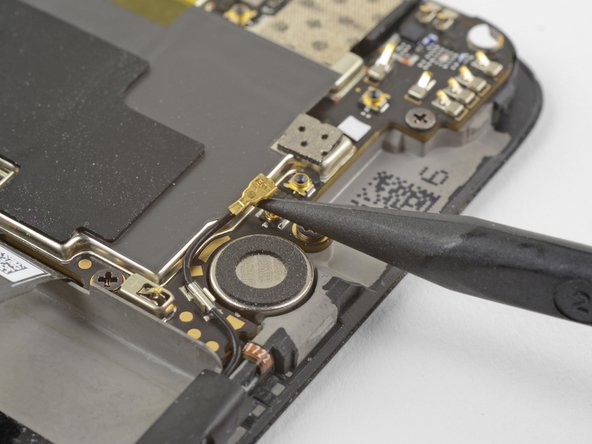
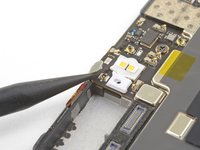
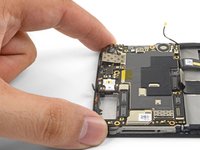
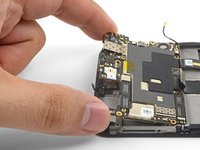
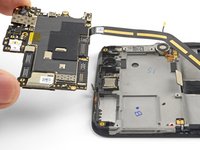
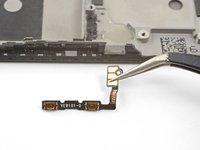
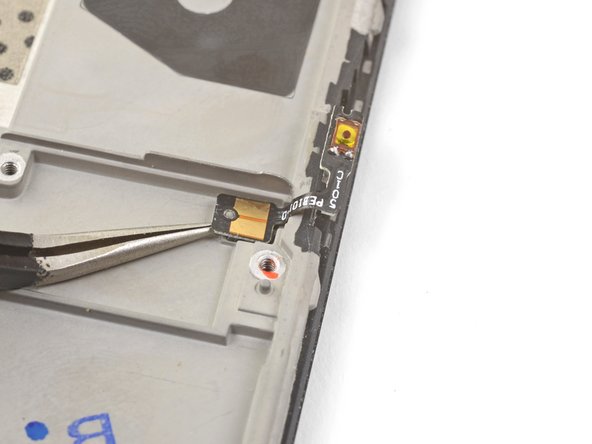
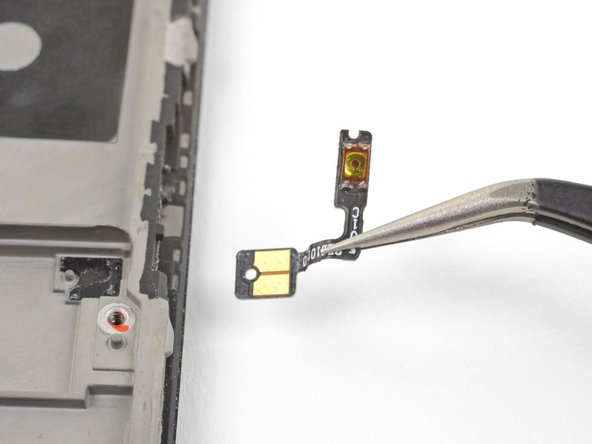
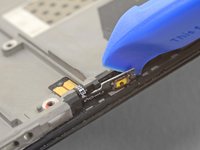
This guide shows how to remove the power button and volume buttons. You can use this guide to replace either or both.
Some guide images will show the battery and rear-facing camera module already removed from the phone. You do not need to remove them for this procedure.
Neye ihtiyacın var
-
-
Insert a SIM card eject tool, bit, or a straightened paperclip into the small hole below the SIM card tray, located near the rear cameras on the edge of the phone.
-
Press firmly to eject the tray.
-
-
-
Remove the two 2.6 mm T2 screws straddling the USB-C port on the bottom edge of the phone.
-
-
-
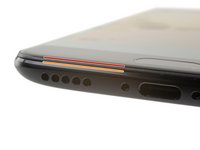
Display panel seam: This seam is part of the display assembly. Do not pry at this seam, or you will separate and damage the display panel.
-
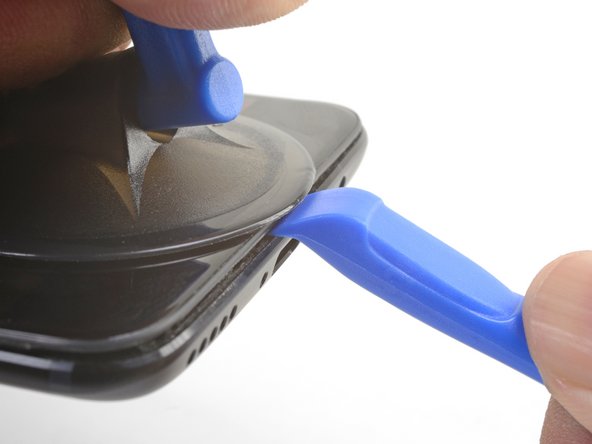
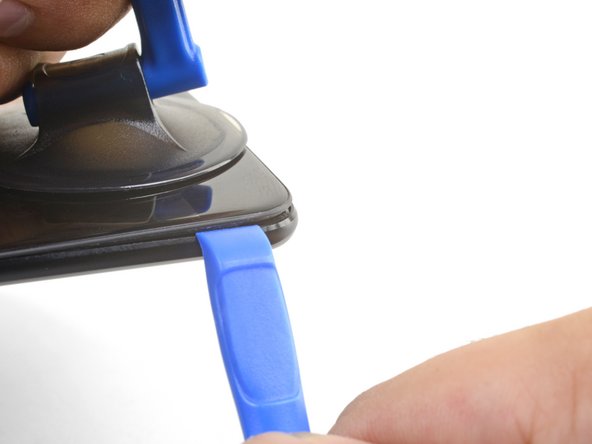
Frame seam: This is where the plastic frame meets the back cover. Only pry at this seam.
-
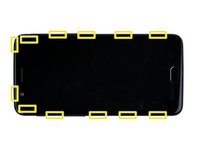
There are twelve clips that hold the frame against the rear case. Be aware of their location as you pry the back cover off in the following steps.
-
-
-
With the bottom and left edge of the phone freed, gently wiggle the frame to release the top and right edge clips.
-
Align the top edge of the frame to the back cover and ensure that the top clips slip into place.
-
Squeeze along the long edges of the phone to snap the remaining clips into place.
-
-
-
-
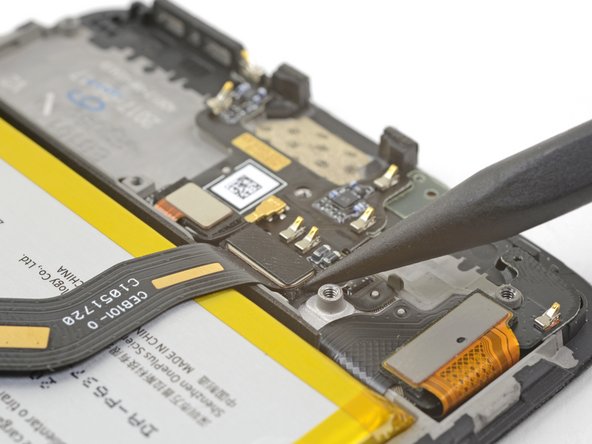
Use the point of a spudger to pry up and disconnect the battery connector from its socket.
-
-
-
Remove the six 2.6 mm Phillips screws securing the loudspeaker to the frame.
-
-
-
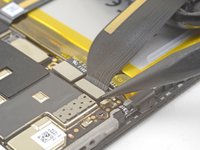
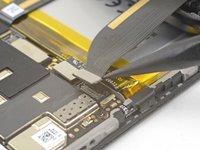
Use the point of a spudger to pry up and disconnect the interconnect flex cable from the socket.
-
-
-
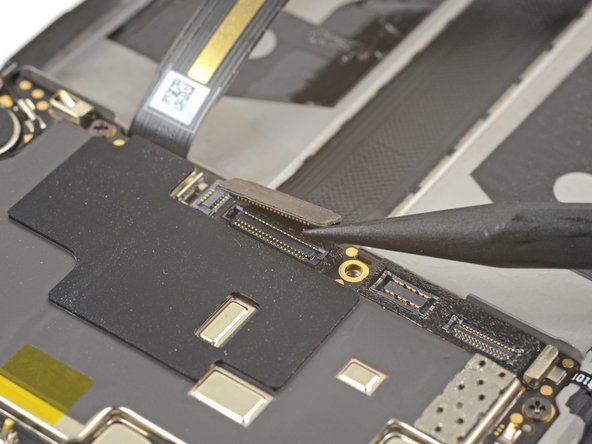
Use the point of a spudger to pry up and disconnect the display interconnect cable from its socket near the bottom edge of the motherboard.
-
-
Bu adımda kullanılan alet:Electrical Tape in 6 Assorted Colors$9.99
-
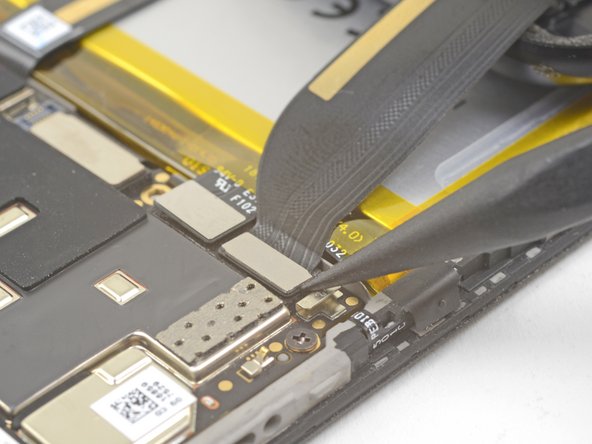
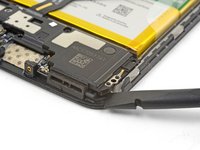
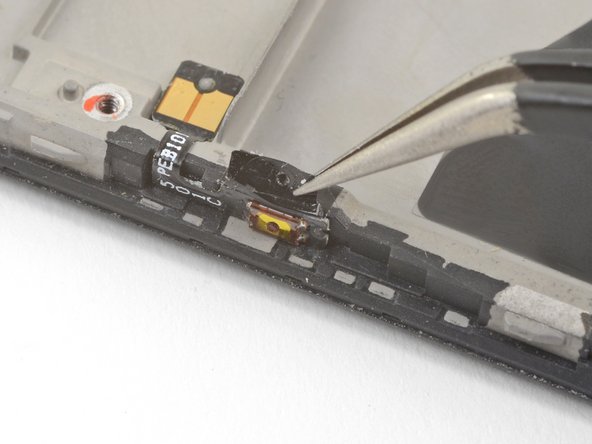
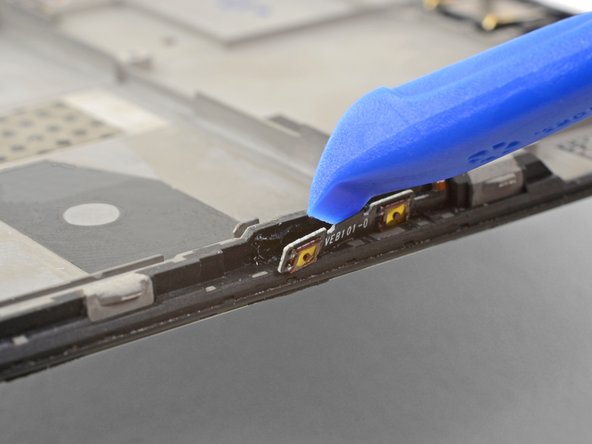
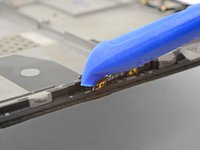
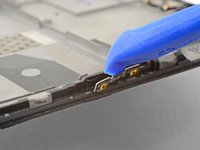
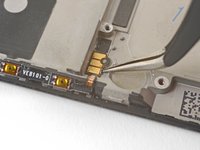
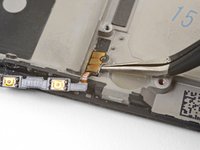
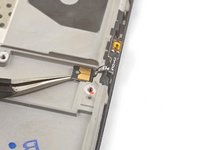
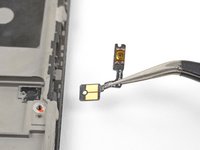
Use tweezers or the point of a spudger to pry up and remove the black tape covering the volume buttons on the right edge of the phone.
-
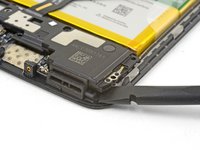
Repeat the process with the black tape covering the power button on the left edge of the phone.
-
To reassemble your device, follow these instructions in reverse order.
Repair didn’t go as planned? Check out our OnePlus 5 Answers Community for troubleshooting help.
İptal et: Bu kılavuzu tamamlamadım.
6 farklı kişi bu kılavuzu tamamladı.
2Kılavuz Yorumları
I’ve just spent the afternoon migrating to a new frame, and the power button seating lugs were just a tiny bit mislocated. The result was permanent press on the power button when the back was fitted. I resolved this by trimming the power button circuit board with some sharp sidecutters. Charging now and seems ok. Would have been much harder without my ifixit toolkit.
Fantastic guide! Thanks! Some steps were slightly different for my OnePlus 5T but still quite helpful! I used it to replace the power button that was barely working.
Unfortunately it seems my replacement part had maybe slightly different tolerances and the button was being pressed permanently. I managed to fix it by very carefully shaving off a little bit of the case's mechanism that presses the button.


