Ana içeriğe geç

Oster BLSTSS-PZO Gear Shaft Replacement

Neye ihtiyacın var

  1. Oster BLSTSS-PZO Gear Shaft Replacement, Circuitboard: adım 1, 1 resimden 1.
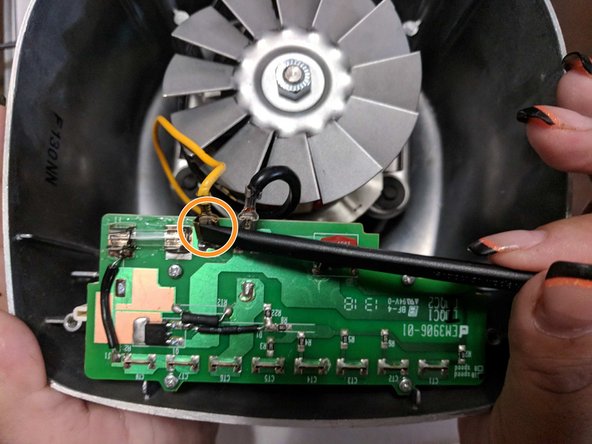
    • Use the prying tools to open the four plastic screw holes on the bottom of the blender.

  2. Oster BLSTSS-PZO Gear Shaft Replacement: adım 2, 1 resimden 1.
    • Use the Phillips #1 Screwdriver to unscrew the four 16 mm screws and remove the plastic bottom.

  3. Oster BLSTSS-PZO Gear Shaft Replacement: adım 3, 1 resimden 1.
    • Gently remove the circuit board.

  4. Oster BLSTSS-PZO Gear Shaft Replacement: adım 4, 2 resimden 1. Oster BLSTSS-PZO Gear Shaft Replacement: adım 4, 2 resimden 2.
    • Use the spudger to detach the black wire from the circuit board.

    • Repeat for yellow wire.

  5. Oster BLSTSS-PZO Gear Shaft Replacement: adım 5, 3 resimden 1. Oster BLSTSS-PZO Gear Shaft Replacement: adım 5, 3 resimden 2. Oster BLSTSS-PZO Gear Shaft Replacement: adım 5, 3 resimden 3.
    • Use the Phillips #1 to remove the four 8mm screws.

    • Use the medal spudger to detach the circuit board from the buttons.

    • Gently pull and release circuit board from buttons.

  6. Oster BLSTSS-PZO Gear Shaft Replacement, Gear Shaft: adım 6, 3 resimden 1. Oster BLSTSS-PZO Gear Shaft Replacement, Gear Shaft: adım 6, 3 resimden 2. Oster BLSTSS-PZO Gear Shaft Replacement, Gear Shaft: adım 6, 3 resimden 3.
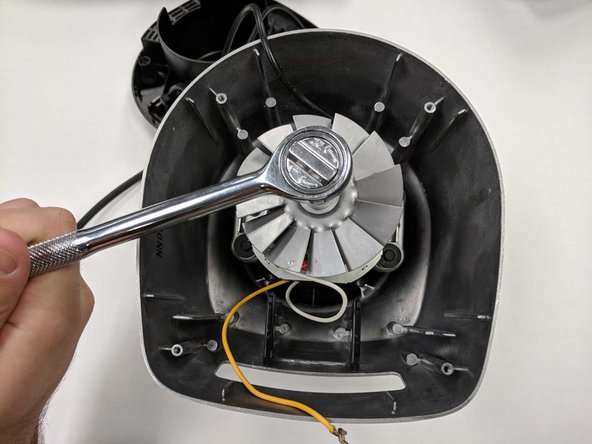
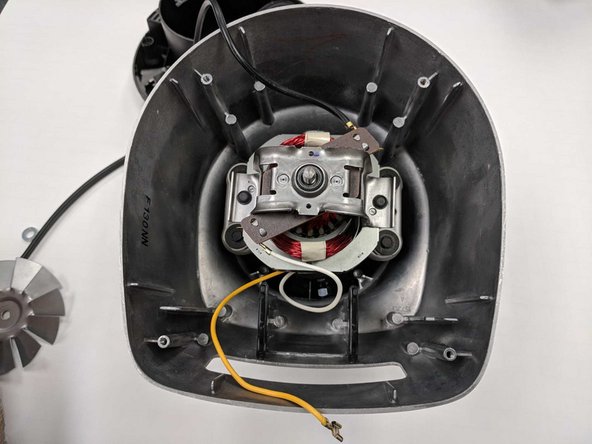
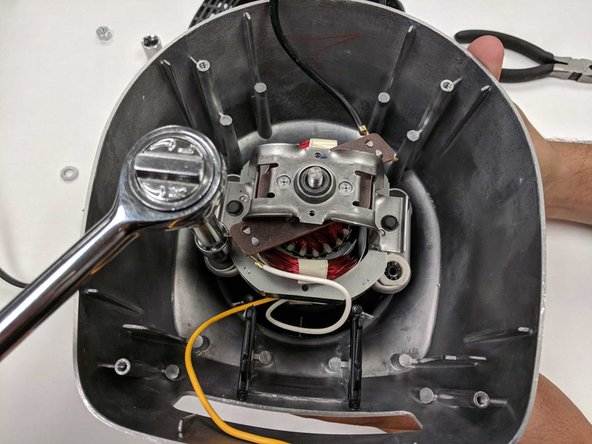
    • Remove the screw on top of the fan with the 4mm socket stock wrench.

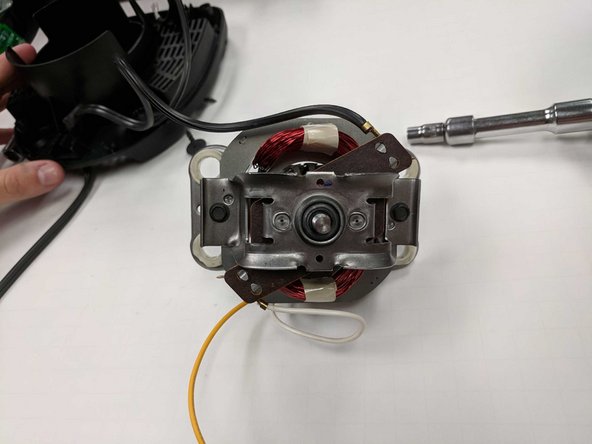
    • Remove the fan and washer.

  7. Oster BLSTSS-PZO Gear Shaft Replacement: adım 7, 3 resimden 1. Oster BLSTSS-PZO Gear Shaft Replacement: adım 7, 3 resimden 2. Oster BLSTSS-PZO Gear Shaft Replacement: adım 7, 3 resimden 3.
    • Remove the four screws with the 4mm socket stock wrench.

    • Remove gear shaft.

Sonuç

To reassemble your device, follow these instructions in reverse order.

Bir başkası bu kılavuzu tamamladı.

0 Yorum

Yorum Ekle

İstatistikleri Görüntüle:

Son 24 Saat: 0

Son 7 gün: 1

Son 30 gün: 13

Her zaman: 677