Giriş
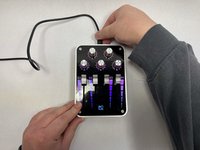
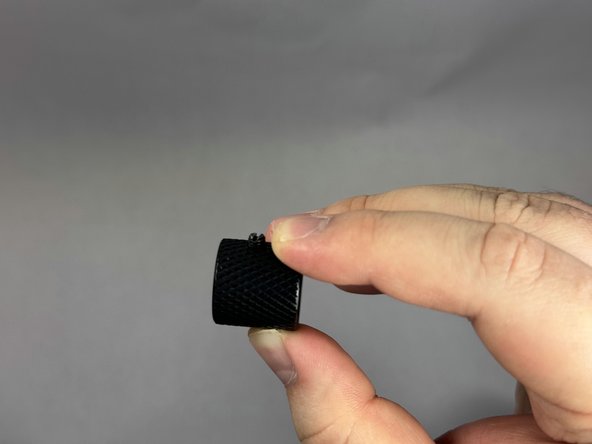
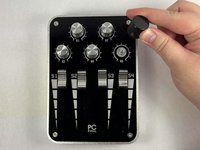
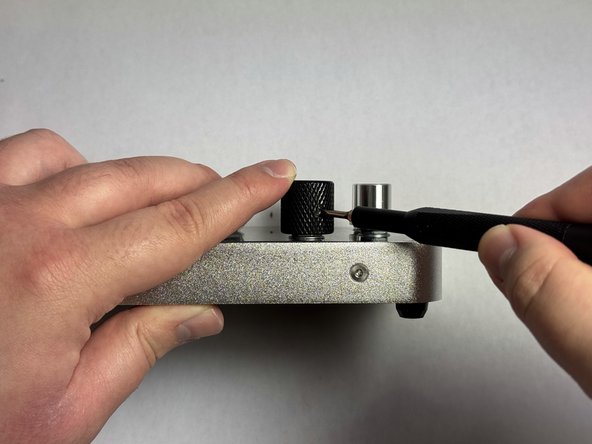
The original knobs that come with the PCPanel Pro MIDI Controller are plastic and can be prone to breakage. These knobs, however, can be easily replaced with higher quality, longer lasting knobs. Additionally, the knobs can be customized in any way you like, rather than sticking with the original silver color.
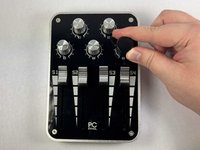
Once you have finished your repair, be sure to test all of the knobs properly.
Neye ihtiyacın var


Sonuç
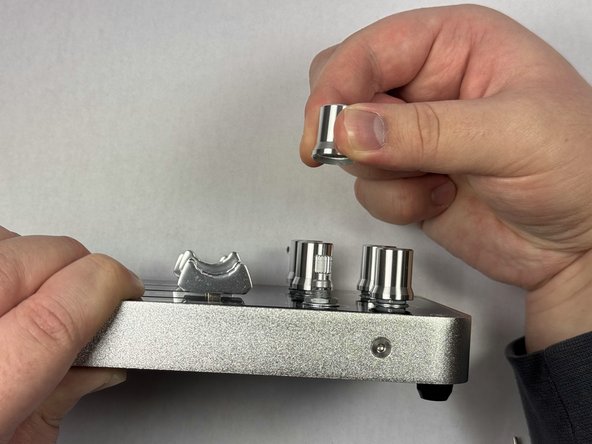
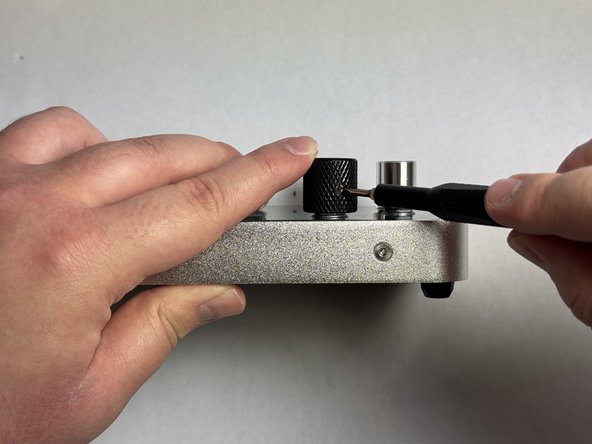
Make sure all of the knobs function as intended. To remove the knobs and put the old ones on, simply do the steps in reverse.

Ekip

UC Davis, Team 1-1, Morris Spring 2024 UC Davis, Team 1-1, Morris Spring 2024 üyesi
UCD-MORRIS-S24S1G1
3 Üyeler
1 Kılavuz yazıldı