Giriş
A brief guide on how to replace the battery for your Palm V
Neye ihtiyacın var
-
-
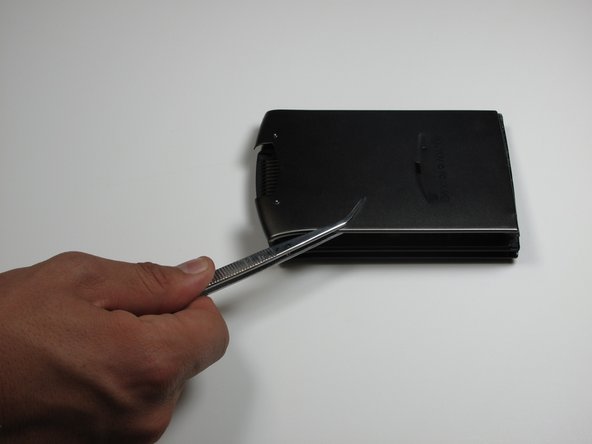
Bu adımda kullanılan alet:Tweezers$4.99
-
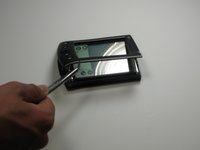
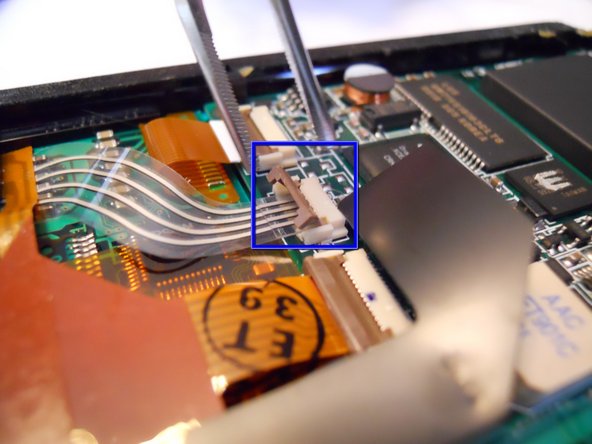
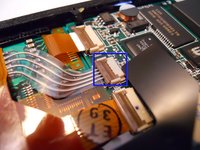
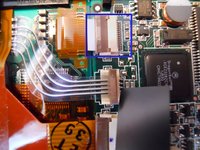
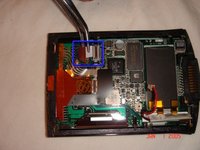
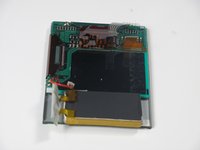
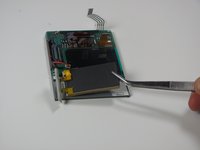
In order to seperate the screen from the motherboard you must disconnect the ribbon attached to the screen.
-
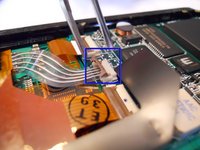
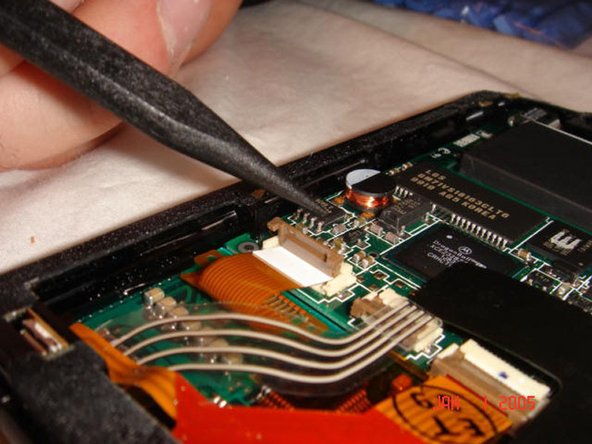
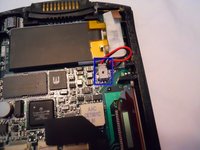
To do this, using tweezers, flip up the cable clamp that is connecting the ribbon to the screen.
-
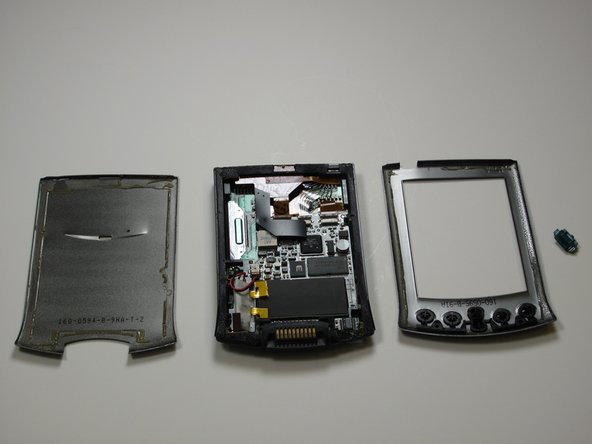
Once the clamp is up you can use the tweezers to gently detach the ribbon.
-
-
-
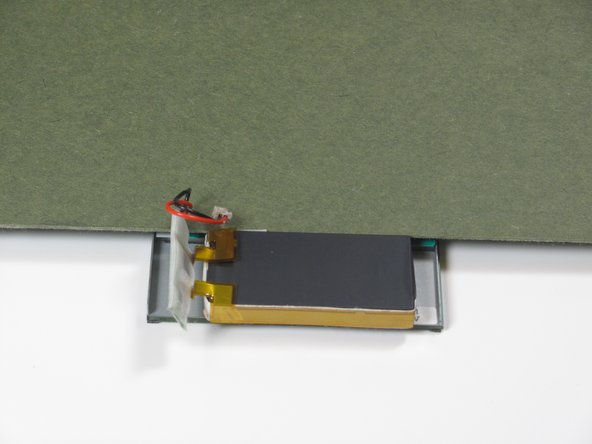
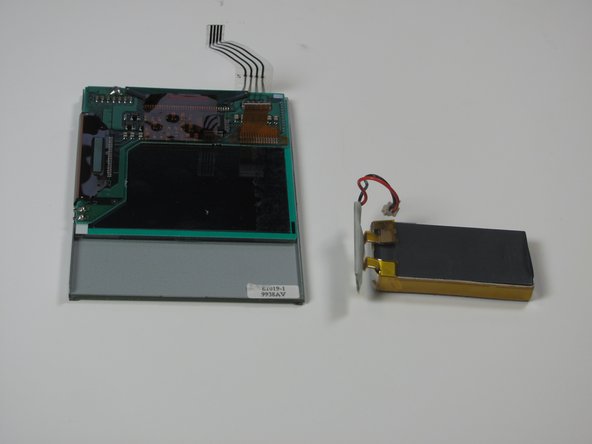
Lay screen face down so the battery is facing upwards.
-
Cover the upper back portion of the device so the battery is the only exposed part.
-


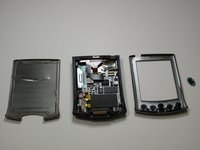


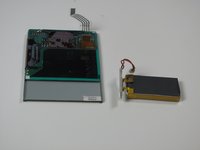
To reassemble your device, follow these instructions in reverse order.
To reassemble your device, follow these instructions in reverse order.
İptal et: Bu kılavuzu tamamlamadım.
3 farklı kişi bu kılavuzu tamamladı.
Ekip

Cal Poly, Team 13-25, Maness Winter 2010 Cal Poly, Team 13-25, Maness Winter 2010 üyesi
CPSU-MANESS-W10S13G25
4 Üyeler
4 adet Kılavuz yazıldı