Ana içeriğe geç

Bu kılavuzda güncel değişiklikler var. En son onaylanmamış sürüme geçin.

Panasonic KX-TG6641 Base Display Screen Replacement

Neye ihtiyacın var

  1. Panasonic KX-TG6641 Base Display Screen Replacement, Base Display Screen: adım 1, 1 resimden 1.
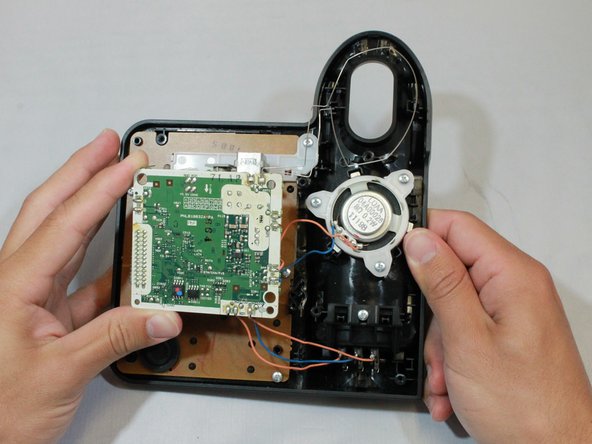
    • Remove back by unscrewing the 5 screws at the corners and in the middle of the charging base using a small Phillips screwdriver,.

  2. Panasonic KX-TG6641 Base Display Screen Replacement: adım 2, 1 resimden 1.
    • To remove back cover, pry the back open by using the iFixit Opening tool in the space between the front and back of the charging base.

  3. Panasonic KX-TG6641 Base Display Screen Replacement: adım 3, 2 resimden 1. Panasonic KX-TG6641 Base Display Screen Replacement: adım 3, 2 resimden 2.
    • To access to display screen, unscrew the screws on the electrical panel and unclip wires hooked in to base.

  4. Panasonic KX-TG6641 Base Display Screen Replacement: adım 4, 1 resimden 1.
    • Unlatch two phone cable connectors and unscrew the screw in order to remove the plastic holder for the connectors.

  5. Panasonic KX-TG6641 Base Display Screen Replacement: adım 5, 2 resimden 1. Panasonic KX-TG6641 Base Display Screen Replacement: adım 5, 2 resimden 2.
    • Once the electrical panel is released, unscrew the four screws from the brown plate and lift to access display screen.

    • Be aware that there is a screw under the control panel not visible in the picture but indicated with a red circle.

  6. Panasonic KX-TG6641 Base Display Screen Replacement: adım 6, 1 resimden 1.
    • Replace the display screen by unlatching it from the electrical panel and placing the new screen in its place.

Sonuç

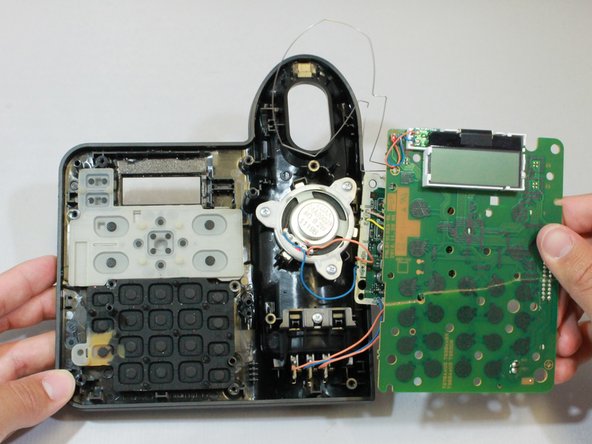
To reassemble your device, follow these instructions in reverse order.

0 Yorum

Yorum Ekle

İstatistikleri Görüntüle:

Son 24 Saat: 0

Son 7 gün: 3

Son 30 gün: 7

Her zaman: 364