Bu sürüm, hatalı düzenlemeler içerebilir. En son doğrulanmış bellek kopyası dönün.
Neye ihtiyacın var
-
Bu adım çevrilmemiş. Çevrilmesine yardım edin
-
Slide the lock switch to the right so that it is in the unlocked position.
-
Use your finger to slide the battery hatch in the direction of the downward arrow so that the hatch is open.
-
-
Bu adım çevrilmemiş. Çevrilmesine yardım edin
-
Open the battery hatch and then the black cover to expose the battery compartment.
-
Remove the battery.
-
-
Bu adım çevrilmemiş. Çevrilmesine yardım edin
-
Using the Phillips #00 screwdriver, remove the two 2.8 mm screws located under the hatch.
-
-
Bu adım çevrilmemiş. Çevrilmesine yardım edin
-
Use the Phillips #00 screwdriver to remove the three 2.8 mm screws on the bottom of the camera.
-
-
-
Bu adım çevrilmemiş. Çevrilmesine yardım edin
-
Use the Phillips #00 screwdriver to remove the two 2.8 mm screws on the side of the camera.
-
-
Bu adım çevrilmemiş. Çevrilmesine yardım edin
-
Use your fingers to carefully remove the back casing from the front of the camera.
-
-
Bu adım çevrilmemiş. Çevrilmesine yardım edin
-
Place the camera on a flat surface with the front side facing down.
-
Use the spudger to flip up the retaining flap and slide the ribbon cable out of the connector.
-
Hold down on the camera's metal casing with one hand. Using your other hand, remove the back case from the rest of the camera.
-
-
Bu adım çevrilmemiş. Çevrilmesine yardım edin
-
Remove the last two 2.8 mm Phillips #00 screws from the bottom of the camera.
-
-
Bu adım çevrilmemiş. Çevrilmesine yardım edin
-
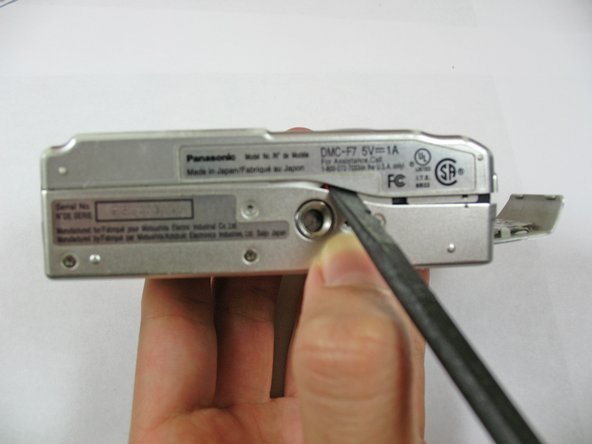
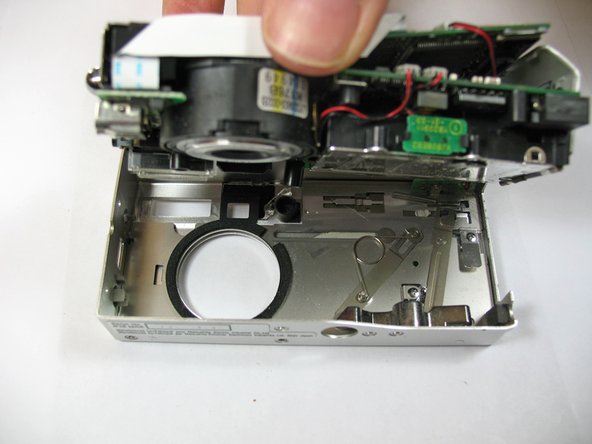
Using the spudger, pry the front case away from the camera's components.
-
Use your fingers to carefully pull the back case from the front case.
-
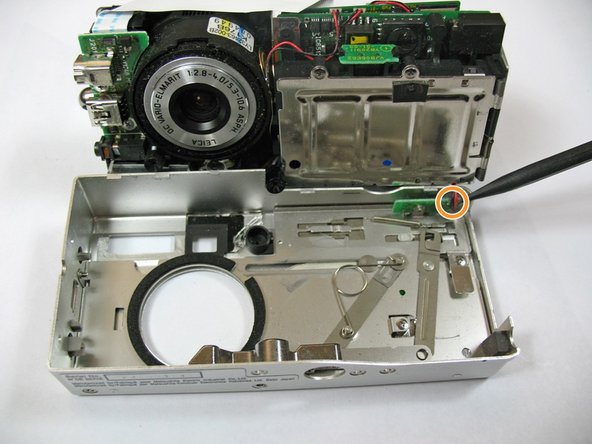
Cut the black and red wires connecting front case to the body of the camera.
-
Separate the front of the case from the camera.
-
İptal et: Bu kılavuzu tamamlamadım.
Bir başkası bu kılavuzu tamamladı.


