Ana içeriğe geç

Panasonic Lumix DMC-G5 Back Panel Replacement

Neye ihtiyacın var

  1. Panasonic Lumix DMC-G5 Back Panel Replacement, Back Panel: adım 1, 1 resimden 1.
    • Remove four JIS #000 screws from the bottom part of the camera.

  2. Panasonic Lumix DMC-G5 Back Panel Replacement: adım 2, 2 resimden 1. Panasonic Lumix DMC-G5 Back Panel Replacement: adım 2, 2 resimden 2.
    • Remove two JIS #000 screws from both sides of the camera.

  3. Panasonic Lumix DMC-G5 Back Panel Replacement: adım 3, 1 resimden 1.
    • Remove two JIS #000 screws under the viewfinder.

  4. Panasonic Lumix DMC-G5 Back Panel Replacement: adım 4, 2 resimden 1. Panasonic Lumix DMC-G5 Back Panel Replacement: adım 4, 2 resimden 2.
    • Remove the viewfinder lid.

    • Then, remove the two JIS #000 screws on the viewfinder.

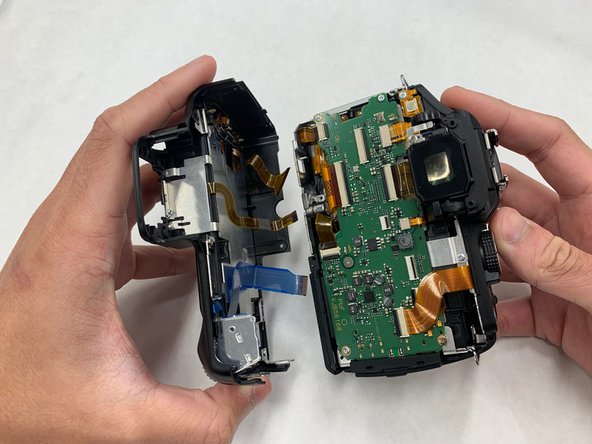
  5. Panasonic Lumix DMC-G5 Back Panel Replacement: adım 5, 3 resimden 1. Panasonic Lumix DMC-G5 Back Panel Replacement: adım 5, 3 resimden 2. Panasonic Lumix DMC-G5 Back Panel Replacement: adım 5, 3 resimden 3.
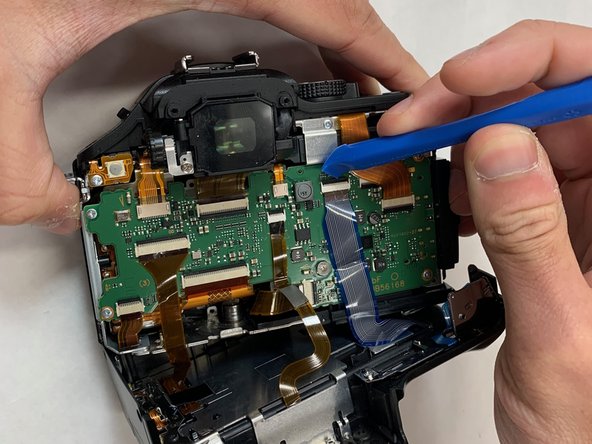
    • Gently remove the back panel from the camera.

    • Unclip the ribbon cable from the motherboard using Wide Plastic Opening Tools and pull the cable gently.

Sonuç

To reassemble your device, follow these instructions in reverse order.

Bir başkası bu kılavuzu tamamladı.

Khairul Samsudin

Üyelik tarihi: 05/22/19

412 İtibar

4 adet Kılavuz yazıldı

Ekip

IUPUI, Team S1-G4, Harley Summer 2019 IUPUI, Team S1-G4, Harley Summer 2019 üyesi

IUPUI-HARLEY-SU19S1G4

3 Üyeler

8 adet Kılavuz yazıldı

0 Yorum

Yorum Ekle

İstatistikleri Görüntüle:

Son 24 Saat: 0

Son 7 gün: 6

Son 30 gün: 11

Her zaman: 646