Bu kılavuzda güncel değişiklikler var. En son onaylanmamış sürüme geçin.
Giriş
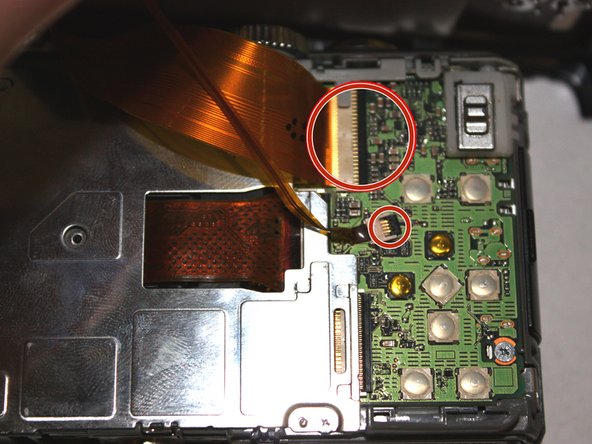
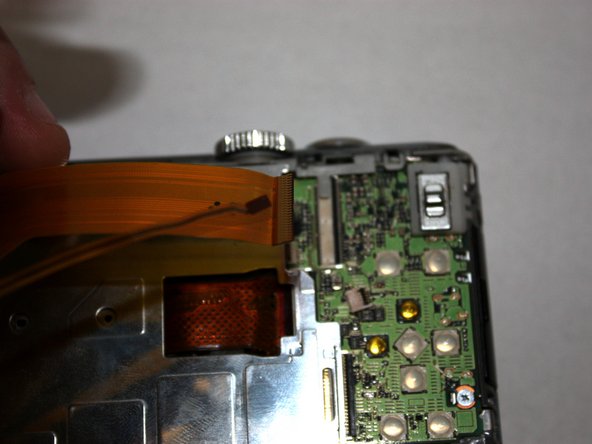
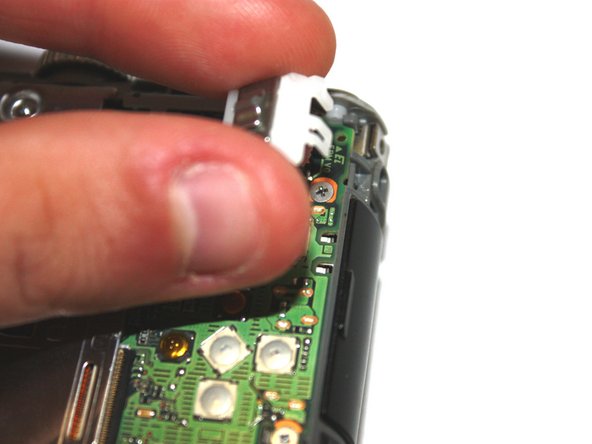
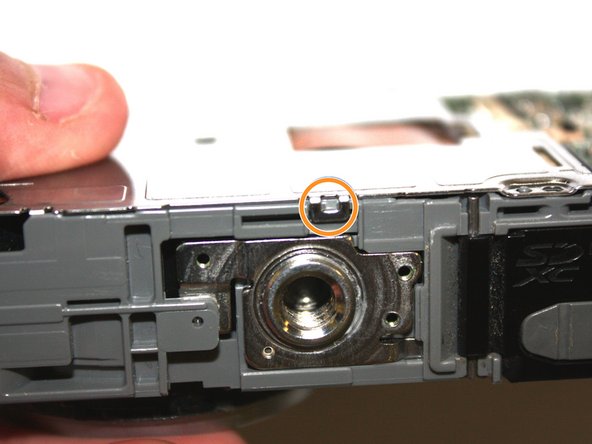
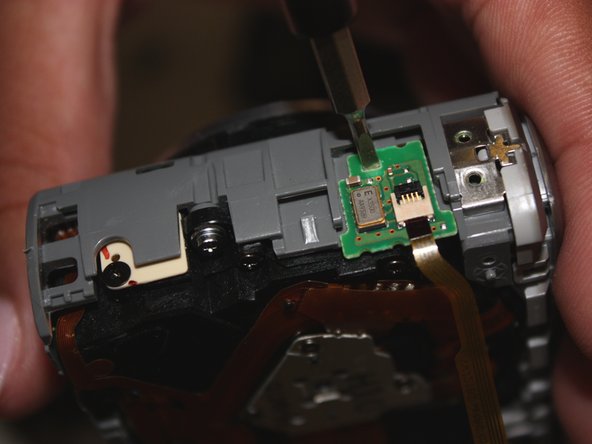
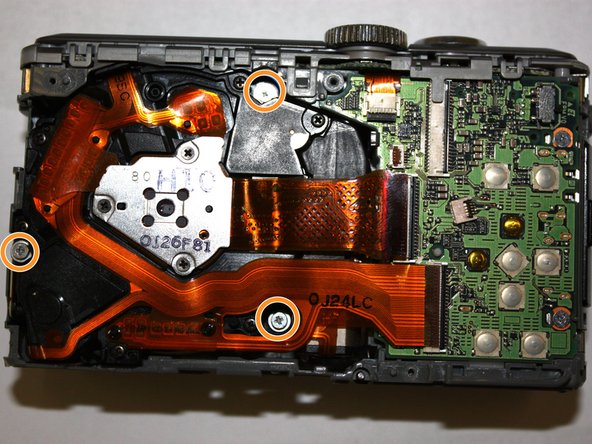
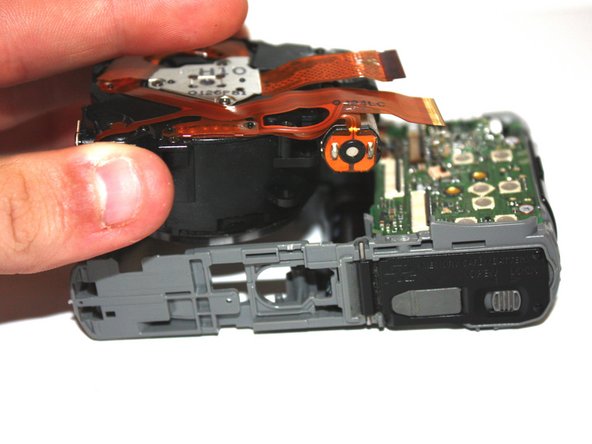
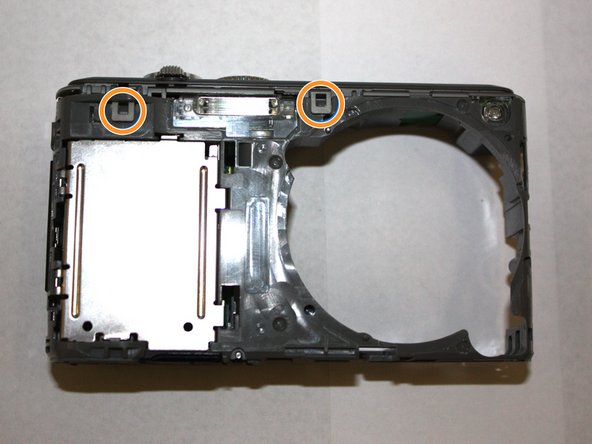
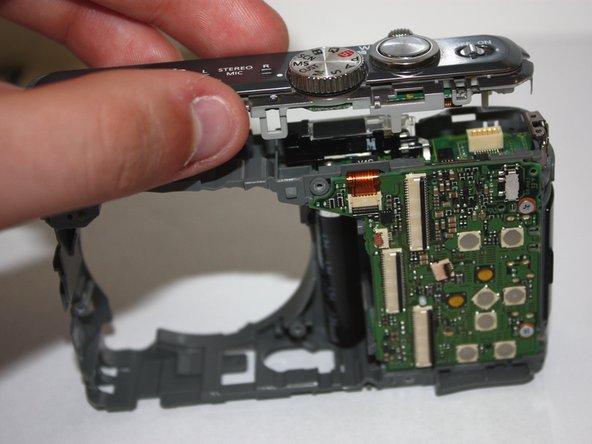
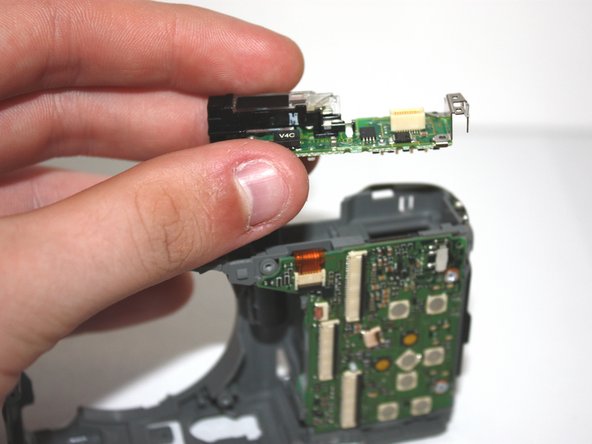
This guide will teach you step by step on how to take apart the camera and locate the broken or malfunctioning flash component.
Neye ihtiyacın var


Neredeyse bitti!
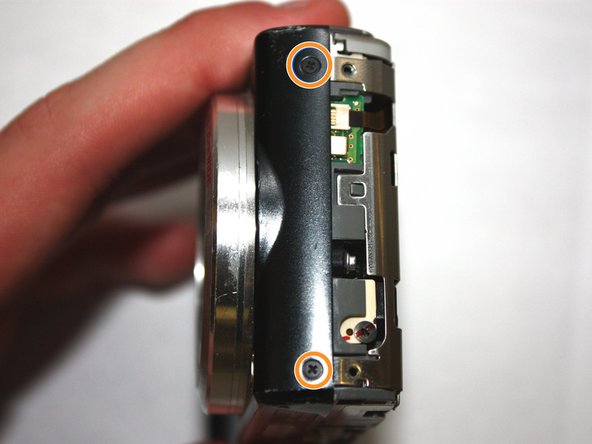
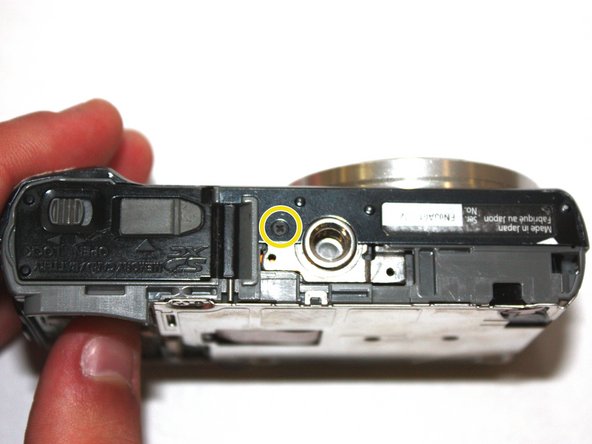
To reassemble your device, follow these instructions in reverse order.
Sonuç
To reassemble your device, follow these instructions in reverse order.

Ekip

Baylor, Team S2-G5, Johnson Spring 2018 Baylor, Team S2-G5, Johnson Spring 2018 üyesi
BU-JOHNSON-S18S2G5
3 Üyeler
10 adet Kılavuz yazıldı