Bu sürüm, hatalı düzenlemeler içerebilir. En son doğrulanmış bellek kopyası dönün.
Neye ihtiyacın var
-
Bu adım çevrilmemiş. Çevrilmesine yardım edin
-
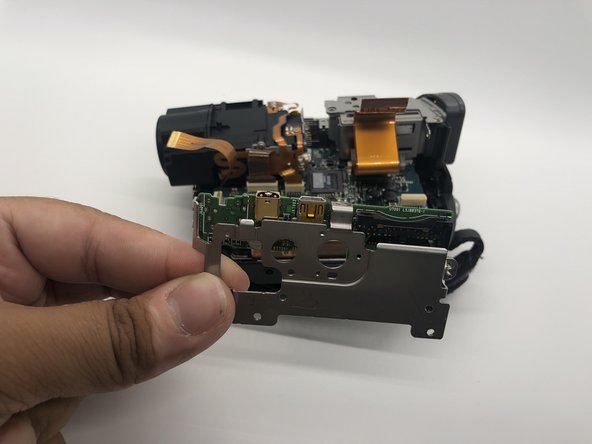
Use your Phillips #0 screwdriver to remove the three 5mm screws on top of the camera.
-
Remove the metal bracket.
-
-
Bu adım çevrilmemiş. Çevrilmesine yardım edin
-
Rotate the camera to show the bottom of the camera.
-
Remove the four 5mm screws on the bottom side of the camera with a Phillips #0 driver.
-
-
Bu adım çevrilmemiş. Çevrilmesine yardım edin
-
Remove one 5mm screw with your Phillips #0 screwdriver.
-
-
Bu adım çevrilmemiş. Çevrilmesine yardım edin
-
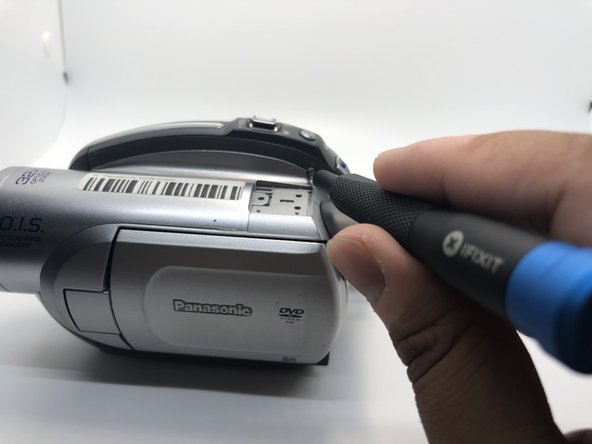
Using a spudger pry the top-front part of the camera from the main body.
-
Slide the top portion of the camera forward revealing more 5mm screws.
-
-
Bu adım çevrilmemiş. Çevrilmesine yardım edin
-
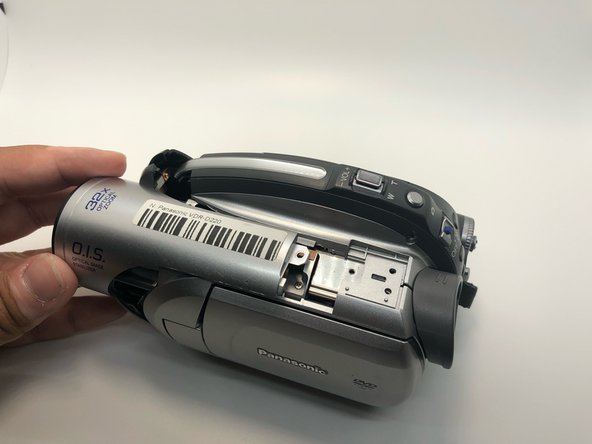
Flip the camera on the right side.
-
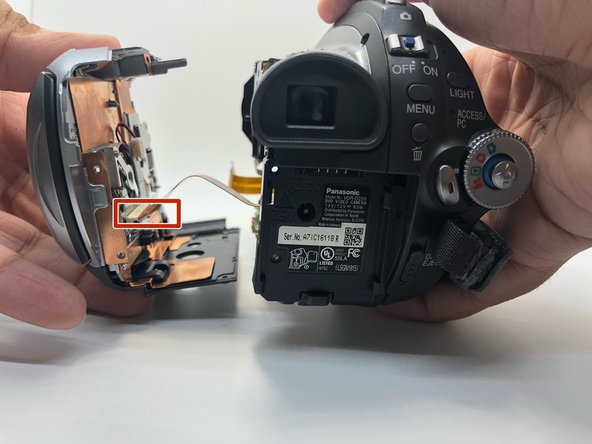
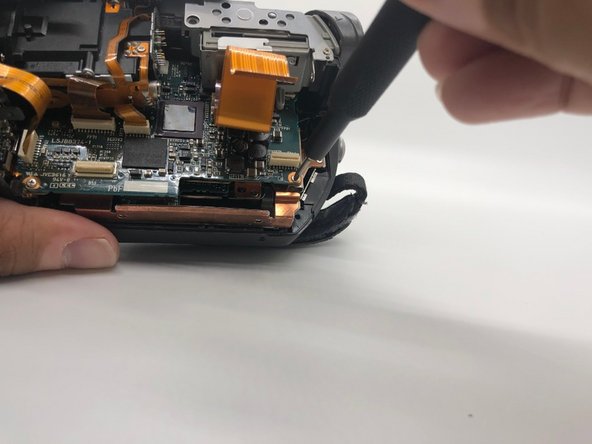
Gently pull the front part away from the main body to expose the cable connections holding them together.
-
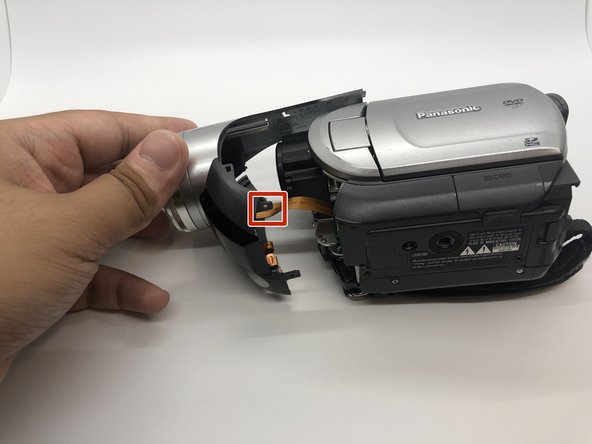
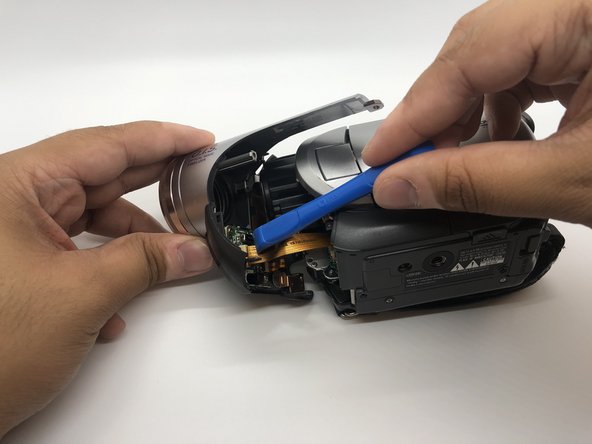
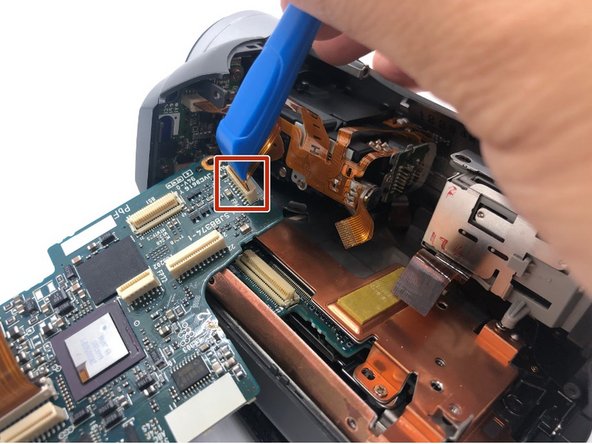
Use your plastic opening tool to disconnect the connection point safely.
-
Press the tab with plastic opening tool and then pull the ZIF connector to detach.
-
-
Bu adım çevrilmemiş. Çevrilmesine yardım edin
-
Remove the 5mm screw with your Phillips #0 screwdriver that was previously covered.
-
-
-
Bu adım çevrilmemiş. Çevrilmesine yardım edin
-
Use your Phillips #0 screwdriver to remove the two 5mm screws on the battery base of the camera.
-
-
Bu adım çevrilmemiş. Çevrilmesine yardım edin
-
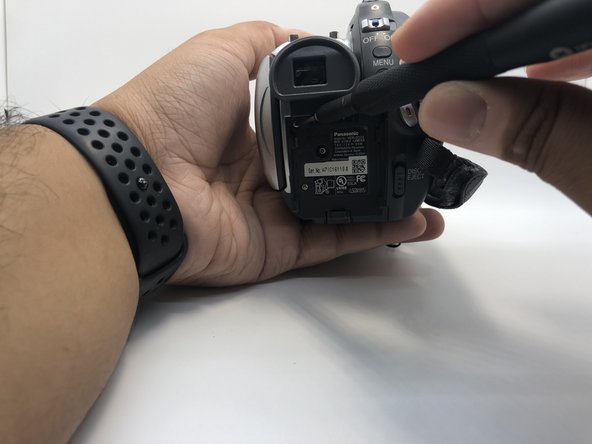
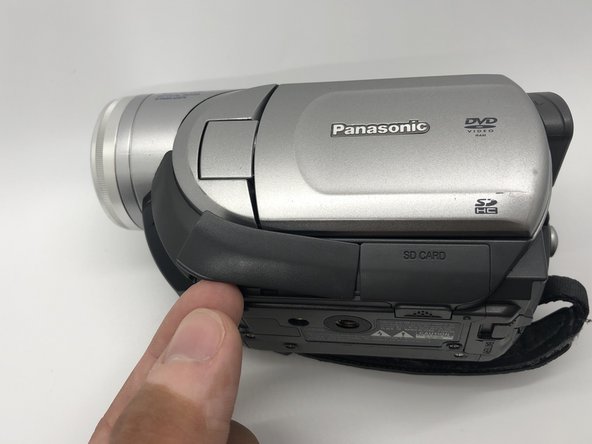
Rotate the camera to the left side, where the side port is located.
-
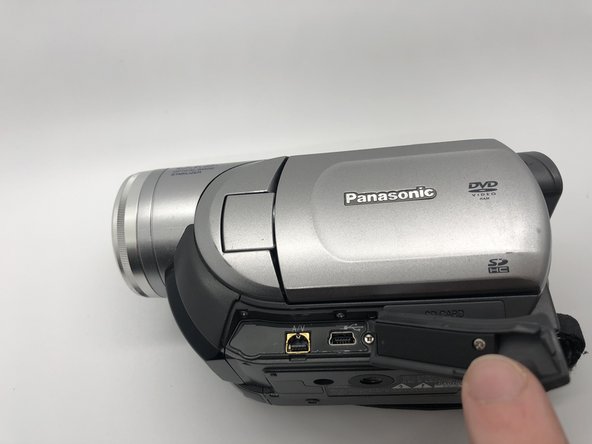
Open the side port door.
-
-
Bu adım çevrilmemiş. Çevrilmesine yardım edin
-
Remove three 5mm screws inside the side port by using Phillips #0 screwdriver.
-
Take off this part of the camera.
-
-
Bu adım çevrilmemiş. Çevrilmesine yardım edin
-
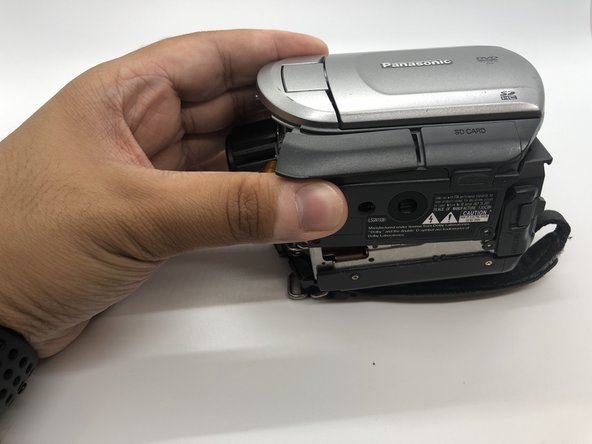
Rotate the camera to the battery side.
-
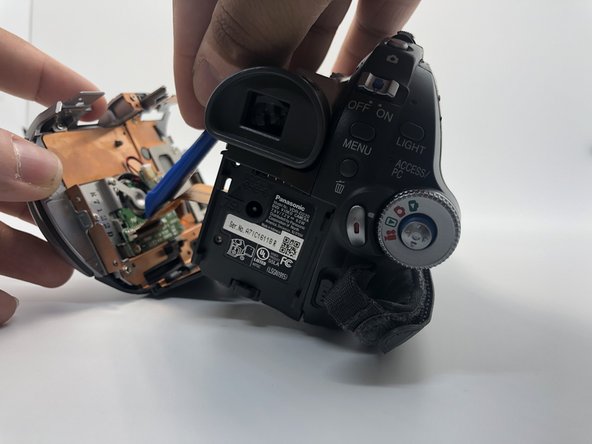
Gently pull the side of the camera apart with only your hands.
-
Disconnect the ribbon cable with your plastic opening tool, so that the left side of the camera can be removed.
-
-
Bu adım çevrilmemiş. Çevrilmesine yardım edin
-
Rotate the camera to show the left side.
-
Remove one 5mm screw on the side of the battery's base with your Phillips #0 screwdriver.
-
Take off the battery base from the camera.
-
-
Bu adım çevrilmemiş. Çevrilmesine yardım edin
-
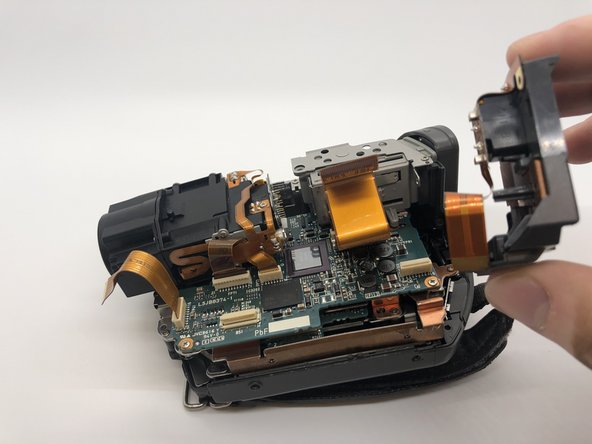
Disconnect another ribbon cable that runs from the motherboard to the bottom of the viewfinder with a plastic opening tool.
-
-
Bu adım çevrilmemiş. Çevrilmesine yardım edin
-
On the bottom side of the camera, remove six 5mm screws with your Phillips #0 screwdriver and the circuit board holder should be free.
-
-
Bu adım çevrilmemiş. Çevrilmesine yardım edin
-
Insert a Jimmy tool to relieve the pressure between the metal mount and the plastic cover.
-
Take off the port board from the bottom of the camera.
-
-
Bu adım çevrilmemiş. Çevrilmesine yardım edin
-
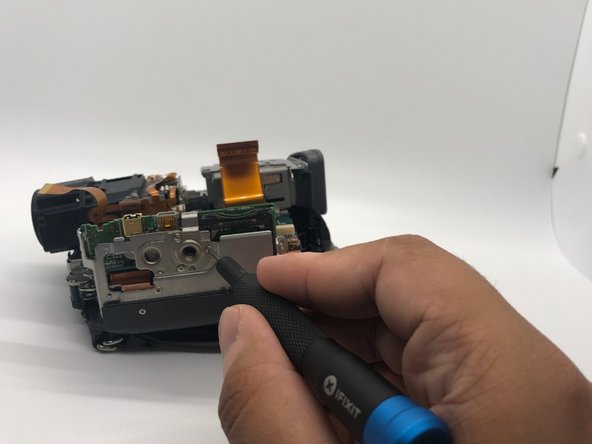
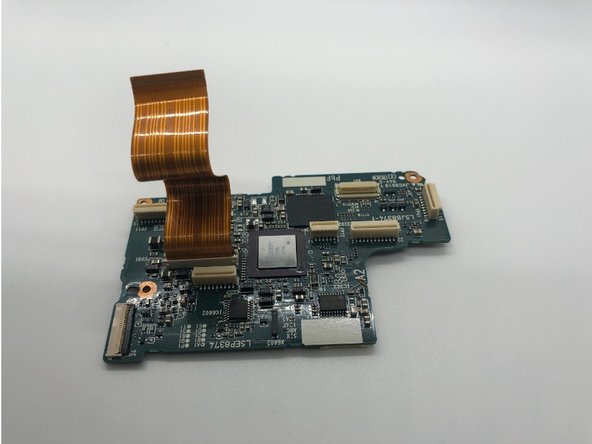
On the motherboard, remove two 5mm screws from the motherboard with your Phillips #0 screwdriver.
-
-
Bu adım çevrilmemiş. Çevrilmesine yardım edin
-
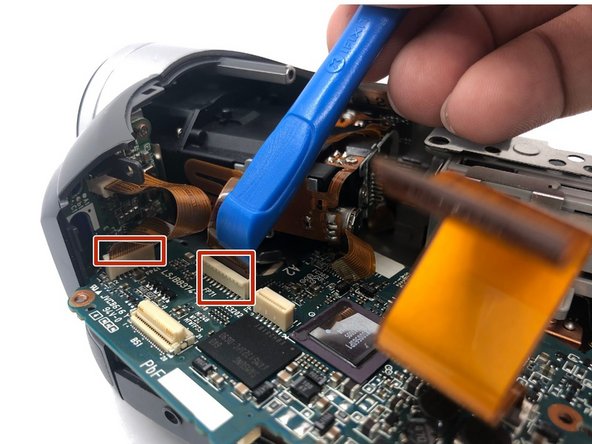
Remove the remaining three ribbon connections with your plastic opening tool.
-
Rotate the motherboard out of the camera carefully.
-
-
Bu adım çevrilmemiş. Çevrilmesine yardım edin
-
Slide the motherboard from the camera and it should come out smoothly.
-


İptal et: Bu kılavuzu tamamlamadım.
Bir başkası bu kılavuzu tamamladı.
Ekip

Embry-Riddle Aeronautical University, Team S1-G3, Watkins Fall 2019 Embry-Riddle Aeronautical University, Team S1-G3, Watkins Fall 2019 üyesi
ERAU-WATKINS-F19S1G3
4 Üyeler
14 adet Kılavuz yazıldı