Giriş
This guide will show you how to replace buttons on the front of a Parrot Flypad if they have stopped working. Follow the instructions carefully to successfully replace the front buttons.
Neye ihtiyacın var
-
-
-
Position the controller so the back is facing up.
-
Use a T6 screwdriver to remove the six screws on the back of the controller: four 0.9 mm screws and two 0.1 mm screws.
 FixBot'a Sor
-
-
-
-
Remove the foam adhesive that connects the front plate to the motherboard
-
Use a Phillips #0 screwdriver to remove the two 0.7 mm screws.
-
Remove the motherboard from the front plate.
-
-
-
Remove the buttons from the front plate of the fly pad and replace as needed.
-
-


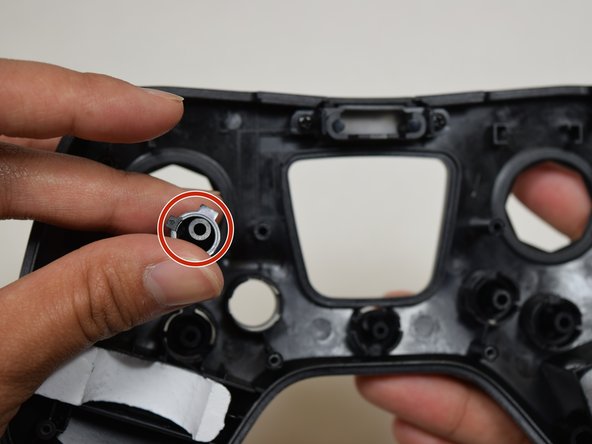
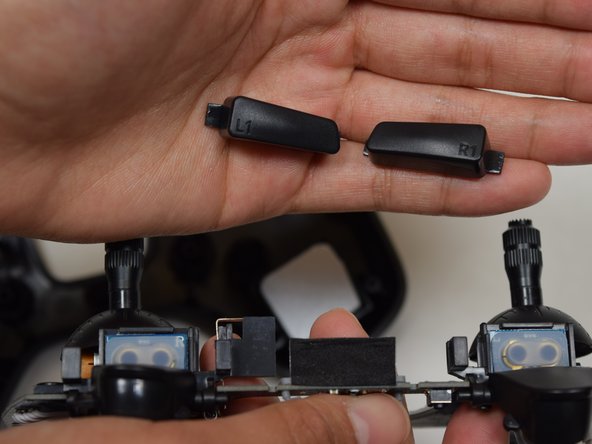
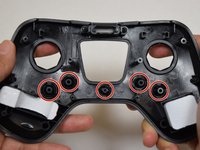
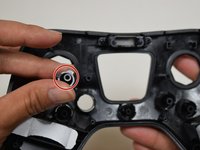
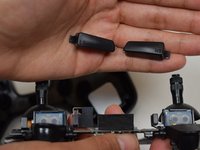
To reassemble your device, follow these instructions in reverse order.
İptal et: Bu kılavuzu tamamlamadım.
2 farklı kişi bu kılavuzu tamamladı.

Ekip

UW Tacoma, Team S3-G5, Liner Spring 2017 UW Tacoma, Team S3-G5, Liner Spring 2017 üyesi
UWT-LINER-S17S3G5
5 Üyeler
21 adet Kılavuz yazıldı
