Ana içeriğe geç

Philips HD9252 Latch Button Replacement

Neye ihtiyacın var

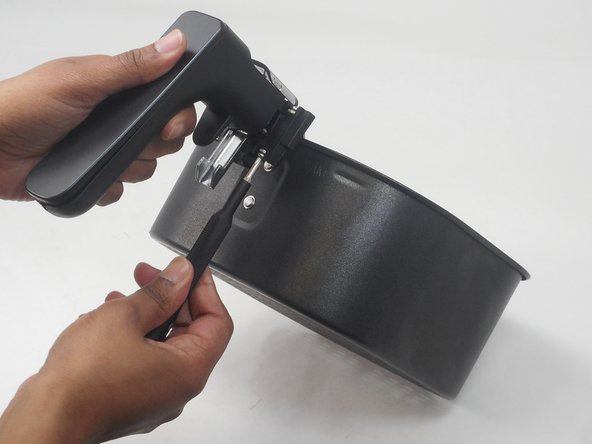
  1. Philips HD9252 Latch Button Replacement, Tray: adım 1, 1 resimden 1.
    • Remove the tray from the air fryer by pressing the latch button in, and pulling the handle away.

  2. Philips HD9252 Latch Button Replacement: adım 2, 1 resimden 1.
    • Pull the tray out of the basket.

  3. Philips HD9252 Latch Button Replacement, Latch Button: adım 3, 2 resimden 1. Philips HD9252 Latch Button Replacement, Latch Button: adım 3, 2 resimden 2.
    • Remove the two 14.8 mm screws placed in the top of the latch using a Phillips #00 screwdriver.

    • Remove the two 14.8 mm screws placed on the bottom of the latch using a Phillips #00 screwdriver.

  4. Philips HD9252 Latch Button Replacement: adım 4, 1 resimden 1.
    • Remove the four 14.8 mm screws placed on front of the latch button using a Phillips #00 screwdriver.

  5. Philips HD9252 Latch Button Replacement: adım 5, 1 resimden 1.
    • Pry off the back panel of the handle.

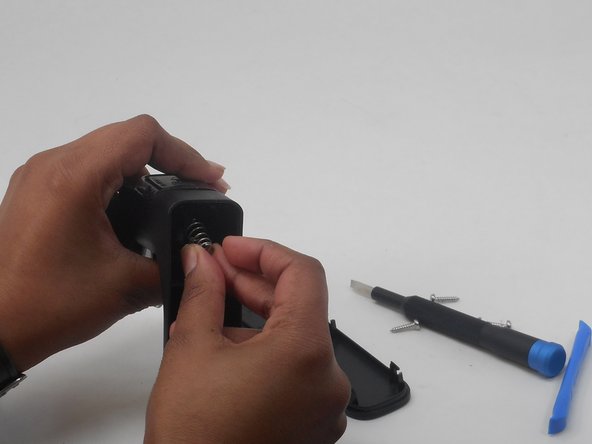
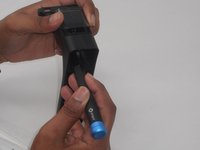
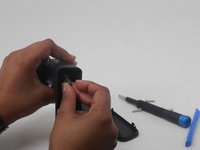
  6. Philips HD9252 Latch Button Replacement: adım 6, 2 resimden 1. Philips HD9252 Latch Button Replacement: adım 6, 2 resimden 2.
    • Push the spring down with a nylon spudger so that it is underneath the button.

    • Slide the spring out of the back of the handle.

  7. Philips HD9252 Latch Button Replacement: adım 7, 1 resimden 1.
    • Remove the front of the latch from the handle.

  8. Philips HD9252 Latch Button Replacement: adım 8, 1 resimden 1.
    • Remove the button through the back of the handle.

Sonuç

To reassemble your device, follow these instructions in reverse order.

0Kılavuz Yorumları

Yorum Ekle

İstatistikleri Görüntüle:

Son 24 Saat: 7

Son 7 gün: 32

Son 30 gün: 110

Her zaman: 606