Giriş
This is a quick guide on how to swap the battery pack in Phillips / Norelco shavers when the shaver no longer holds charge.
Neye ihtiyacın var
-
-
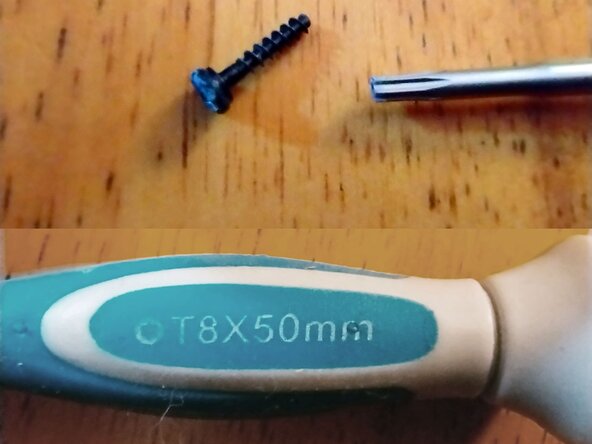
Unscrew the single screw in the back idealy using a T8 Torx, there is a slot in the screw so as you could get by using a small flat blade screw driver.
-
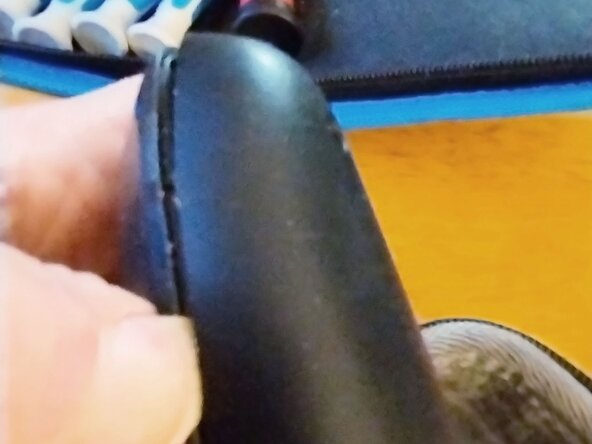
Using a prizing tool or a thumb, pry up the case seam from the base upward until you can unhinge the back cover and remove it.
-
-
-
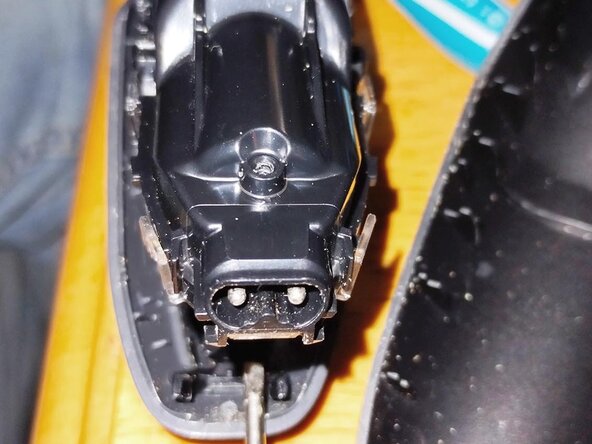
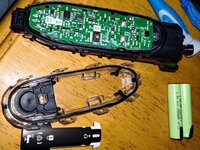
Leverage the electronics housing out using a small flat blade screwdriver or similar tool.
-
You can see in the photographs the rest of the disassmble after the first screw is all plastic clips!
-
-
-
-
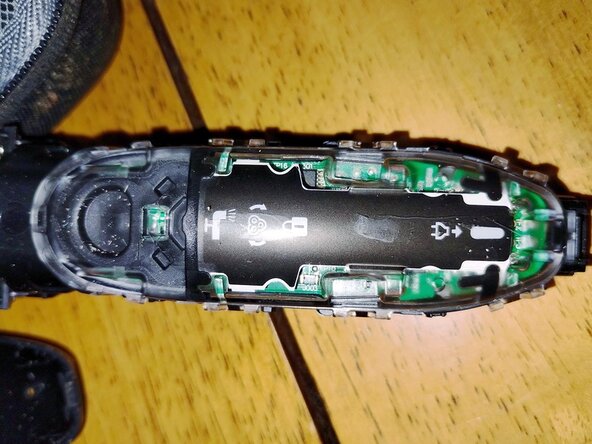
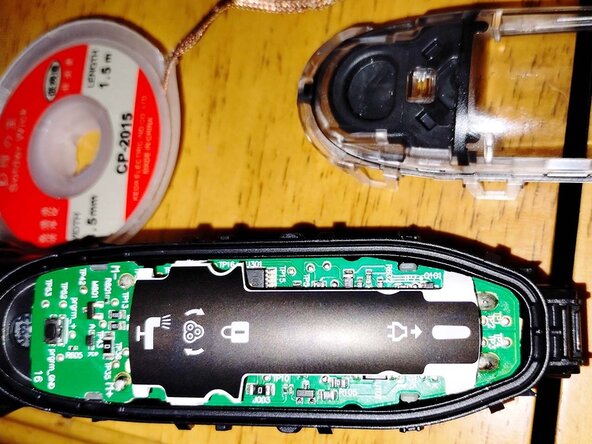
The clear plastic PCB (Printed Circuit Board) cover and the insert are all unclipped, as can be seen in the first photograph.
-
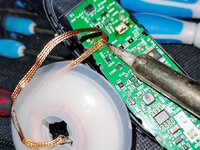
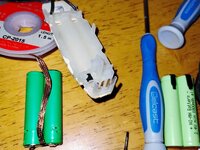
The battery is soldered to the PCB at the top near the button, as shown in the second photograph. The battery's tabs can be unsoldered using a good soldering iron, 60W or greater and desoldering braid/wick. You can use a solder sucker which may be quicker, but a cheap solder sucker can damage the board's pads.
-
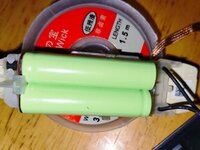
Once the pads are unsoldered, you can remove the PCB from the casing and pry the battery out of its holder. You can use desoldering braid to clean excess solder from the pads so they are prepared for soldering in the new battery.
-
-
-
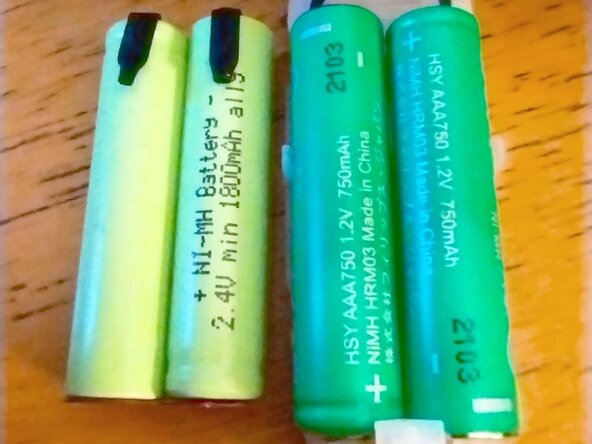
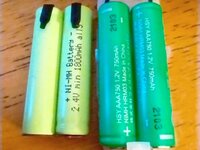
Remove the protective covers from the new battery's tabs and push them into the PCB and the battery into the holder. Bend over tabs and solder them to the pads. Reassemble and place on charge. My shaver is still working on that first charge 9 days later!
-


To reassemble your device, follow these instructions in reverse order.
To reassemble your device, follow these instructions in reverse order.
