Bu sürüm, hatalı düzenlemeler içerebilir. En son doğrulanmış bellek kopyası dönün.
Neye ihtiyacın var
-
Bu adım çevrilmemiş. Çevrilmesine yardım edin
-
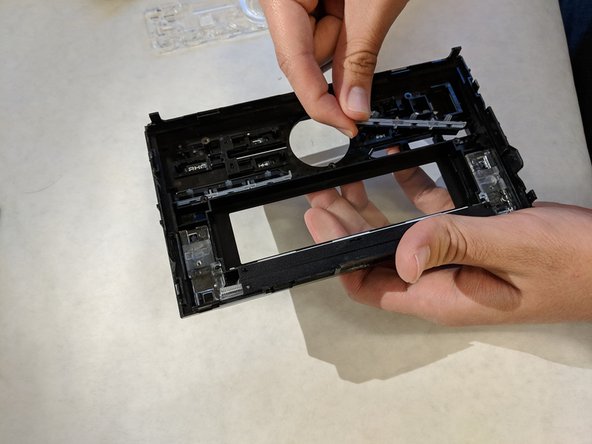
Apply pressure to the tabs on each side using the plastic opening tool.
-
You will need to pull the face away from the frame while unhooking the tabs.
-
-
-
Bu adım çevrilmemiş. Çevrilmesine yardım edin
-
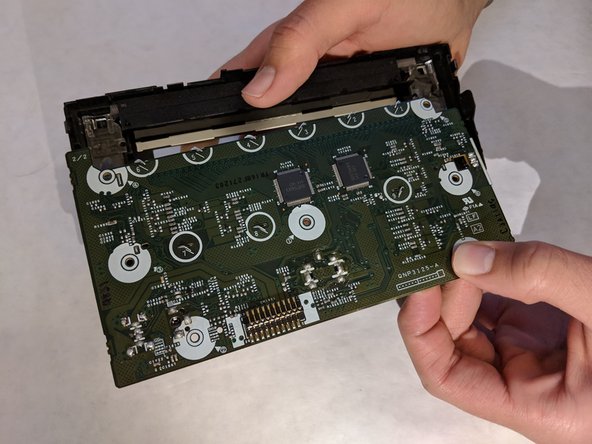
After removing the stereo face from the frame it should look similar to this.
-
Remove the seven 11.2mm Phillips #1 screws on the rear side of the stereo face.
-
-
Bu adım çevrilmemiş. Çevrilmesine yardım edin
-
Remove the volume knob by pulling it towards you and pull the motherboard out of the face.
-
The audio buttons can now be taken out. You can flip the face downwards and tap the audio buttons.
-
You can now insert the replacement audio buttons into the face.
-


Ekip

Washington State, Team S2-G4, Hope Fall 2018 Washington State, Team S2-G4, Hope Fall 2018 üyesi
WSU-HOPE-F18S2G4
3 Üyeler
6 adet Kılavuz yazıldı