Giriş
This guide will walk you through step-by-step on how to properly remove and install the motherboard in the PlayStation 2 Slimline.
Neye ihtiyacın var
-
-
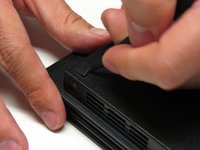
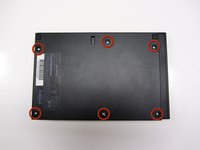
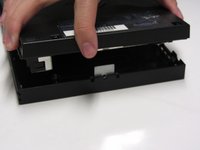
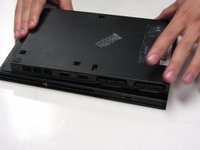
Turn off the PlayStation 2 and carefully unplug it from the power source. Also, it is important to eject the CD from the console before flipping the it upside down.
-
-
Bu adımda kullanılan alet:Tweezers$4.99
-
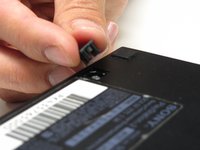
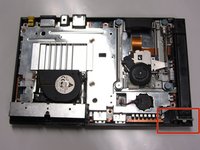
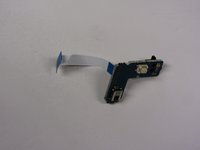
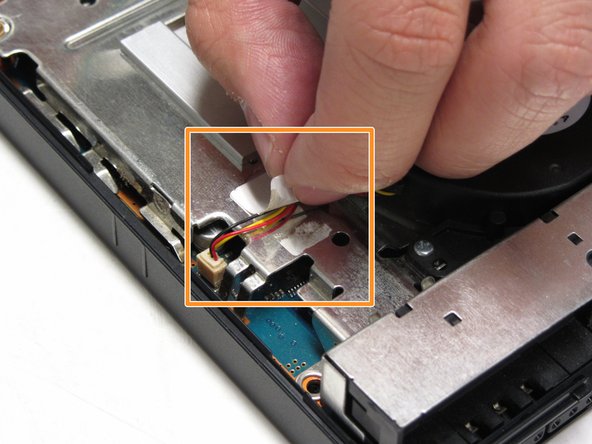
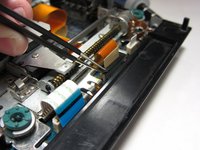
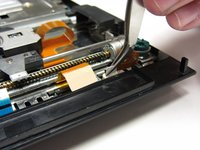
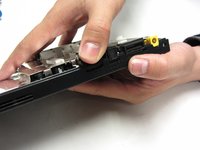
Locate the IR sensor on the motherboard. Then, use tweezers to gently detach the blue/white ribbon that attaches the IR sensor to the motherboard.
-
-
Bu adımda kullanılan alet:Tweezers$4.99
-
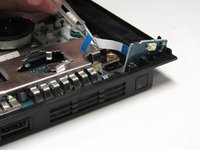
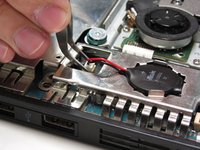
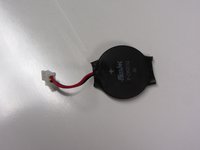
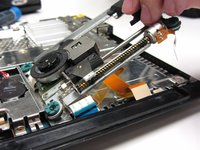
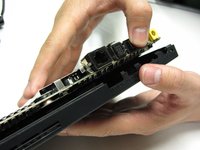
Identify the clock battery, then use tweezers to disconnect the connector from the motherboard.
-
-
-
Bu adımda kullanılan alet:Tweezers$4.99
-
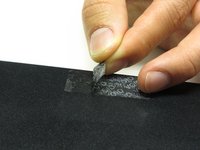
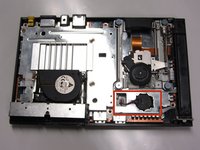
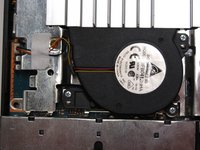
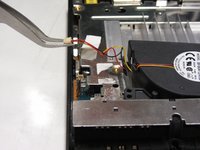
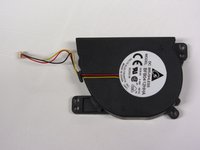
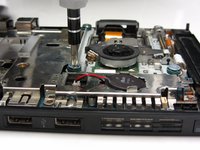
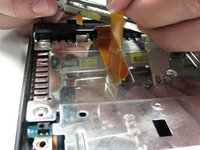
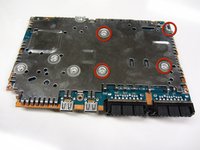
Locate the fan component of the motherboard of the PS2.
-
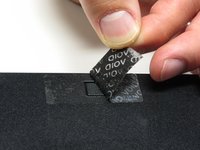
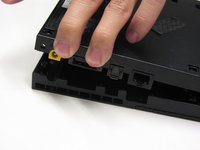
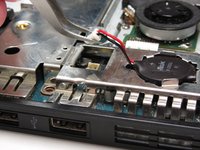
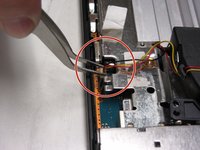
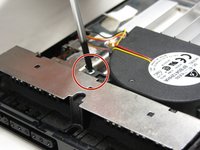
With your fingers or tweezers, peel off the sticker that holds down the fan's wiring.
-
-
-
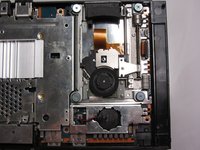
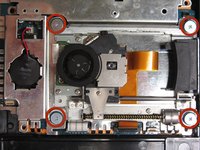
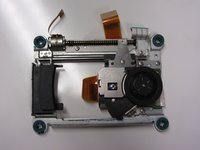
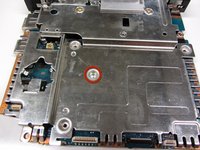
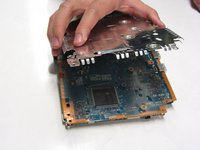
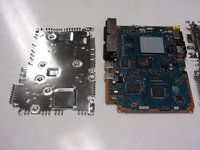
What you see in this picture is the electronic components found in the PS2. We are now going to remove the top metal casing found on top of the motherboard.
-


To reassemble your device, follow these instructions in reverse order.
To reassemble your device, follow these instructions in reverse order.
İptal et: Bu kılavuzu tamamlamadım.
14 farklı kişi bu kılavuzu tamamladı.

Ekip

Cal Poly, Team 17-4, Regan Spring 2013 Cal Poly, Team 17-4, Regan Spring 2013 üyesi
CPSU-REGAN-S13S17G4
3 Üyeler
28 adet Kılavuz yazıldı