Giriş
Prereq guide to remove the right grip shell
Neye ihtiyacın var
-
-
Before you begin repairs, power off your PlayStation Portal and unplug any cables.
-
-
-
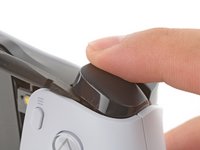
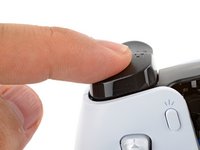
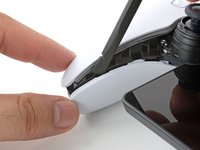
Rest a finger over the L1 bumper to prevent it from flying off when you pry.
-
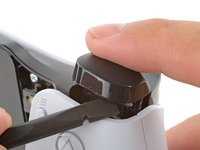
Insert the flat end of a spudger between the top edge of the bumper and the white shell.
-
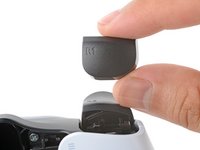
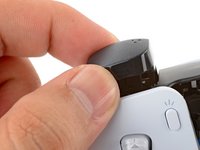
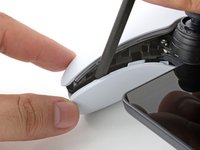
Pry up to unclip the bumper.
-
Slide the spudger along the seam to release any remaining clips.
-
-
-
Align the bumper into its slot.
-
Use a finger to press the bumper down firmly until it clicks into place.
-
-
-
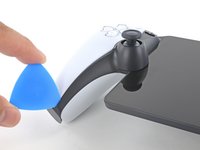
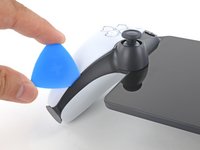
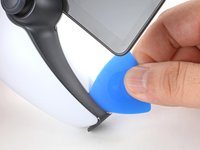
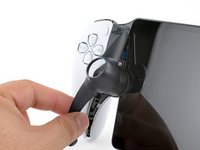
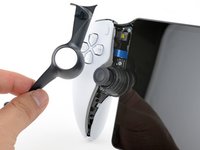
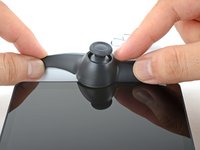
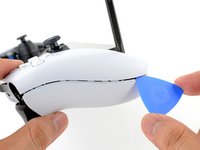
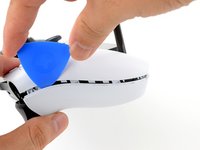
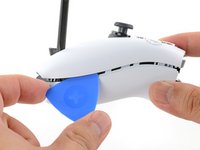
Insert the tip of an opening pick underneath the left joystick trim strip, where it wraps below the grip.
-
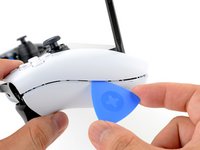
Twist the opening pick to release the bottom clip.
-
-
-
-
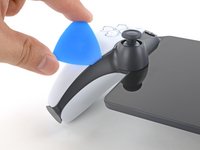
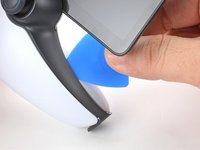
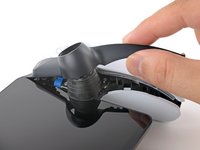
Repeat the procedure to unclip and remove the right joystick trim strip.
-
-
-
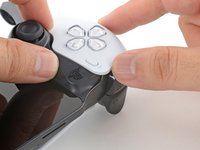
Use your fingers to align and clip the top edge in place.
-
Firmly press along the remaining edges to clip the strip in place.
-
-
-
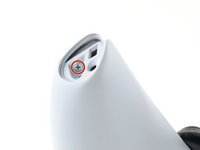
Use a Phillips screwdriver to remove the two 6.5 mm‑long screws at the bottom tips of each grip.
-
-
-
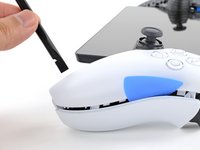
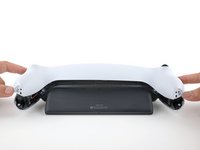
Push the flat edge of a spudger into the back shell's left, inner seam.
-
Keep the spudger inserted in the seam.
-
-
-
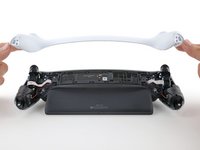
Align the corners near the trigger buttons first.
-
Firmly press around the entire perimeter to clip the shell back in place.
-
-
-
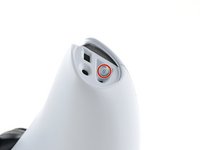
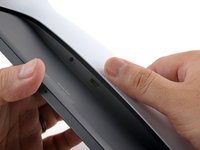
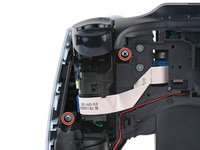
Use a Phillips screwdriver to remove the two 6.5 mm‑long screws securing the right grip shell to the Portal.
-
-
-
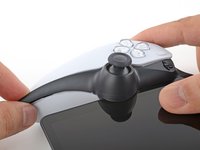
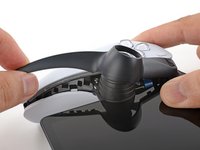
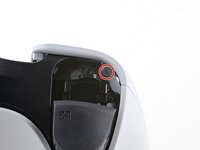
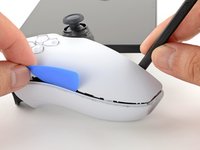
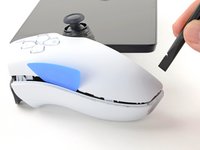
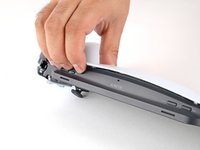
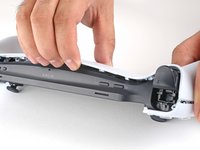
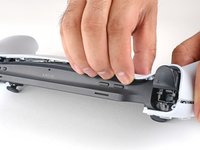
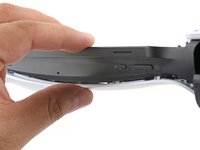
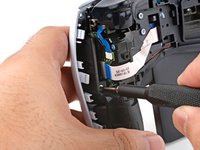
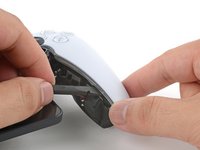
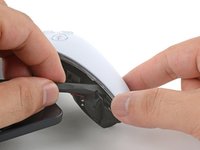
Insert the flat edge of a spudger underneath the inner edge of the grip shell, near the vibration motor.
-
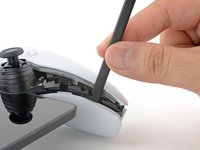
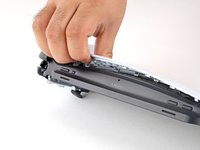
Twist the spudger along the edge to unclip the bottom portion of the grip shell.
-
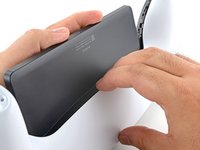
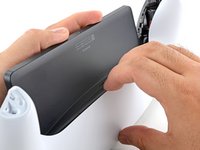
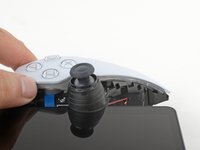
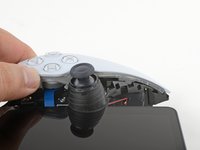
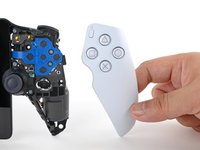
Remove the right grip shell.
-


To reassemble your device, follow these instructions in reverse order.
To reassemble your device, follow these instructions in reverse order.

