Giriş
This guide takes you through the process of installing the left joystick on the PlayStation Vita.
Neye ihtiyacın var
-
-
Using a Phillips #00 screwdriver, remove the four 6.4mm screws on the back casing.
-
-
-
-
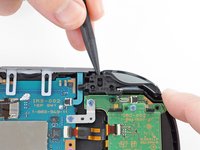
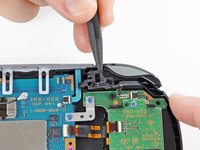
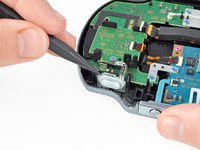
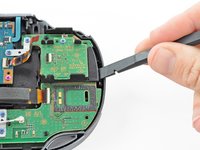
Pry up the left shoulder button casing with a spudger.
-
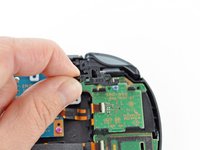
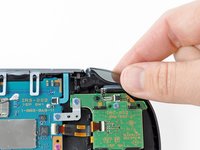
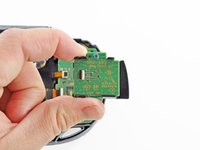
Remove the left shoulder button casing.
-
-
Bu adımda kullanılan alet:Tweezers$4.99
-
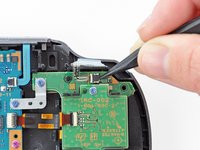
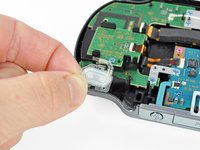
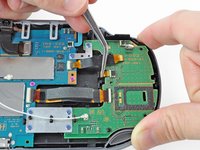
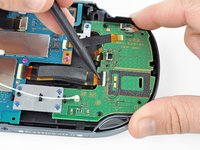
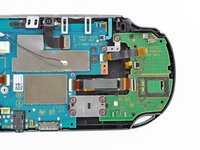
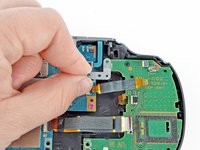
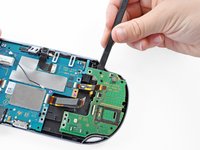
Release the left shoulder button flex cable socket by using a spudger to pry open the tab.
-
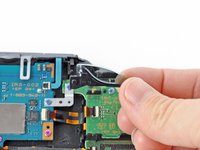
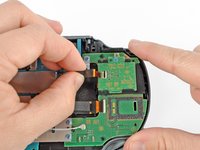
Using tweezers, slide the flex cable out of the socket. Do not pull on the black tab! Instead, pull the thin flex cable away from the connector (to the left in this image).
-
-
-
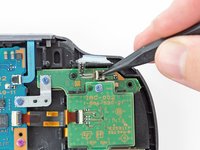
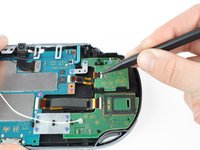
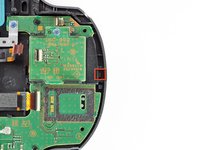
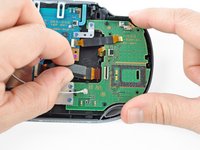
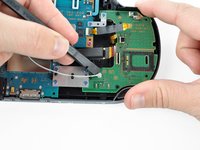
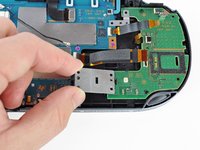
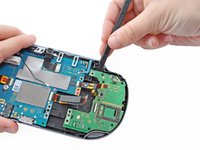
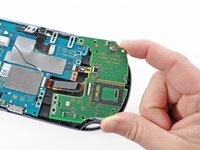
Using a spudger, lift and release the tab on the ZIF socket sitting on the SIM card reader.
-
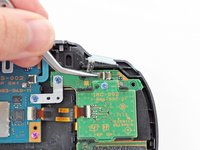
Carefully pull the flex cable out of the ZIF socket, and rest it out of the way.
-
-
-
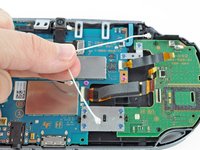
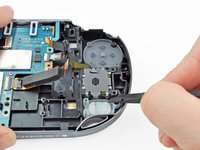
Using a Phillips #00 screwdriver, remove the two blue, 5.0mm screws attaching the left joystick to the back case.
-


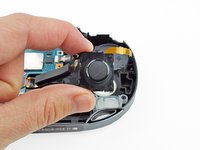
To reassemble your device, follow these instructions in reverse order.
To reassemble your device, follow these instructions in reverse order.
İptal et: Bu kılavuzu tamamlamadım.
50 farklı kişi bu kılavuzu tamamladı.


10 Yorum
I Live in Kendall,Miami,Does anyone could tell me if there is a place where can I fix my PSVita (The left stick dosent work) Thanks
I have followed these instructions
I have succeeded to replace the joystick but the psvita dont want to turn on and refuse to charge
before the fix the battery was charged to 80%
I have checked all the cables and everything is good
When I push on the power button, the PS light go to orange and stop when I relax the power button
Could you help me please?
Turn on the system let it charge then put it back to sleep