Giriş
This guide takes you through the process of installing the left joystick on the PlayStation Vita.
Neye ihtiyacın var
-
-
Using a Phillips #00 screwdriver, remove the four 6.4mm screws on the back casing.
-
-
-
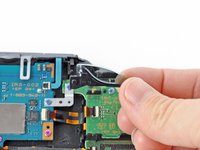
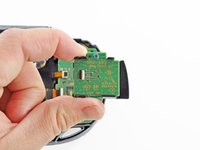
Gently separate the two cases, minding the battery and the touch screen controller connectors holding the two cases together.
-
-
-
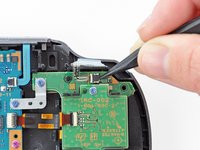
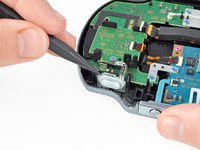
Free the battery cable by gently prying up on the connection with a spudger.
Any idea what type of pcb header is on the board for the battery? I have a motherboard with a broken header but I cant source a replacement
This is where I screwed up so I recommend extra caution for other newbies. Only the black part is supposed to come off. Don't be an idiot like me and pry off too much...
Yea I messed up there too. Is there a way to fix it?
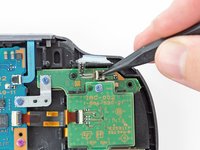
This component was far more stubborn than the screen connector when it came to removal. I opted for a smaller tool than the spudger (small flat-head) and managed to disconnect it after determining the best bit size for the job. Screwdriver is metal, obviously, so being gentle helps to avoid damaging anything.
broke the white part
-
-
-
-
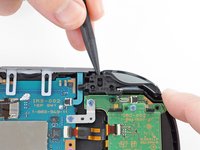
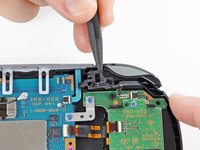
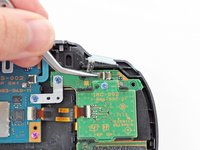
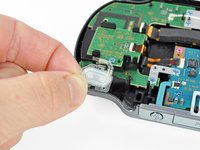
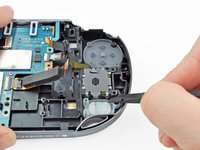
Pry up the left shoulder button casing with a spudger.
-
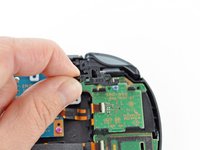
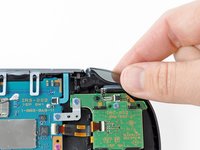
Remove the left shoulder button casing.
-
-
Bu adımda kullanılan alet:Tweezers$4.99
-
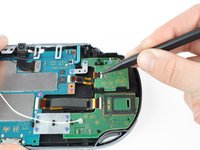
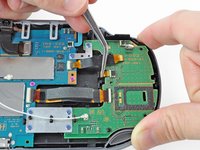
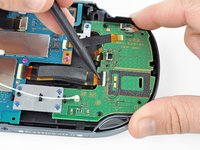
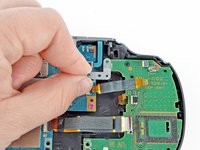
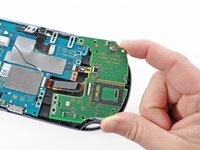
Release the left shoulder button flex cable socket by using a spudger to pry open the tab.
-
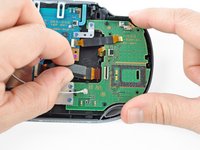
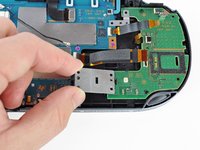
Using tweezers, slide the flex cable out of the socket. Do not pull on the black tab! Instead, pull the thin flex cable away from the connector (to the left in this image).
-
-
-
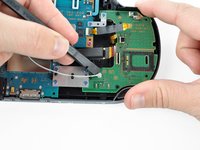
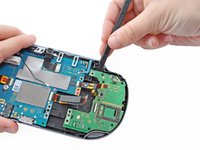
Using a spudger, gently peel up the left shoulder button from the light adhesive connecting it to casing.
-
-
-
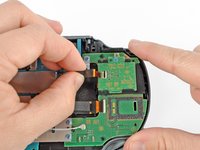
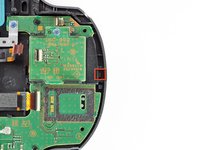
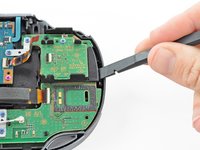
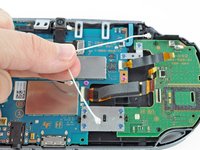
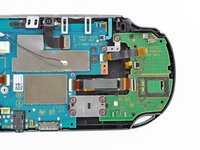
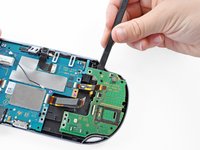
Using a spudger, lift and release the tab on the ZIF socket sitting on the SIM card reader.
-
Carefully pull the flex cable out of the ZIF socket, and rest it out of the way.
Este paso NO es necesario si tu PSVita no tiene lector de tarjeta SIM. Ve directamente al paso 15.
-
-
-
Using a Phillips #00 screwdriver, remove the six screws on the two metal brackets:
-
Two 5.0mm, blue screws on the L-bracket securing the upper left button board to the motherboard.
-
Four 5.0mm, blue screws on the square bracket securing the lower left button board to the motherboard.
-
-
-
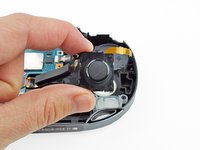
Using a Phillips #00 screwdriver, remove the two blue, 5.0mm screws attaching the left joystick to the back case.
-


To reassemble your device, follow these instructions in reverse order.
To reassemble your device, follow these instructions in reverse order.
İptal et: Bu kılavuzu tamamlamadım.
50 farklı kişi bu kılavuzu tamamladı.


10 Yorum
I Live in Kendall,Miami,Does anyone could tell me if there is a place where can I fix my PSVita (The left stick dosent work) Thanks
I have followed these instructions
I have succeeded to replace the joystick but the psvita dont want to turn on and refuse to charge
before the fix the battery was charged to 80%
I have checked all the cables and everything is good
When I push on the power button, the PS light go to orange and stop when I relax the power button
Could you help me please?
Turn on the system let it charge then put it back to sleep
is there anywhere i can go to pay someone to do this for me?
is there any safer way
can i do most of these without a spudge?
Is there any way to disassemble, clean and reassebmle the analog module? My Vita has issues with the analog sticks and all the replacement analog sticks I’ve bought so far also have issues. Some people have suggested taking out the flex cable and cleaning the contact points, but I’m not sure how to do that.
Perfecto... ni diez minutos con esta gran guia... gracias.