Giriş
Use this guide to replace a torn or stuck film shield (the black film that covers a newly-pressed photo, aka frog tongue) in your Polaroid Now (Gen 3) camera.
Neye ihtiyacın var
-
-
If you have any film left, take some photos! Then remove the cartridge. Disassembly will expose any leftover film.
-
Unplug and fully power down your camera.
-
Put on the lens cap to avoid scratching your lens during disassembly.
-
-
-
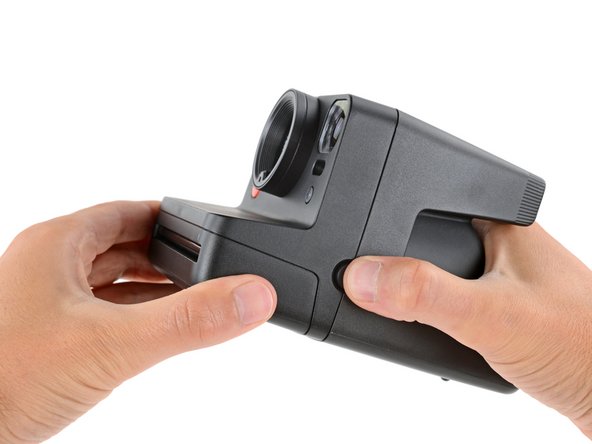
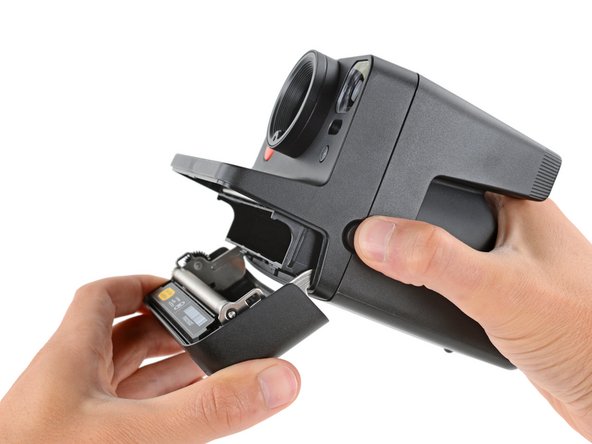
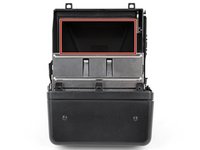
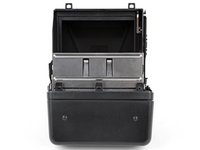
Hold down the latch on the left side of the camera and open the film door.
-
-
Bu adımda kullanılan alet:Magnetic Project Mat$16.96
-
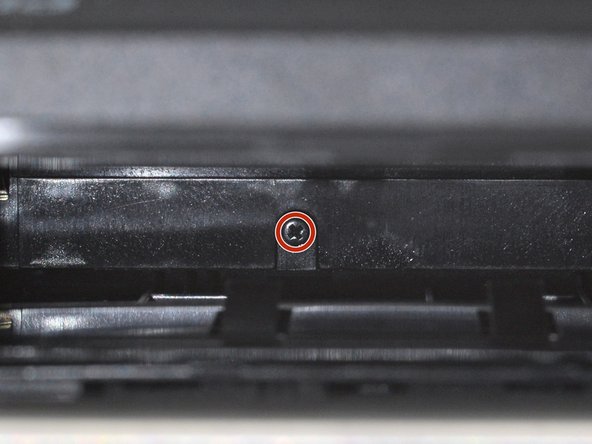
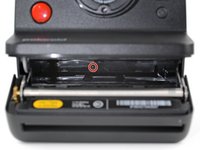
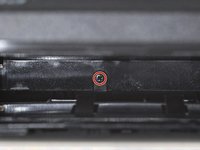
Use a Phillips screwdriver to remove the 5.9 mm‑long screw securing the rear shell.
-
-
-
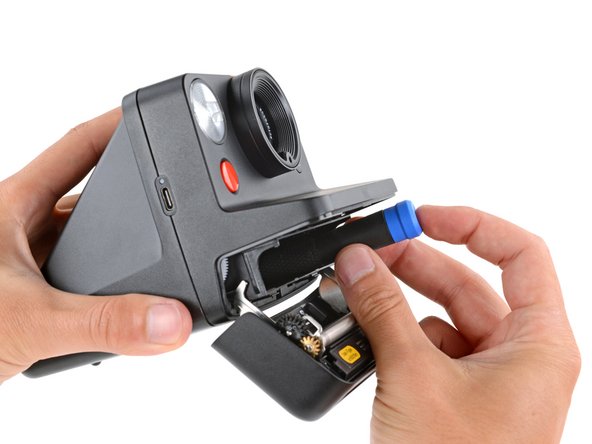
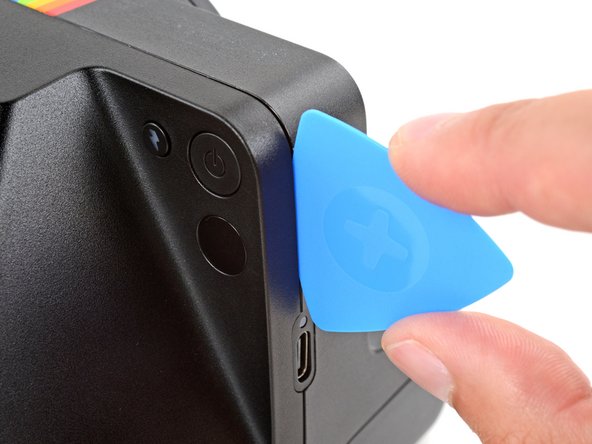
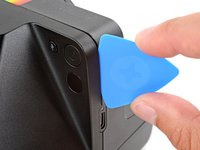
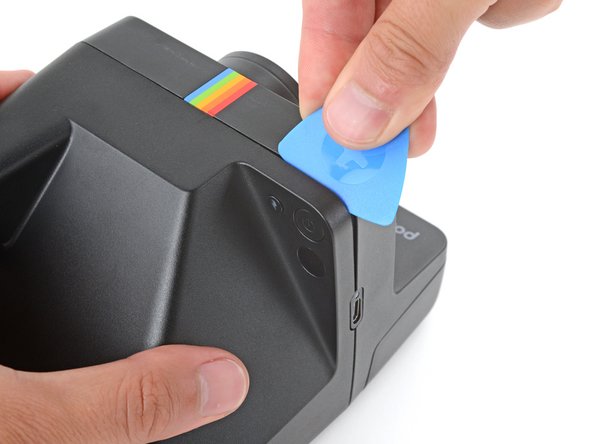
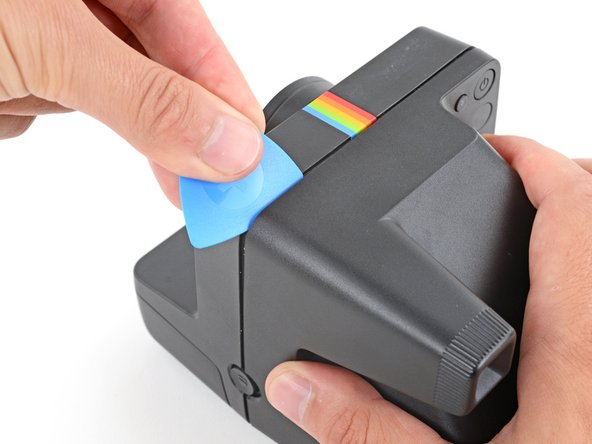
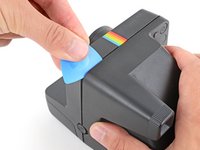
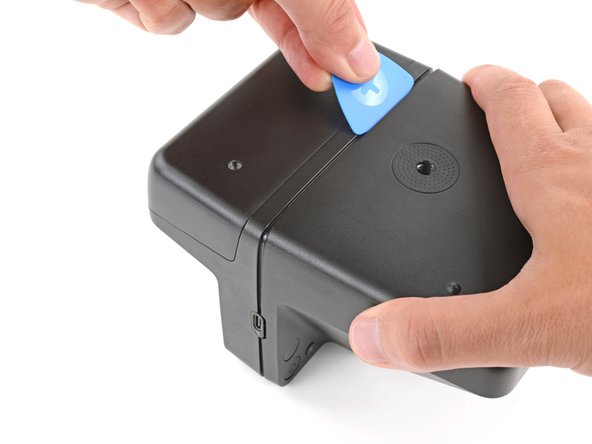
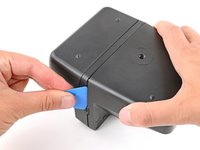
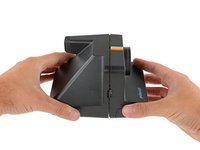
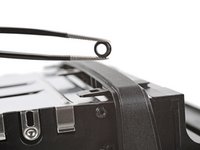
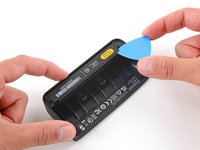
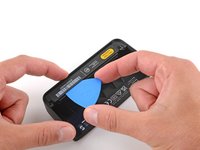
Insert the flat edge of an opening pick in the seam between the front and rear shells, just above the USB‑C port on the right edge.
-
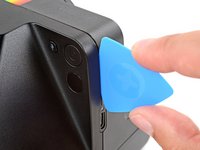
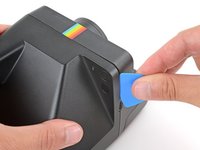
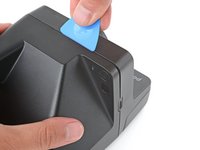
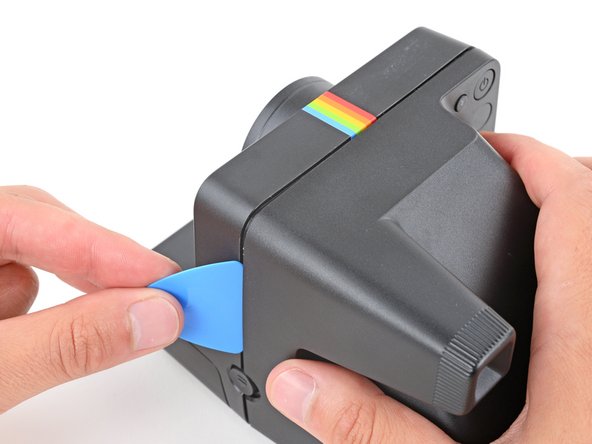
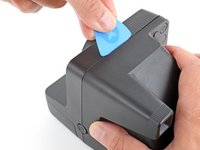
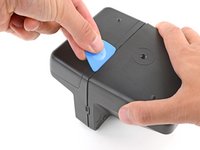
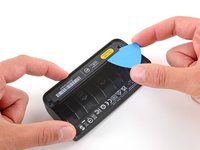
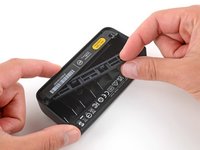
Use your pick to pry the rear shell away from the front shell.
-
-
-
-
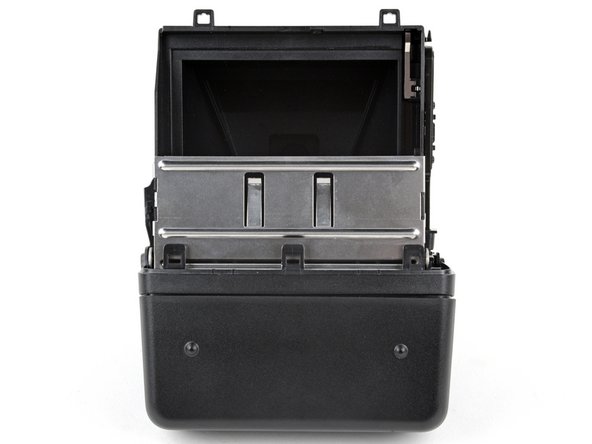
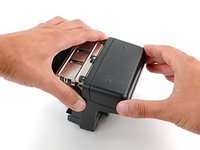
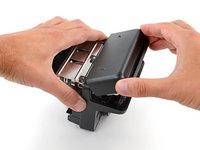
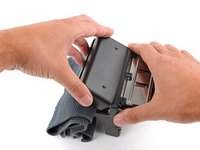
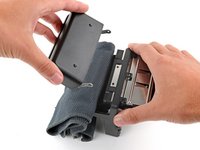
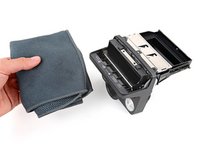
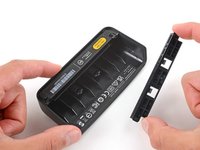
Gently pull the rear shell off the main body of the camera.
-
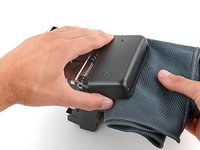
Press the shell firmly onto the main body so all the clips engage.
-
Check around the shell seam and make sure there are no gaps. If there are, firmly press the shells together to engage the clip near the gap.
-
-
-
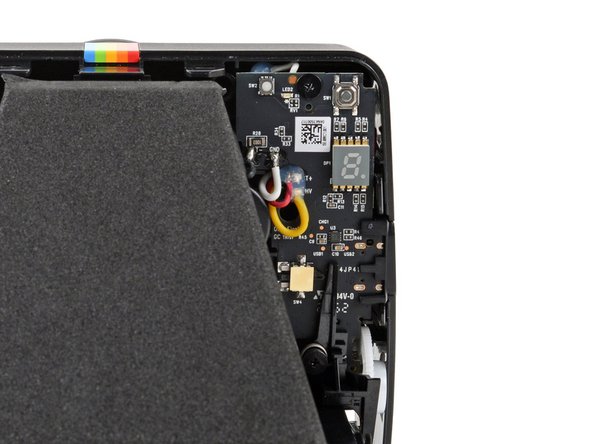
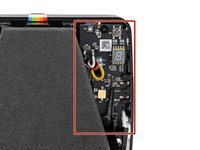
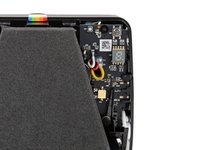
To minimize risk, avoid touching the boards, wires, and other exposed components with your fingers or metal tools. Consider wearing rubber gloves if working near the board.
-
-
-
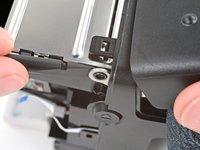
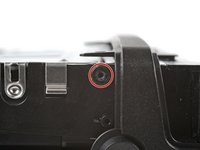
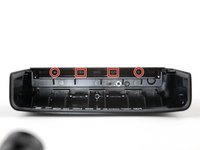
Use a Phillips screwdriver to remove the two 3 mm‑long film door hinge screws (one on either side of the camera).
-
-
-
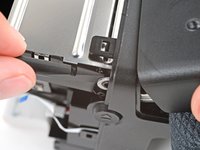
Use the flat end of a spudger to push one of the film door hinges away from the camera and off its post.
-
Repeat the process to detach the other hinge.
-
-
-
Lift the film door and remove it.
-
Make sure there are grommets installed in the film door hinges. To install them, press the grommets into the film door hinges, with the wide end facing in.
-
Hook one of the hinges on its post and then push the other one into place until it snaps over its post.
-
-
Bu adımda kullanılan alet:Phillips #00 Screwdriver$5.49
-
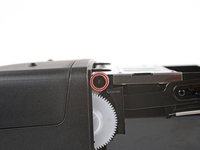
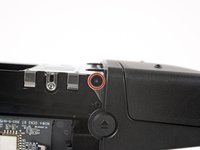
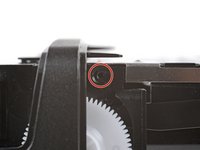
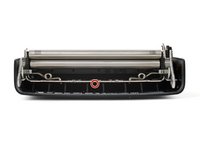
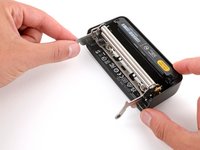
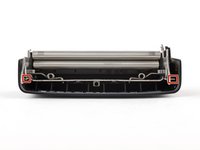
Use a Phillips screwdriver to remove the 3.9 mm‑long screw securing the print roller.
-
-
-
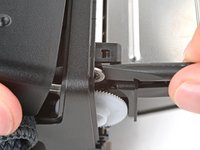
Use the tip of a spudger to depress both plastic tabs until their hooks release from the print roller—you'll hear an audible "click."
-
-
-
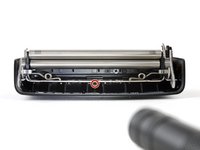
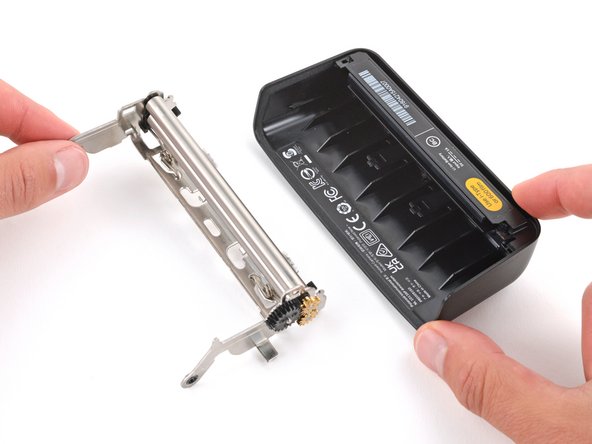
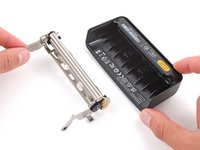
Grab the print roller by one of its arms and pull it straight out of its plastic housing.
-
-
-
Two metal L-shaped rails at the bottom of the print roller need to slide under cutouts in the plastic housing.
-
Two metal hooks at the top of the print roller need to fit under the top corners of the plastic housing.
-
Insert the print roller at a downward angle to fit the hooks in first before sliding the rails into place.
-
Push the print roller into its plastic housing until you hear the plastic tabs click back into place.
-
-
-
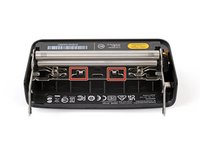
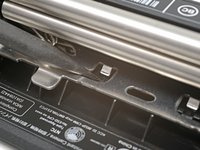
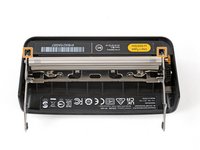
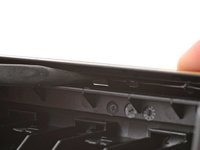
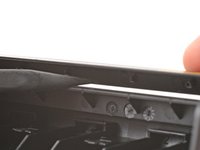
Insert the tip of an opening pick between one of the outer edges of the film shield tray and the plastic housing.
-
Slide your opening pick along the film shield tray to release the clips—you should feel and hear distinct "clicks" as the clips release.
-
-
-
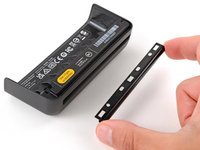
Pull the film shield tray out of its recess and remove it.
-
Push the film shield tray into place until you feel and hear the clips click into place.
-
-
-
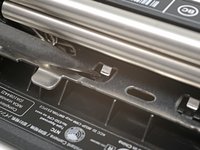
The film shield sits on four alignment pegs.
-
Use the point of a spudger or tweezers to carefully lift the shield off its pegs.
-
-
-
Pull the film shield out of its slot in the plastic housing and remove it.
-


To reassemble your device, follow these instructions in reverse order.
Repair didn’t go as planned? Try some basic troubleshooting, or ask our Answers community for help.

