Ana içeriğe geç

Bu kılavuzda güncel değişiklikler var. En son onaylanmamış sürüme geçin.

Polaroid P902 LCD and Digitizer Replacement

Neye ihtiyacın var

  1. Polaroid P902 LCD and Digitizer  Replacement, The Tools: adım 1, 3 resimden 1. Polaroid P902 LCD and Digitizer  Replacement, The Tools: adım 1, 3 resimden 2. Polaroid P902 LCD and Digitizer  Replacement, The Tools: adım 1, 3 resimden 3.
    • The most important part of any repair is the tools used. Here's what I brought to this repair. Xool 58 in 1 Precision Screwdriver Set, DREMINOVA Heat soldering Mat Large Pad, and Xool 10pc EDS Anti-Static tweezers. I also always wear gloves when preforming repairs, my preferred gloves are Grease Monkey Disposable Nitrile Gloves.

  2. Polaroid P902 LCD and Digitizer  Replacement, The Back: adım 2, 3 resimden 1. Polaroid P902 LCD and Digitizer  Replacement, The Back: adım 2, 3 resimden 2. Polaroid P902 LCD and Digitizer  Replacement, The Back: adım 2, 3 resimden 3.
    • First remove the two screws circled in the first picture with a PH00 bit.

    • After the screws have been removed take a plastic spudger and use it to lift the LCD from the backing

    • You will have to use some force don't be scared of it.

  3. Polaroid P902 LCD and Digitizer  Replacement, Ribbons: adım 3, 3 resimden 1. Polaroid P902 LCD and Digitizer  Replacement, Ribbons: adım 3, 3 resimden 2. Polaroid P902 LCD and Digitizer  Replacement, Ribbons: adım 3, 3 resimden 3.
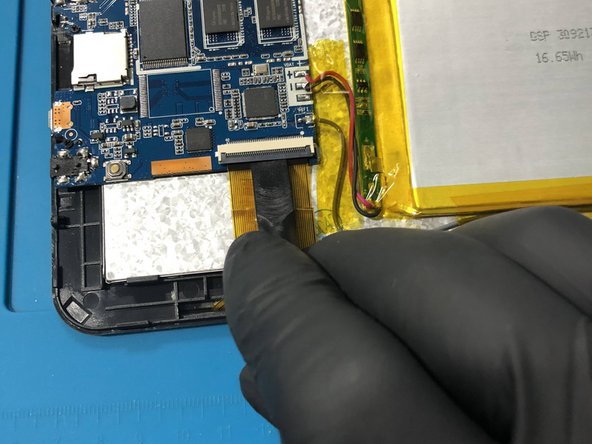
    • Next using the flat end of a plastic spudger release the clips holding the ribbon circled in the first picture.

  4. Polaroid P902 LCD and Digitizer  Replacement, The Screws: adım 4, 2 resimden 1. Polaroid P902 LCD and Digitizer  Replacement, The Screws: adım 4, 2 resimden 2.
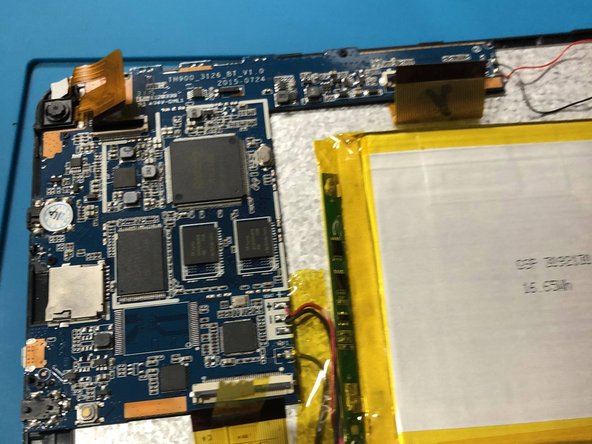
    • Next switching to a PH000bit remove the 4 screws circled in the first picture holding the motherboard down.

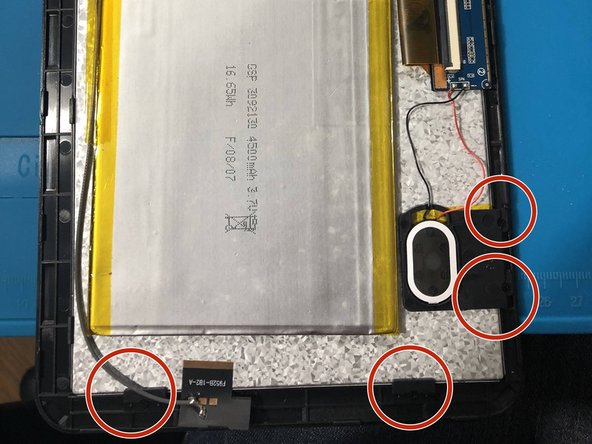
    • Now remove the four screw circled in the second picture along with their plastic components.

    • Be careful when removing the plastic part holding the speaker in so as not to rip the speaker wire

  5. Polaroid P902 LCD and Digitizer  Replacement, Removing the Digitizer: adım 5, 3 resimden 1. Polaroid P902 LCD and Digitizer  Replacement, Removing the Digitizer: adım 5, 3 resimden 2. Polaroid P902 LCD and Digitizer  Replacement, Removing the Digitizer: adım 5, 3 resimden 3.
    • Flip the tablet over gently, then applying slight pressure on the left hand side lift the digitizer from the LCD

    • it should just lift right off. However you may need to do a bit of wiggling. Don't stress if it doesn't drop right off.

  6. Polaroid P902 LCD and Digitizer  Replacement, ALMOST THERE!!: adım 6, 3 resimden 1. Polaroid P902 LCD and Digitizer  Replacement, ALMOST THERE!!: adım 6, 3 resimden 2. Polaroid P902 LCD and Digitizer  Replacement, ALMOST THERE!!: adım 6, 3 resimden 3.
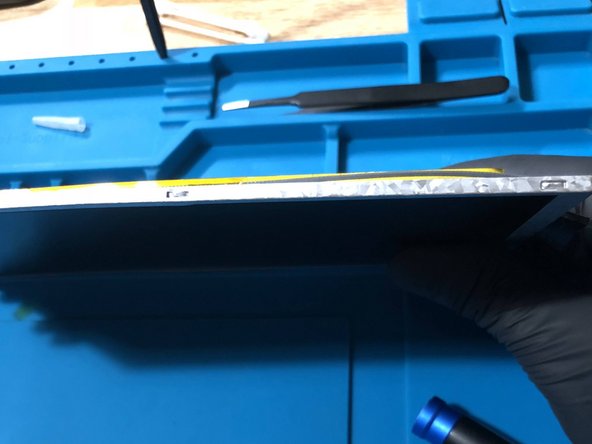
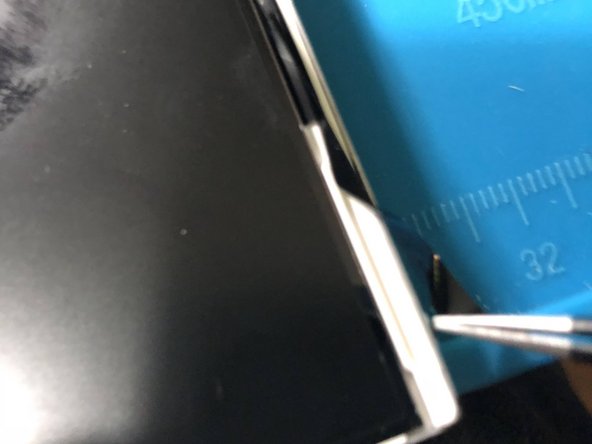
    • Now go around the edges of the metal and release the metal tabs holding the LCD in place

    • I used an iSesamo to do this, made it super easy

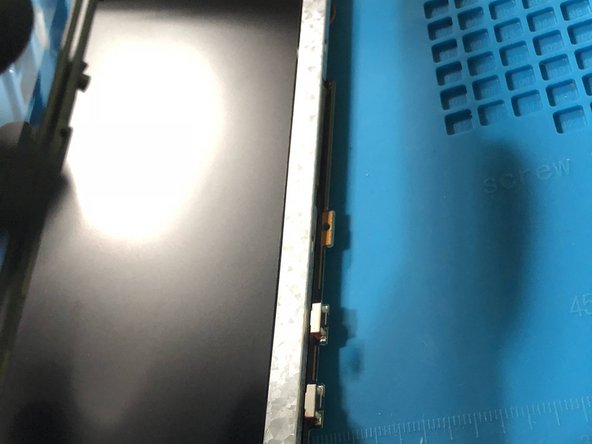
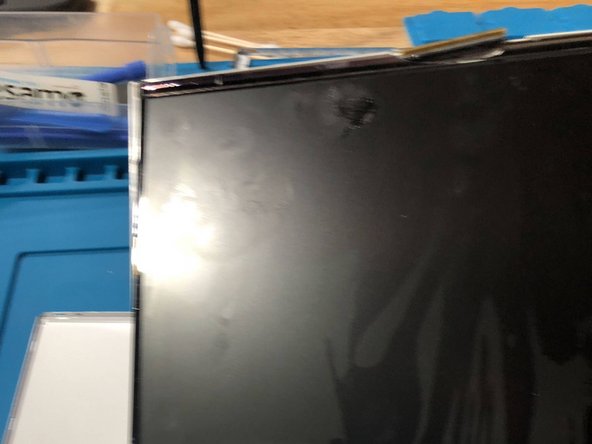
    • On the left side of the LCD screen after removing the top metal plate you will see a strip of adhesive, remove it and your almost done

  7. Polaroid P902 LCD and Digitizer  Replacement, FINALLY!!: adım 7, 2 resimden 1. Polaroid P902 LCD and Digitizer  Replacement, FINALLY!!: adım 7, 2 resimden 2.
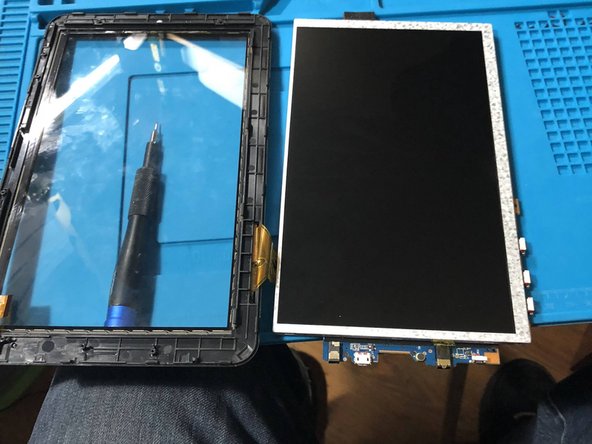
    • Now lift the LCD straight up and out of the bottom casing and you're halfway through the repair :D

    • Now insert the new LCD and reverse the steps. Pat yourself on the back o grab some snacks and check out your like new tablet.

Sonuç

To reassemble your device, follow these instructions in reverse order.

Aj Jones

Üyelik tarihi: 04/15/18

1 İtibar

1 Kılavuz yazıldı

Ekip

Loading.. Game Repairs Loading.. Game Repairs üyesi

Business

1 Üye

2 adet Kılavuz yazıldı

0 Yorum

Yorum Ekle

İstatistikleri Görüntüle:

Son 24 Saat: 1

Son 7 gün: 6

Son 30 gün: 6

Her zaman: 244