Bu sürüm, hatalı düzenlemeler içerebilir. En son doğrulanmış bellek kopyası dönün.
Neye ihtiyacın var
-
Bu adım çevrilmemiş. Çevrilmesine yardım edin
-
Using a #00 screw driver, remove all of the screws on the body of the camera. There are 9 screws total on the face of the camera
-
-
Bu adım çevrilmemiş. Çevrilmesine yardım edin
-
Slide open the battery door, then using the plastic opening tool, slightly open the side of the camera case.
-
Gently pull apart the cover from the body of the camera.
-
-
Bu adım çevrilmemiş. Çevrilmesine yardım edin
-
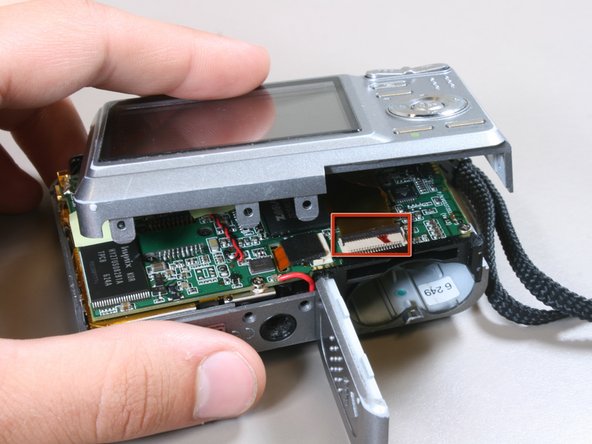
Locate the black tab where the LCD screen ribbon is attached to the logic board.
-
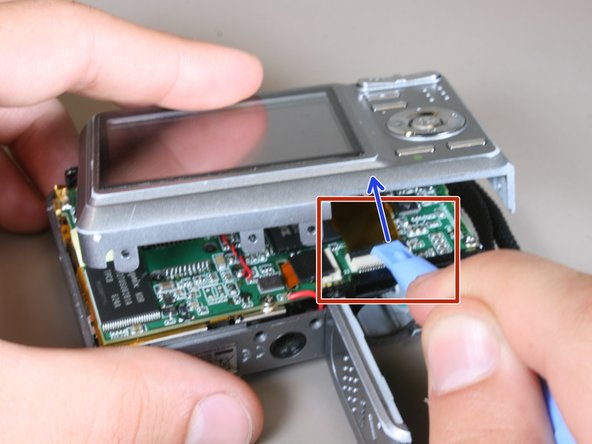
Using the plastic opening tool, flip the black tab towards the ribbon.
-
Gently pull the ribbon away from the logic board.
-
-
-
Bu adım çevrilmemiş. Çevrilmesine yardım edin
-
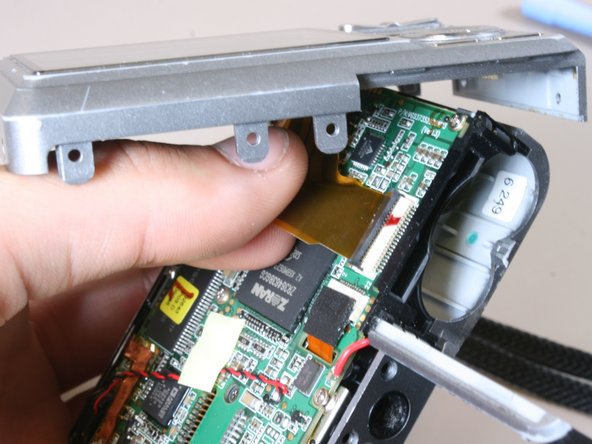
The back half of the camera with the LCD screen should now be separated from the front casing.
-
-
Bu adım çevrilmemiş. Çevrilmesine yardım edin
-
Using a #00 screwdriver, remove the four screws located at each corner of the LCD screen.
-
-
Bu adım çevrilmemiş. Çevrilmesine yardım edin
-
Remove the LCD screen from the old casing.
-
attach the LCD screen to the new casing using the screws removed in step 5.
-
-
Bu adım çevrilmemiş. Çevrilmesine yardım edin
-
Using a #00 screw driver, remove the screw on the bottom of the logic board just above the tripod attachment.
-
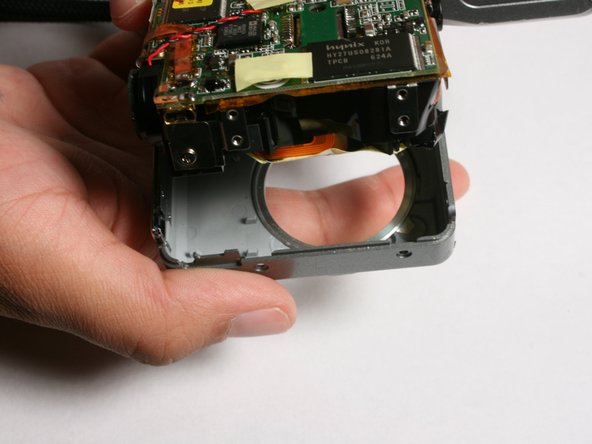
Gently pull the front of the case away from the insides of the camera.
-
-
Bu adım çevrilmemiş. Çevrilmesine yardım edin
-
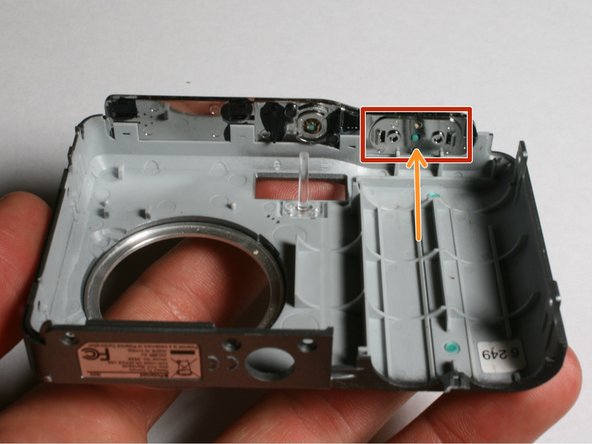
Locate the button that will be removed.
-
To remove: gently push outward on the button from the inside of the casing.
-
-
Bu adım çevrilmemiş. Çevrilmesine yardım edin
-
Remove spring from bottom of broken button.
-
Remove and replace defective button.
-


Ekip

Cal Poly, Team 3-4, Johann Summer 2010 Cal Poly, Team 3-4, Johann Summer 2010 üyesi
CPSU-JOHANN-R10S3G4
4 Üyeler
8 adet Kılavuz yazıldı