Giriş
You may need to replace your helicopter's drive gears if they become damaged or stripped. Replacing the gears will require you to completely disassemble your helicopter, so make sure to place small parts and screws in a safe place to avoid losing them.
Neye ihtiyacın var
-
Bu adımda kullanılan alet:Tweezers$4.99
-
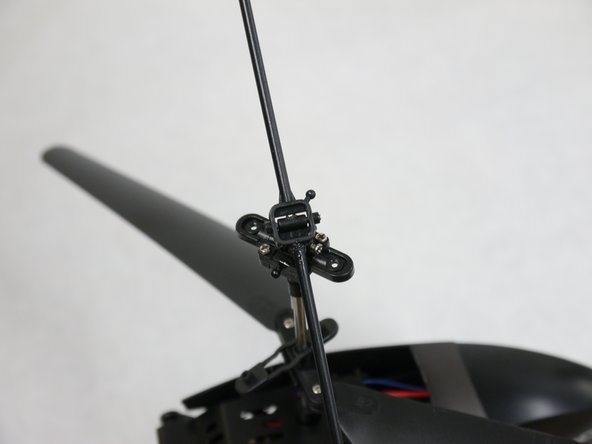
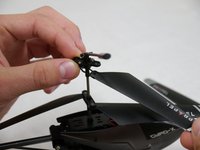
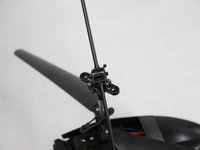
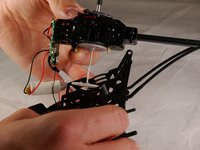
Place the tweezers on the sides of the links and pull straight away from the top point of connection.
 FixBot'a Sor
-
-
-
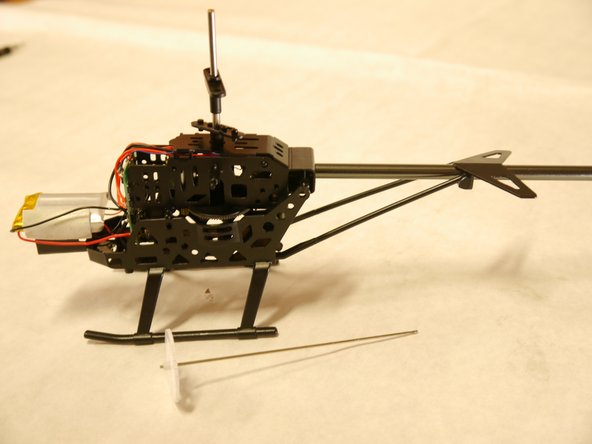
Remove the two 5.0 mm Phillips #00 screws from the rotors.
-
The blades will fall off when the screws have been removed.
-
-
-
-
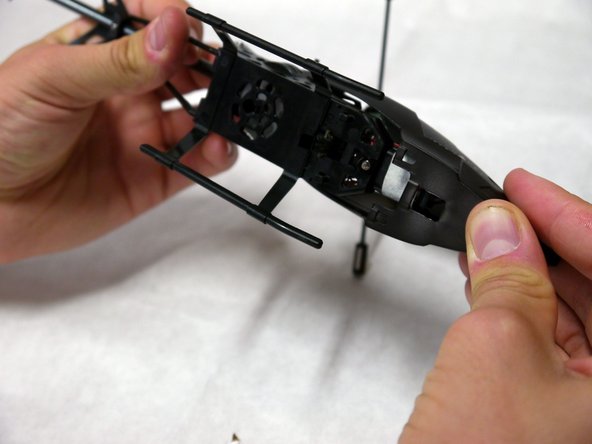
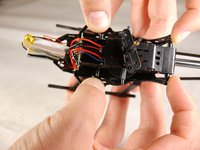
Push the front of the nose back towards the tail of the helicopter.
-
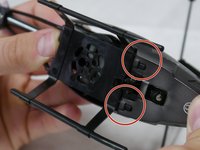
Push down on the shell and pull it away from the body, so that both slots pass over the hooks on the bottom of the helicopter.
-
-
-
Remove the two 8 mm Phillips #00 screws between the motor casing and the body.
-
-
-
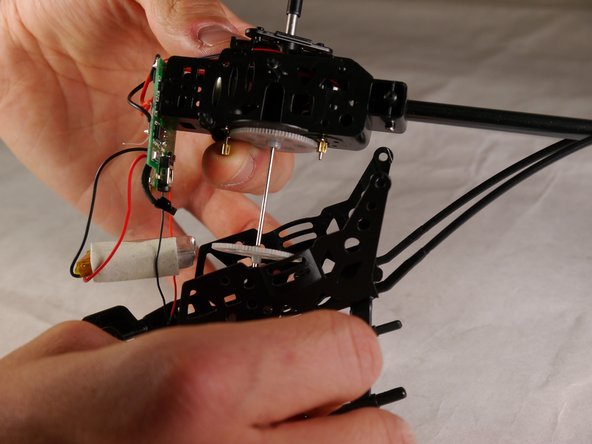
Use your fingers to free the motor casing from the body, by bending the plastic body casing outwards at each of the four nubs.
-
Pull the motor casing upwards from the body.
-
The drive gear will slide out when you lift the motor casing.
-


To reassemble your device, follow these instructions in reverse order.
İptal et: Bu kılavuzu tamamlamadım.
2 farklı kişi bu kılavuzu tamamladı.

Ekip

Cal Poly, Team 17-2, Forte Spring 2015 Cal Poly, Team 17-2, Forte Spring 2015 üyesi
CPSU-FORTE-S15S17G2
4 Üyeler
7 adet Kılavuz yazıldı