Ana içeriğe geç
Onarım Topluluğuna Katılın - Hesap Oluşturun

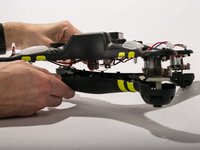
Protocol Galileo Top Shell Replacement

Neye ihtiyacın var

  1. Protocol Galileo Top Shell Replacement, Battery: adım 1, 1 resimden 1.
    • Find door on the underside of drone. Open the door.

    FixBot'a Sor
    Yorum Ekle

  2. Protocol Galileo Top Shell Replacement: adım 2, 2 resimden 1. Protocol Galileo Top Shell Replacement: adım 2, 2 resimden 2.
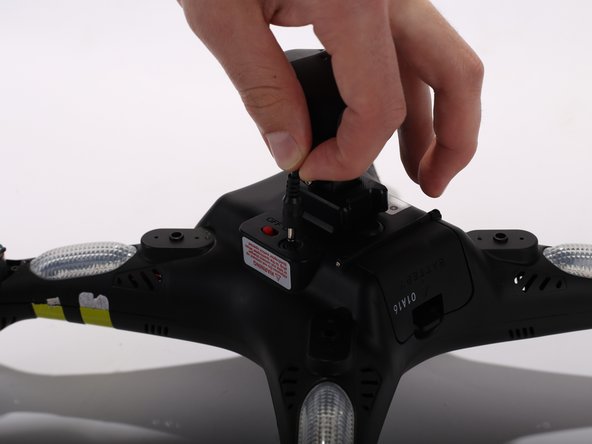
    • Carefully pull out battery, pulling out wires first.

    FixBot'a Sor
    Yorum Ekle

  3. Protocol Galileo Top Shell Replacement: adım 3, 1 resimden 1.
    • Disconnect the connecter.

    • When reconnecting, remember to match up the black wire with the black wire and the red with red.

    FixBot'a Sor

    Yorum Ekle

  4. Protocol Galileo Top Shell Replacement, Propeller: adım 4, 2 resimden 1. Protocol Galileo Top Shell Replacement, Propeller: adım 4, 2 resimden 2.
    Bu adımda kullanılan alet:
    Heavy-Duty Spudger
    $4.99
    • Use the heavy duty spudger tool to pry off metal caps by pushing the spudger up into the cap.

    FixBot'a Sor
    Yorum Ekle

  5. Protocol Galileo Top Shell Replacement: adım 5, 1 resimden 1.
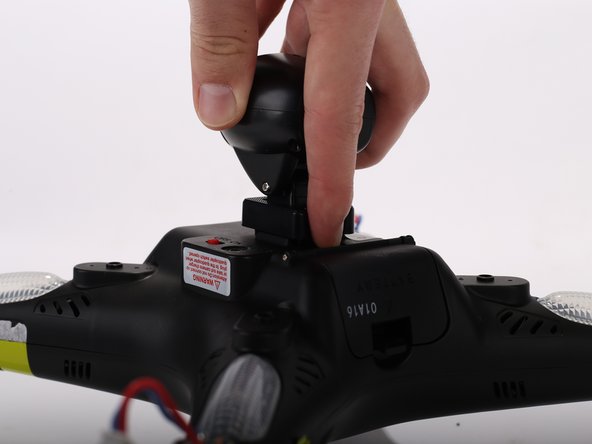
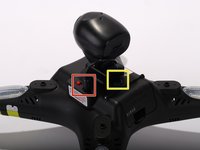
    • Twist the white spindle sleeve counter clockwise to align locking pin inside with the opening.

    FixBot'a Sor
    Yorum Ekle

  6. Protocol Galileo Top Shell Replacement: adım 6, 1 resimden 1.
    Bu adımda kullanılan alet:
    Tweezers
    $4.99
    FixBot'a Sor
    Yorum Ekle

  7. Protocol Galileo Top Shell Replacement: adım 7, 1 resimden 1.
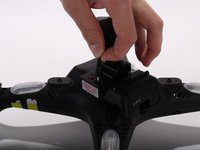
    • Pull off white spindle sleeve.

    • Take note of which side of the spindle sleeve is the top.

    FixBot'a Sor
    Yorum Ekle

  8. Protocol Galileo Top Shell Replacement: adım 8, 2 resimden 1. Protocol Galileo Top Shell Replacement: adım 8, 2 resimden 2.
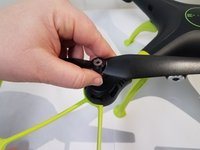
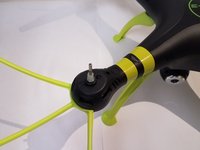
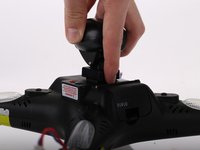
    • Pull off propeller.

    FixBot'a Sor
    Yorum Ekle

  9. Protocol Galileo Top Shell Replacement, Top Shell: adım 9, 3 resimden 1. Protocol Galileo Top Shell Replacement, Top Shell: adım 9, 3 resimden 2. Protocol Galileo Top Shell Replacement, Top Shell: adım 9, 3 resimden 3.
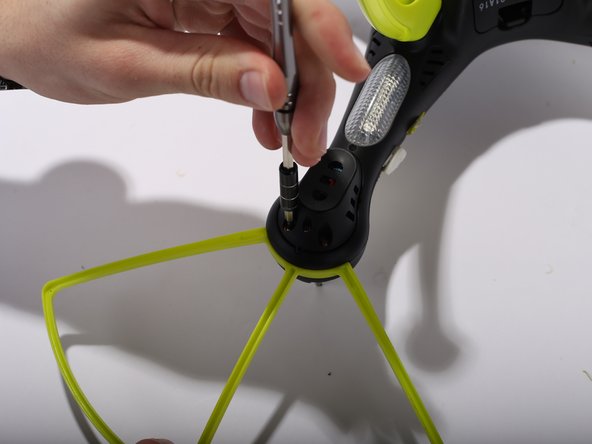
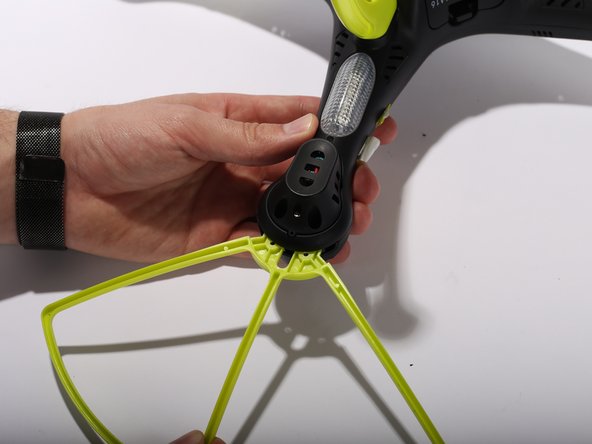
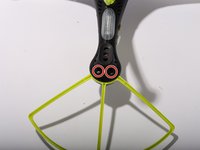
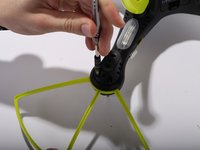
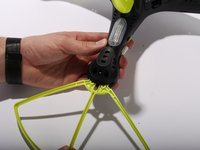
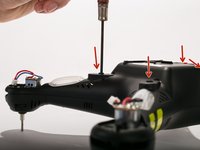
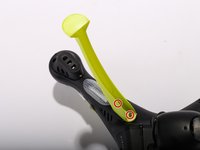
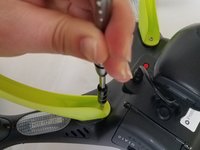
    • Remove Blade Guards by unscrewing two 13 millimeter screws using Philips #0. Pull out the guards. Repeat the steps for the other three corners.

    FixBot'a Sor

    Yorum Ekle

  10. Protocol Galileo Top Shell Replacement: adım 10, 2 resimden 1. Protocol Galileo Top Shell Replacement: adım 10, 2 resimden 2.
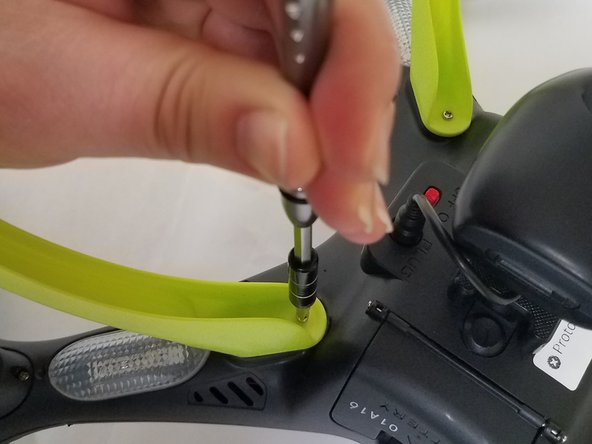
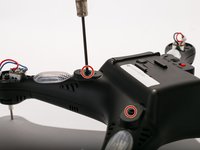
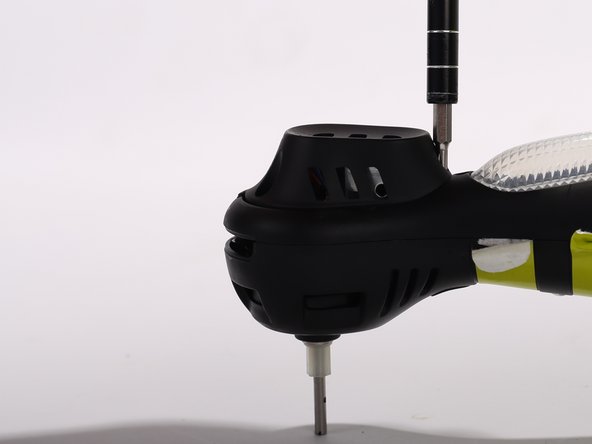
    • Unscrew two 9 mm screws located inside the legs. Repeat the same procedure for the other three legs

    FixBot'a Sor
    Yorum Ekle

  11. Protocol Galileo Top Shell Replacement: adım 11, 3 resimden 1. Protocol Galileo Top Shell Replacement: adım 11, 3 resimden 2. Protocol Galileo Top Shell Replacement: adım 11, 3 resimden 3.
    • Unplug the camera wire.

    • Press the hold release button and slide out the camera module away from the button.

    FixBot'a Sor
    Yorum Ekle

  12. Protocol Galileo Top Shell Replacement: adım 12, 2 resimden 1. Protocol Galileo Top Shell Replacement: adım 12, 2 resimden 2.
    • Remove the motor protection cover by unscrewing two 9 mm screws using Philips #0. When the screws are off, use your fingers to pull the motor protection cover off. Repeat the procedure for the other three arms.
    FixBot'a Sor

    Yorum Ekle

  13. Protocol Galileo Top Shell Replacement: adım 13, 3 resimden 1. Protocol Galileo Top Shell Replacement: adım 13, 3 resimden 2. Protocol Galileo Top Shell Replacement: adım 13, 3 resimden 3.
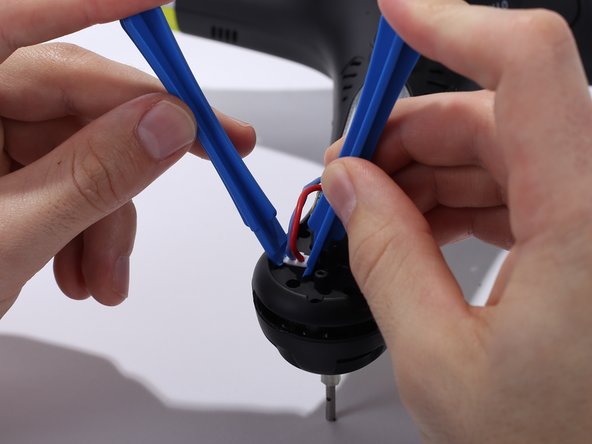
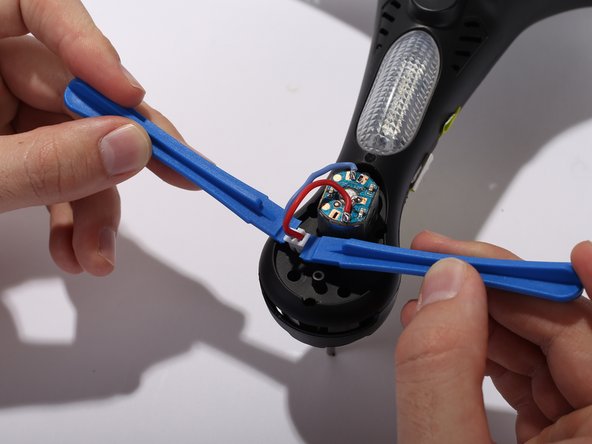
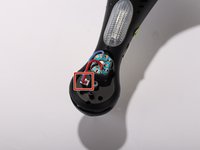
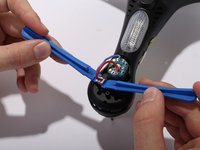
    • Unclip the motor cable from the shells housing using two pry tools. Repeat the same procedure for the other three arms.

    FixBot'a Sor

    Yorum Ekle

  14. Protocol Galileo Top Shell Replacement: adım 14, 1 resimden 1.
    • Remove 3 9mm screws around the motor housing. Repeat the steps for the three other arms.

    FixBot'a Sor

    Yorum Ekle

  15. Protocol Galileo Top Shell Replacement: adım 15, 2 resimden 1. Protocol Galileo Top Shell Replacement: adım 15, 2 resimden 2.
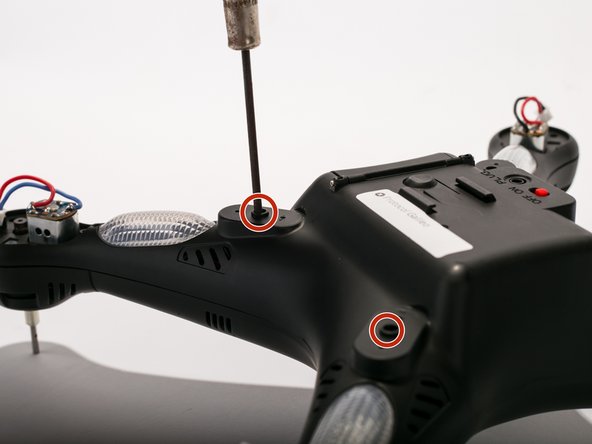
    • Remove four 9 mm screws located where the legs originally are placed. (Use a thin head screwdriver)

    FixBot'a Sor

    Yorum Ekle

  16. Protocol Galileo Top Shell Replacement: adım 16, 3 resimden 1. Protocol Galileo Top Shell Replacement: adım 16, 3 resimden 2. Protocol Galileo Top Shell Replacement: adım 16, 3 resimden 3.
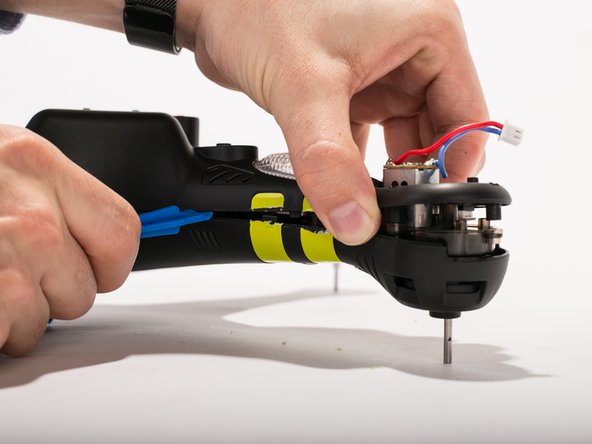
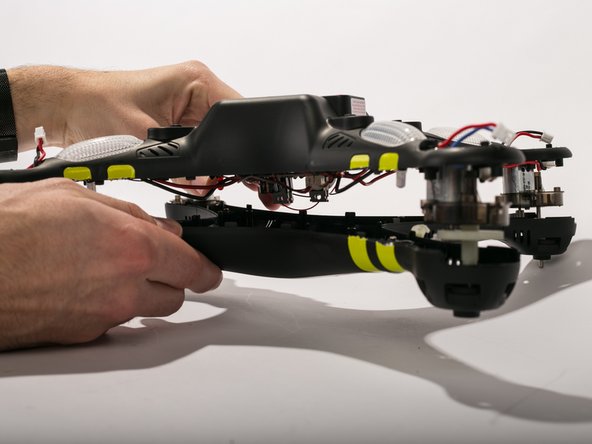
    • Cut the yellow strips using a scalpel. Pry open the casing using pry tools working gently around the corners.

    FixBot'a Sor

    Yorum Ekle

Sonuç

To reassemble your device, follow these instructions in reverse order.

İptal et: Bu kılavuzu tamamlamadım.

Thomas Ramey

Üyelik tarihi: 02/03/17

301 İtibar

3 adet Kılavuz yazıldı

Ekip

UW Tacoma, Team 2-3, Rose Winter 2017 UW Tacoma, Team 2-3, Rose Winter 2017 üyesi

UWT-ROSE-W17S2G3

4 Üyeler

5 adet Kılavuz yazıldı

0Kılavuz Yorumları

Yorum Ekle

İstatistikleri Görüntüle:

Son 24 Saat: 0

Son 7 gün: 4

Son 30 gün: 18

Her zaman: 336