Giriş
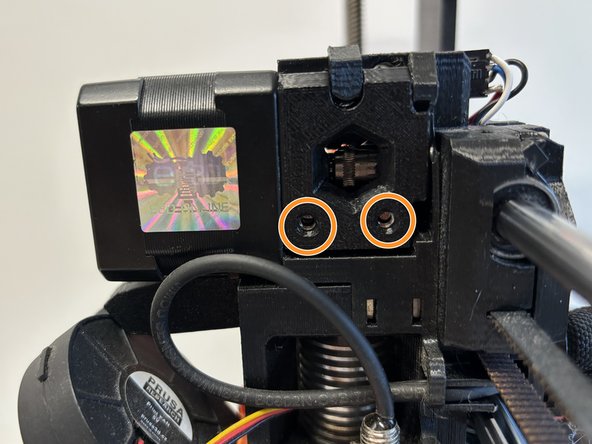
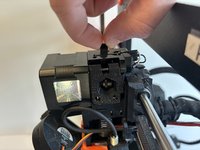
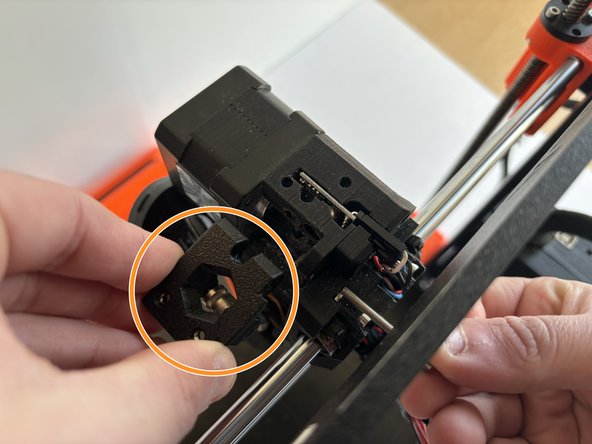
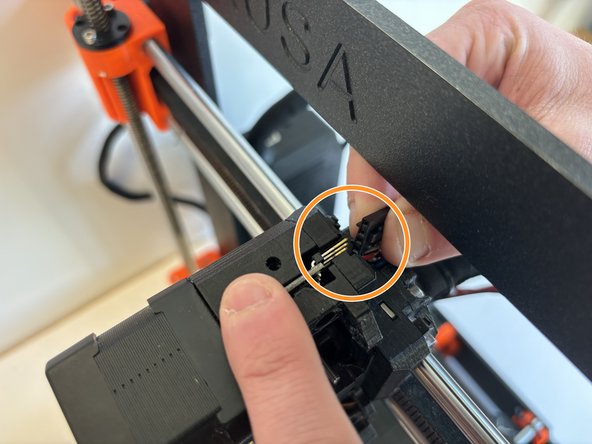
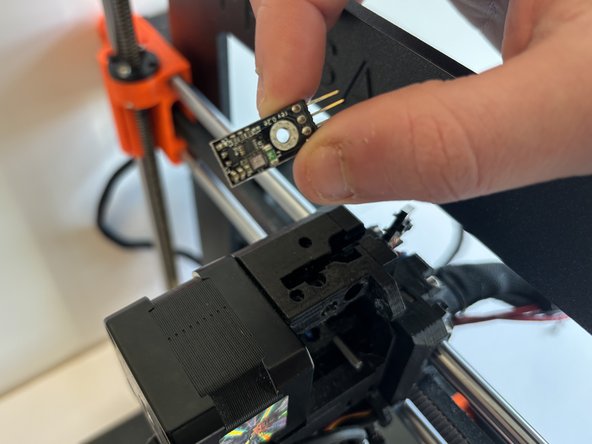
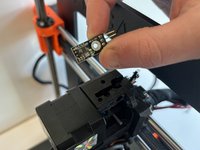
If you need to replace the filament sensor in your PRUSA i3 MK3, follow the steps in this guide. Ensure that you do not lose any of the parts or socket-head screws that are removed during replacement.
Neye ihtiyacın var
-
-
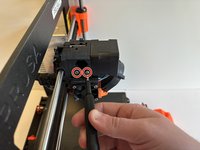
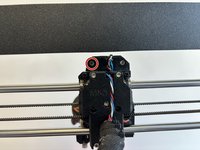
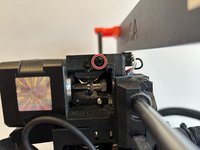
Orient the printer so that the screen is facing to the left.
-
Using the On/Off button, switch the printer into the Off position.
-
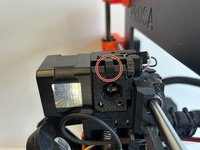
Ensure your printer is off by visually inspecting the screen. If the screen is not lit up, your printer is off.
-
-


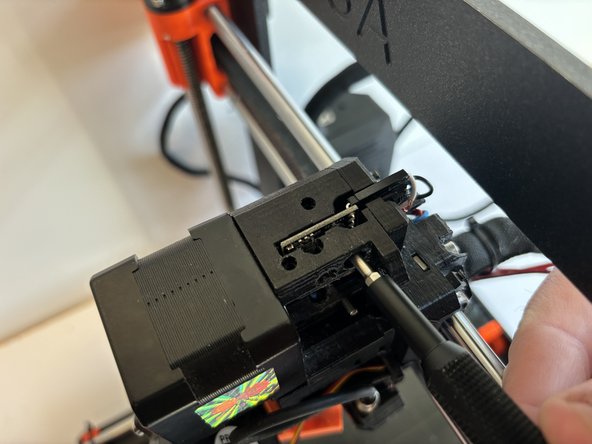


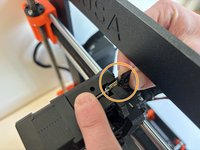
To reassemble your device, follow these instructions in reverse order. During reassembly, ensure not to tighten the socket head screws too tight.

Ekip

Western Carolina University, Team 1-5, Virtue Spring 2024 Western Carolina University, Team 1-5, Virtue Spring 2024 üyesi
WCU-VIRTUE-S24S1G5
4 Üyeler
6 adet Kılavuz yazıldı