Ana içeriğe geç

Bu kılavuzda güncel değişiklikler var. En son onaylanmamış sürüme geçin.

RCA CC310 Main Motherboard Replacement

Neye ihtiyacın var

  1. RCA CC310 Main Motherboard Replacement, Disassembling RCA CC310 Left Cover: adım 1, 2 resimden 1. RCA CC310 Main Motherboard Replacement, Disassembling RCA CC310 Left Cover: adım 1, 2 resimden 2.
    • Remove the six 7.9mm Phillips #0 screws on the back and bottom.

    • Remove the one 3.8mm Phillips #0 screw on the bottom.

    • Remove the two 7.5mm Phillips #0 screws on the back and bottom.

  2. RCA CC310 Main Motherboard Replacement: adım 2, 2 resimden 1. RCA CC310 Main Motherboard Replacement: adım 2, 2 resimden 2.
    • Remove 5.8mm Phillips #1 screw from the side button panel.

    • Slide the viewfinder all the way to the right and remove the 7.9mm Phillips #0 screw.

  3. RCA CC310 Main Motherboard Replacement: adım 3, 2 resimden 1. RCA CC310 Main Motherboard Replacement: adım 3, 2 resimden 2.
    • Pry along the seam on the top side near the buttons with a spudger.

  4. RCA CC310 Main Motherboard Replacement: adım 4, 2 resimden 1. RCA CC310 Main Motherboard Replacement: adım 4, 2 resimden 2.
    • Pull the left panel away from the rest of the camcorder.

    • Unplug the red speaker cable located at the rear of the device.

    • Be careful to not pull too hard. The speaker cable is still connected to the panel and it can rip.

  5. RCA CC310 Main Motherboard Replacement, Main Motherboard: adım 5, 2 resimden 1. RCA CC310 Main Motherboard Replacement, Main Motherboard: adım 5, 2 resimden 2.
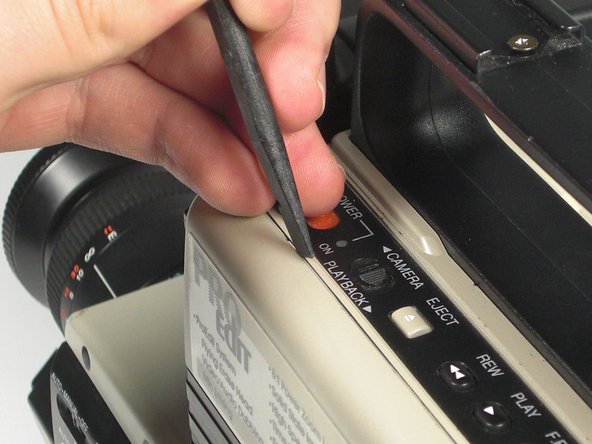
    • Pull back the plastic tabs along the edges of the motherboard.

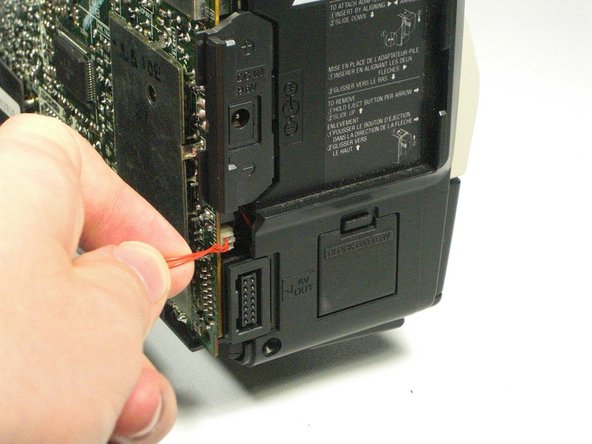
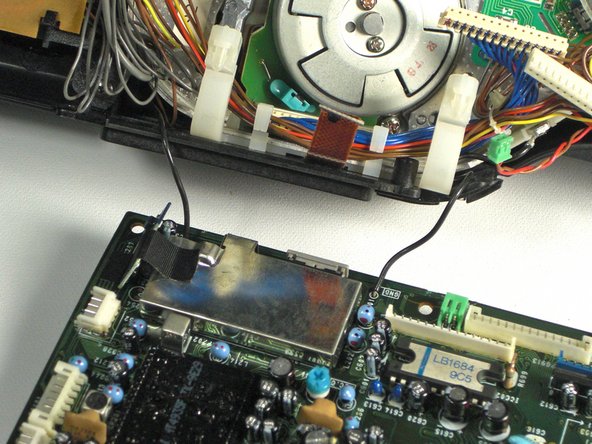
    • Disconnect all the cables along the left side of the motherboard.

  6. RCA CC310 Main Motherboard Replacement: adım 6, 2 resimden 1. RCA CC310 Main Motherboard Replacement: adım 6, 2 resimden 2.
    • Disconnect all cables along the bottom of the motherboard.

    • Pull the motherboard away from the camcorder.

  7. RCA CC310 Main Motherboard Replacement: adım 7, 1 resimden 1.
    • Desolder the two black wires holding the motherboard to the camcorder using a soldering iron.

Sonuç

To reassemble your device, follow these instructions in reverse order.

Bir başkası bu kılavuzu tamamladı.

Oliver Adams

Üyelik tarihi: 01/19/11

629 İtibar

6 adet Kılavuz yazıldı

Ekip

Cal Poly, Team 5-20, Amido Winter 2011 Cal Poly, Team 5-20, Amido Winter 2011 üyesi

CPSU-AMIDO-W11S5G20

4 Üyeler

7 adet Kılavuz yazıldı

0 Yorum

Yorum Ekle

İstatistikleri Görüntüle:

Son 24 Saat: 0

Son 7 gün: 1

Son 30 gün: 7

Her zaman: 2,696