Giriş
- This guide might be of use if the battery life of your device has degraded over time.
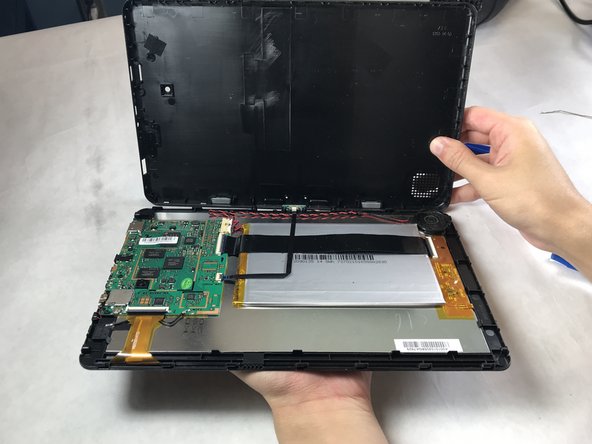
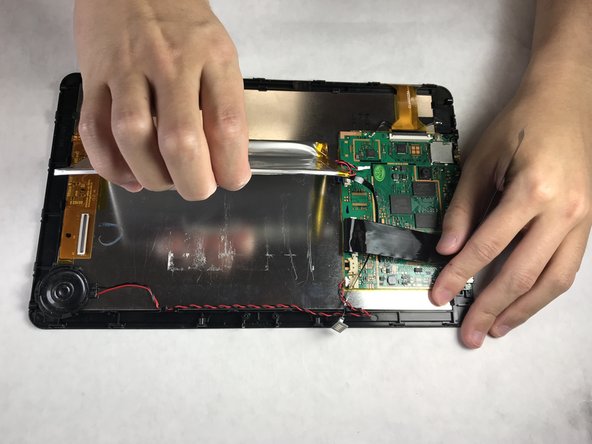
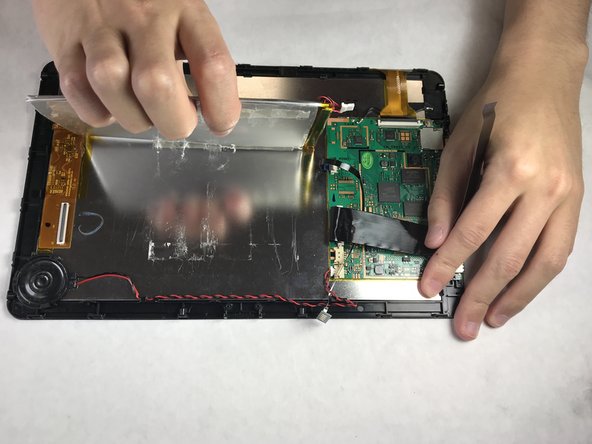
- HAZARDS: Don't use heat to remove the adhesive of the battery because it can potentially cause a fire.
Neye ihtiyacın var
-
-
-
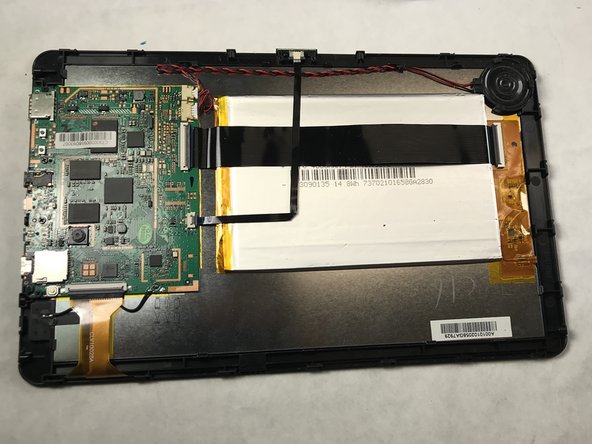
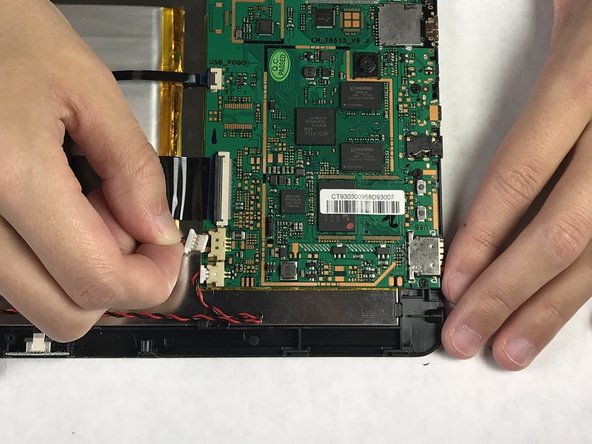
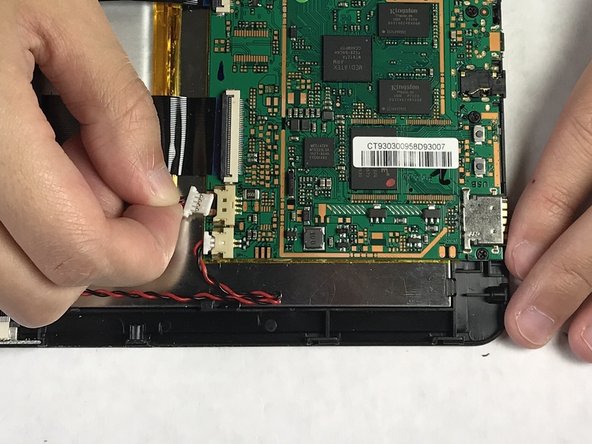
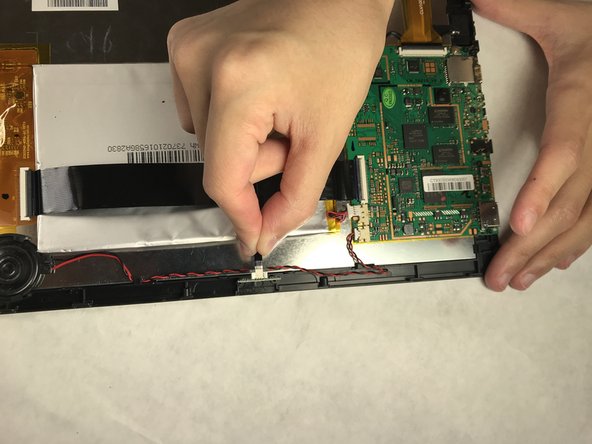
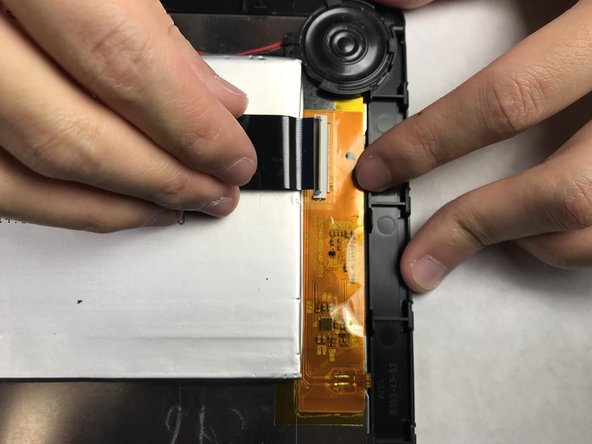
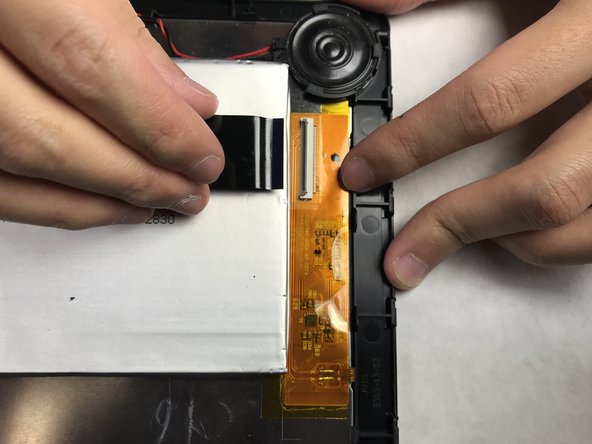
Use nylon spudger tool or plastic card to separate battery from the case.
-


To reassemble your device, follow these instructions in reverse order.
To reassemble your device, follow these instructions in reverse order.
İptal et: Bu kılavuzu tamamlamadım.
15 farklı kişi bu kılavuzu tamamladı.
Ekip

IUPUI, Team S3-G2, Harley Spring 2018 IUPUI, Team S3-G2, Harley Spring 2018 üyesi
IUPUI-HARLEY-S18S3G2
3 Üyeler
2 adet Kılavuz yazıldı
5 Yorum
Thank you very much for the instructions. I was totally in the blind about what to unplug or not.
“Remove nine 4.8mm screws “ but you only show pictures of 7 screws.
2 are hidden under the black hinge. you would have to remove the 3 tiny screw in order to get access to the hidden 2 screws.
Ed Barry -
Thanks for the instructions. I don’t know if mine is newer or older but the bus cable turns 90 degrees and goes under the keyboard cable so step 6 really wasn’t necessary. A plastic putty knife slid under old battery loosening the adhesive so you can slide it out from under the bus cable.
Super helpful- worked great!