Ana içeriğe geç

RIDGID R860052 Switch Assembly Replacement

Neye ihtiyacın var

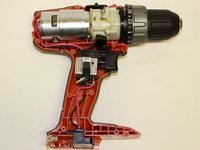
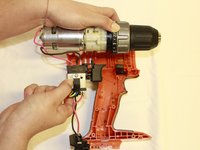
  1. RIDGID R860052 Switch Assembly Replacement, Switch Assembly: adım 1, 2 resimden 1. RIDGID R860052 Switch Assembly Replacement, Switch Assembly: adım 1, 2 resimden 2.
    • Remove the battery from the drill before you begin.

    • Use a T10 Torx screwdriver to unscrew the ten screws on the information label side of the drill.

    • These ten screws are 19 mm long.

  2. RIDGID R860052 Switch Assembly Replacement: adım 2, 1 resimden 1.
    • Lift off and remove the cover with the informational label.

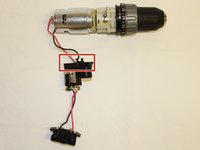
  3. RIDGID R860052 Switch Assembly Replacement: adım 3, 3 resimden 1. RIDGID R860052 Switch Assembly Replacement: adım 3, 3 resimden 2. RIDGID R860052 Switch Assembly Replacement: adım 3, 3 resimden 3.
    • Remove the switch assembly, chuck, and motor from all drill covers.

    • Check if all wires are connected to the switch assembly and motor as illustrated in the image.

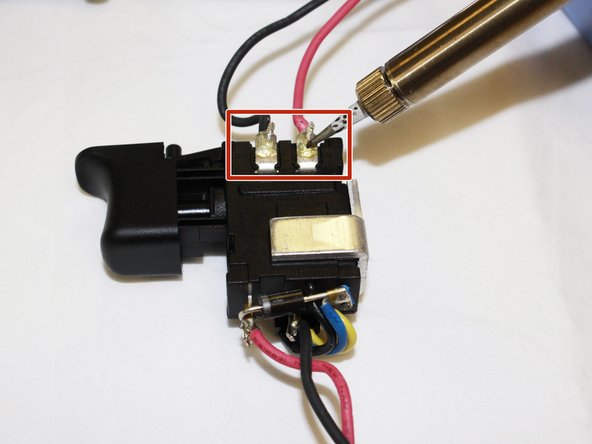
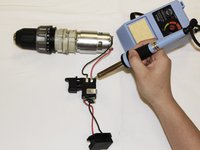
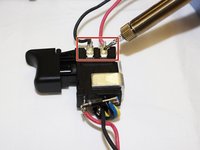
  4. RIDGID R860052 Switch Assembly Replacement: adım 4, 2 resimden 1. RIDGID R860052 Switch Assembly Replacement: adım 4, 2 resimden 2.
    • To replace the switch assembly, desolder the black and red wires and replace with a new switch assembly.

    • Be aware of the heat level of the metal part on the soldering tool.

Sonuç

To reassemble your device, follow these instructions in reverse order.

Bir başkası bu kılavuzu tamamladı.

Anna Wu

Üyelik tarihi: 02/04/19

273 İtibar

2 adet Kılavuz yazıldı

Ekip

UC Davis, Team S18-G4, Lore Winter 2019 UC Davis, Team S18-G4, Lore Winter 2019 üyesi

UCD-LORE-W19S18G4

3 Üyeler

6 adet Kılavuz yazıldı

0 Yorum

Yorum Ekle

İstatistikleri Görüntüle:

Son 24 Saat: 1

Son 7 gün: 3

Son 30 gün: 7

Her zaman: 457