Giriş
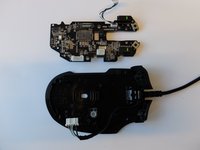
If the right or left mouse button is not responsive, the micro switch might need replacement. This guide will list all required steps to properly replace the left and/or right mouse button micro switches from the Razer Naga Trinity.
What you need
-
-
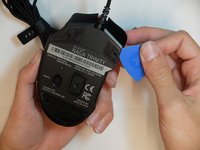
Remove the mouse's feet using the opening pick.
-
-
-
-
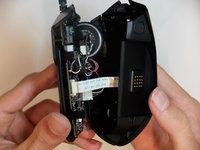
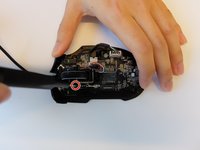
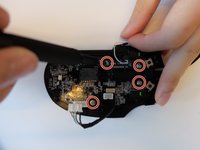
Remove one 4mm black Phillips #000 screw from the left side of the mouse holding the scroll wheel LED controller board.
-
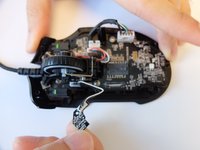
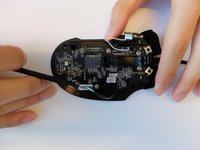
Then pull the LED controller board upwards and out.
-
-
-
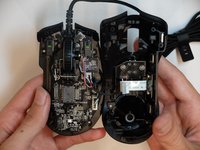
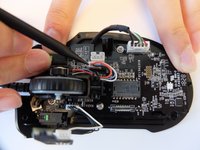
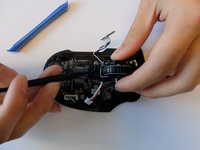
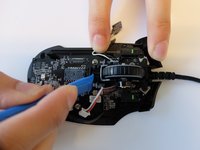
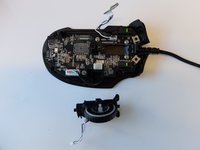
Using the opening tool, pry the black bracket holding the scroll wheel in place backwards until the scroll wheel housing pops out.
-
-
-
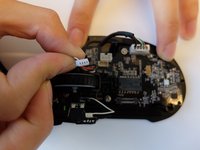
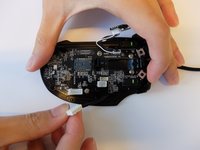
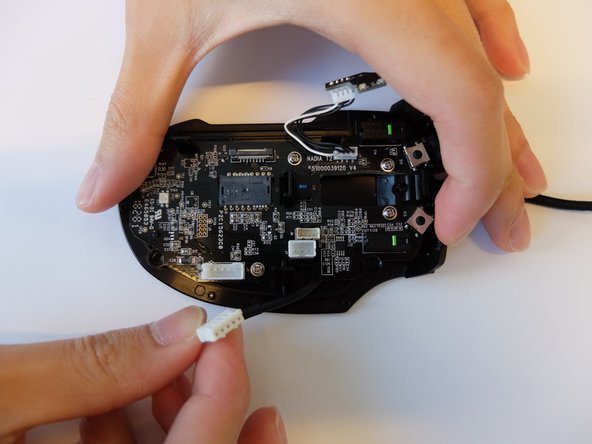
Remove the USB Type A to 5-pin connector from the main board by pinching and pulling upwards.
-
-
-
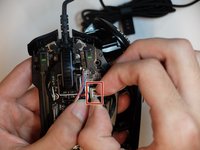
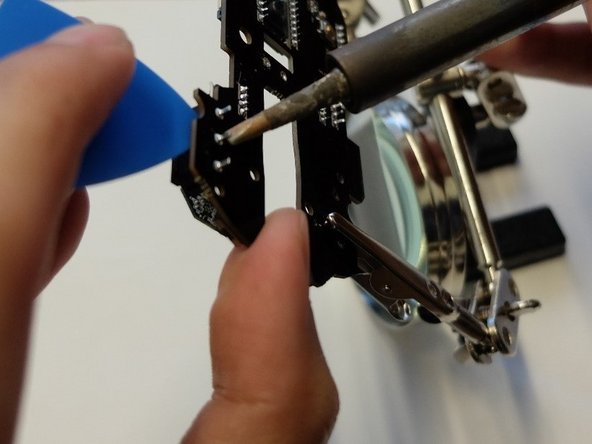
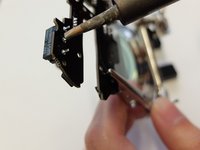
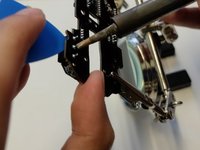
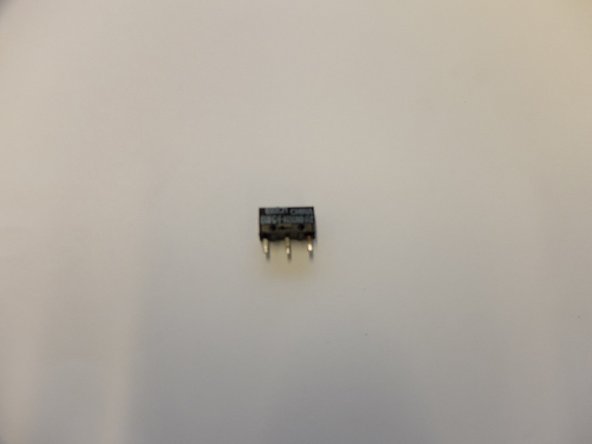
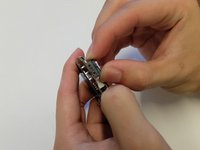
Remove and replace OMRON D2FC-F-K(50M) micro switch.
-
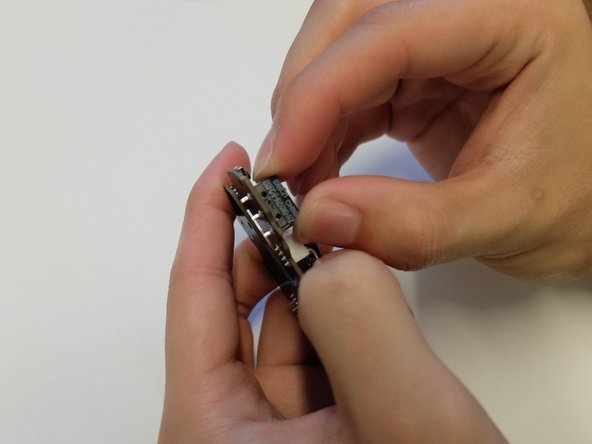
Ensure the micro switch is bonded by performing a tug test.
-
To reassemble your device, follow these instructions in reverse order.
İptal et: Bu kılavuzu tamamlamadım.
9 farklı kişi bu kılavuzu tamamladı.
12 Comments
dont bother. It took me 2 hours to get it replace and left click still dident work even when i heared it click. Just work some over time at work and buy a new
If the switch is still clicking and you tried replacing it, the issue surely is somewhere else.
You should look if there are other parts inside that look “
Andreas -
I was in contact with Razer support for about a week now before getting the usual response “sorry I checked, we don’t have any replacement parts” and basically told me to go &&^& myself and buy a new one.
I spent more than 100€ on this thing yet whenever I ask support ANYTHING it always boils down to this. This is the third time with three different Razer devices and I always get the same answer.
I’ll try this fix here and if that doesn’t work, this was surely the last time Razer got a single cent out of me.
If you're not afraid of working with very small parts you can also try fixing the switch itself. You have to bend a small metal lip and that should fix the issue.
Here is a guide on how to do it, fixed my mouse with that one just half an hour ago.
30-60 minutes? The author is liar! Took me 4 hours to complete just the step 15 “desolder the faulty switch” :D. For some reason I could not suck out all of the molten solder and it was always stuck somewhere. Really pain in the a**. Other parts of the guide made opening the mouse, disassembly and assembly rather very easy process. Soldering in new part as well. Transplantation is now complete and the patient survived. Thanks for the guide
you needed a solder-sucker syringe. or some wick. if it works at all, you did well for your first shot at it. lol soldering takes a lot of patience. welding is much easier to pick up in my opinion. at least as far as the physical act of manipulating the metal. solder is more like a 2 year on mountain dew.
my question is: are these switches made in tactile, linear, et cetera like keyboard switches? i noticed an asus mouse with swappable mouse switches recently. i haven’t found where to but the different switches yet though. but i want some more tactile solderable mouse switches for my naga pro. mine hasn’t actually started malfunctioning or anything. i just really dislike the stock mushy-butt switches enough that i’m willing to take the risk. apparently razer doesn’t honor their warranty agreements anyway. just playing. that really isn’t true. i’ve never had a bad experience with razer outside of how hideous all their peripherals look and these mushy switches that actually work fine.
There isn’t much information here on how to solder, but using solder wick to remove old solder, and using a flux pen to solder will really help. It also helps to have a nice solder station like a Hakko FX888D or similar). Lots of Youtube videos on how to solder; it’s not covered here but instead assumes that you already know how.
I want to thank the author Zackary Tempert for this tech guide with the clear and detailed instructions. I’m just about to start my repair and am thankful to have this guide. As the author states, this is an advanced level repair; as such, it may not be applicable for a newbie. At the very least, one would have to know how to solder and how to follow detailed instructions.
So, the soldering pads/vias around the switches were tight as !&&* on my board. Both, soldering wick and desoldering gun/pump didn’t stand a chance. I ended up using a hot-air station and slowly “walking” the switch out. If you don’t have a hot-air to heat all 3 pins simultanously, i guess you can take a shortcut sawing the switch off with a dremel and desoldering them one-by-one afterwards.
In the end it took me maybe 1,5 hours of work overall and the mouse works as good as new.
Take you time, be patient, be careful with all the plastic stuff and everything will work out fine. The skills that are needed in this repair are very basic, the parts you are handling are big, so i wouldn’t call the repair “difficult”, just needs patience, a little bit of experience and a couple of tools of at least mediocre quality.
I would personally consider it difficult if you have no idea what you are doing, it took me over 6 hours but I have never soldered before and was just winging it. It worked out in the end at least.
Alden -
This guide was extremely helpful, but be VERY CAREFUL during step 12 when bending back the bracket. As it broke off and I had to try and superglue it back in place. Hopefully it will set and I won't have to buy a mouse for parts from ebay.
Side note, be careful when doing this repair because somehow I must of damaged the optical encoder as my scroll wheel now will not work.
Alden -