Giriş
This guide will show you how to refurbish and clean up a used keyboard by cleaning its keycaps, switches, and frame. Which, makes the keyboard look, feel and function like brand new.
Neye ihtiyacın var
-
-
Take a photo of the Keyboard you'll be using to use it as a reference later for when you're putting the keycaps back. A lot of keyboards are different or have unique keys, so this is needed.
-
Caution: Unplug the keyboard before you start working on it to prevent breaking and to avoid other issues.
 FixBot'a Sor
-
-
-
You can use a keycap puller like the one in the first photo if your keyboard came with one. You wrap the metal prongs around the bottom of the keycap then pull up. However, if you don't have one you can simply just pinch the keycap and pull up, or pull up on the keycap's edges to remove it.
-
-
-
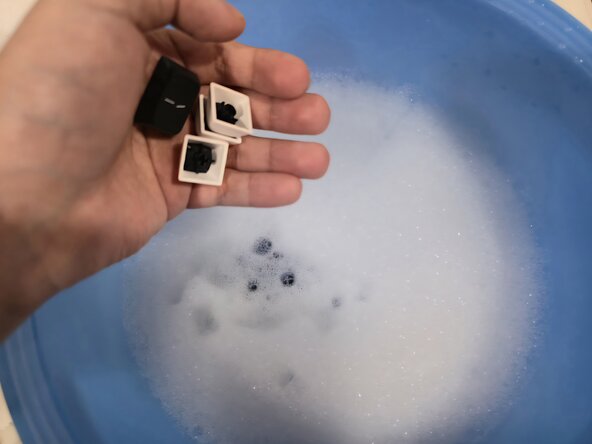
Get a big bowl or any container and put water in it along with dish soap. You can mix it with your hands or swirl it around to mix the bowl. This will be used for the keycaps.
-
-
-
-
Grab all of the keycaps and dump them into the bowl containing the soap water. Leave the keycaps in there for a while, up to 2 hours. Also, you can mix the keycaps in the bowl with your hands as well if you'd like to.
-
-
-
While the keycaps are in the bowl you can clean the inside of the keyboard with a brush, in the first photo I'm using a multi-tool meant for cleaning keyboards. However, you can also scrub the keyboard with a clean toothbrush to remove crumbs and any other debris.
-
-
-
To really clean up the switches and the inside of the keyboard frame you can dip cotton swabs/Q-Tips in isopropyl alcohol and gently dab the cotton swab around the edges of the switches. Also, you can slide the Q-Tip throughout the inside of the frame.
-
-
-
You can slowly drain out the soap water by pouring all of the water out, then refilling it with water and pouring it out again until there is no more soap on the keycaps. Alternatively, you can also use a strainer while draining the keycaps, then wash the soap off the keycaps.
-
-
-
You can use a microfiber cloth or a towel to pat dry the keycaps. After, you should let the keycaps dry off for at least a couple of hours. I'd recommend waiting overnight. Remember, even if no water is visible any water can damage your keyboard easily.
-
-
-
Once your keycaps are dried and the keyboard is dirt free you can put all the keycaps in their right place by using the photo you took earlier. Simply align the keycap with its switch and gently push it down until you can hear it click.
-




To reassemble your keyboard, wait for your keycaps to completely dry then put them back in their original location.
İptal et: Bu kılavuzu tamamlamadım.
Bir başkası bu kılavuzu tamamladı.

