Giriş
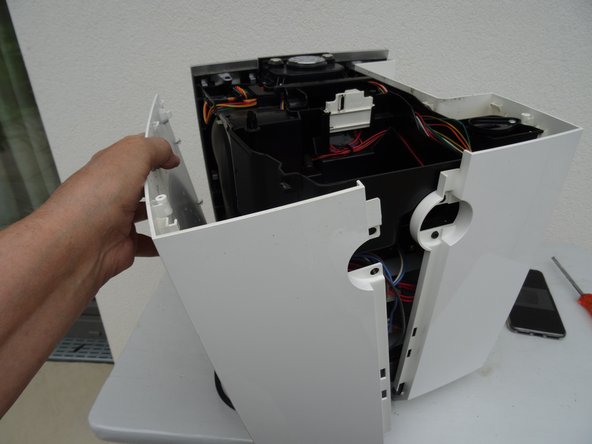
These instructions tell you how to extract the brewing unit.
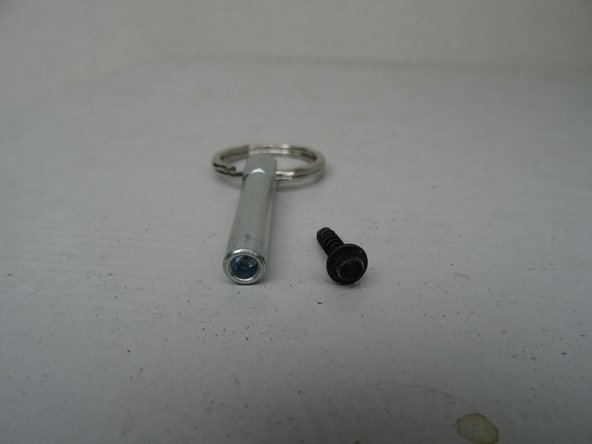
Neye ihtiyacın var
-
-
Remove the water tank and the drip tray. Remove all coffee beans from the storage container.
-
-


Work your way through the instructions in reverse to re-assemble the device.
Work your way through the instructions in reverse to re-assemble the device.
İptal et: Bu kılavuzu tamamlamadım.
Bir başkası bu kılavuzu tamamladı.
Bu çevirmenlere özel teşekkürler:
100%

Bu çevirmenler dünyayı onarmamıza yardım ediyor! Katkıda bulunmak ister misiniz?
Çeviriye Başlayın ›
Ekip

Repair is War on Entropy Repair is War on Entropy üyesi
Community
26 Üyeler
1.186 adet Kılavuz yazıldı