Bu sürüm, hatalı düzenlemeler içerebilir. En son doğrulanmış bellek kopyası dönün.
Neye ihtiyacın var
-
Bu adım çevrilmemiş. Çevrilmesine yardım edin
-
Remove the paper tray
-
Remove the paper cassette
-
Remove the ink tanks.
-
-
-
Bu adım çevrilmemiş. Çevrilmesine yardım edin
-
Remove the last back panel screw (hidden behind the LCD display)
-
-
Bu adım çevrilmemiş. Çevrilmesine yardım edin
-
Remove the main back panel, being careful not to damage the LCD display
-
-
Bu adım çevrilmemiş. Çevrilmesine yardım edin
-
Clean the left roller very gently with a dry tissue or a soft brush
-
-
Bu adım çevrilmemiş. Çevrilmesine yardım edin
-
Clean the right encoder very gently with a dry tissue or a soft brush.
-
-
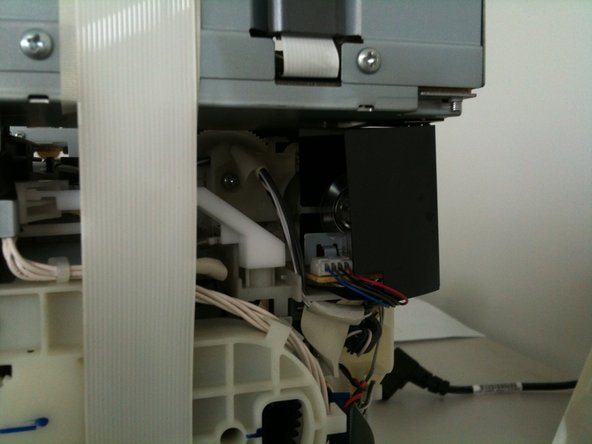
Bu adım çevrilmemiş. Çevrilmesine yardım edin
-
If you want to test the printer you need to insert paper, and cover 2 switches with tape.
-
-
Bu adım çevrilmemiş. Çevrilmesine yardım edin
-
Reassemble the printer (remove the tape first if you have used it) following these instructions in reverse.
-


İptal et: Bu kılavuzu tamamlamadım.
16 farklı kişi bu kılavuzu tamamladı.
14 Yorum
Perfect. I used this guide to disassemble my printer.
I had 0xF1 and/or 0xF4. The reason was some paper stuck between the gears of the paper feed (in this guide step 12).
I hope this hint will help others. I didn't find any info about these error code online.
Error descriptions I found here - http://www.fatalerrors.info/
muito obrigado pela ajuda