Ana içeriğe geç

Repairing HP OfficeJet 3833 Paper Jam

Neye ihtiyacın var

  1. Repairing HP OfficeJet 3833 Paper Jam, Repairing HP OfficeJet 3833 Paper Jam: adım 1, 2 resimden 1. Repairing HP OfficeJet 3833 Paper Jam, Repairing HP OfficeJet 3833 Paper Jam: adım 1, 2 resimden 2.
    • Remove all paper from the printer.

  2. Repairing HP OfficeJet 3833 Paper Jam: adım 2, 2 resimden 1. Repairing HP OfficeJet 3833 Paper Jam: adım 2, 2 resimden 2.
    • Check the input tray, located in the back of the printer, for any paper remains and remove them.

  3. Repairing HP OfficeJet 3833 Paper Jam: adım 3, 2 resimden 1. Repairing HP OfficeJet 3833 Paper Jam: adım 3, 2 resimden 2.
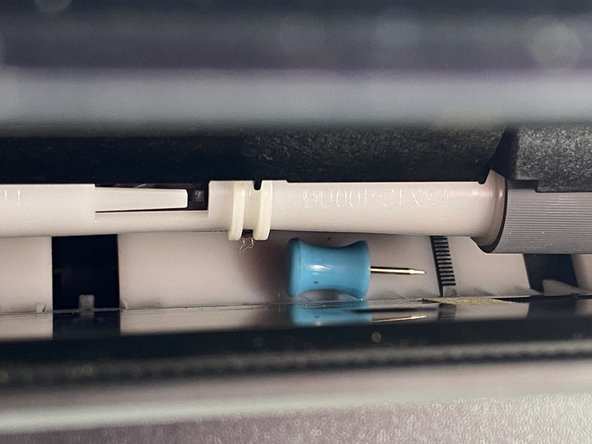
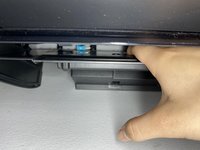
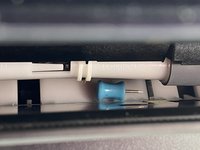
    • Check the input tray for any foreign objects.

    • You may need to hold down the input tray and shine a flashlight inside to have a better look.

    • Long tweezers are recommended to remove objects such as thumbnails and tacks.

  4. Repairing HP OfficeJet 3833 Paper Jam: adım 4, 2 resimden 1. Repairing HP OfficeJet 3833 Paper Jam: adım 4, 2 resimden 2.
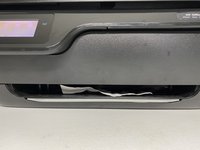
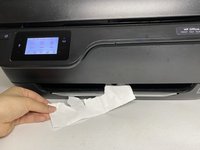
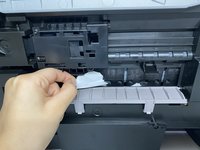
    • Check the output tray, located in the front of the printer, for paper remains and remove them.

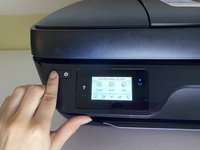
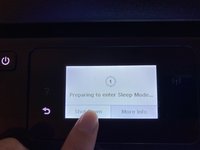
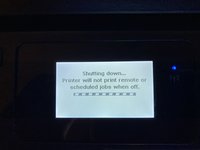
  5. Repairing HP OfficeJet 3833 Paper Jam: adım 5, 3 resimden 1. Repairing HP OfficeJet 3833 Paper Jam: adım 5, 3 resimden 2. Repairing HP OfficeJet 3833 Paper Jam: adım 5, 3 resimden 3.
    • Shut down the printer.

    • Hold down the power button until a message appears.

    • Select the Shut Down option.

    • A message will appear and the printer will turn off.

  6. Repairing HP OfficeJet 3833 Paper Jam: adım 6, 2 resimden 1. Repairing HP OfficeJet 3833 Paper Jam: adım 6, 2 resimden 2.
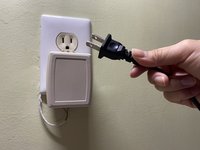
    • Unplug the printer power cable from the wall outlet.

    • Remove the power cable from the back of the printer.

  7. Repairing HP OfficeJet 3833 Paper Jam: adım 7, 3 resimden 1. Repairing HP OfficeJet 3833 Paper Jam: adım 7, 3 resimden 2. Repairing HP OfficeJet 3833 Paper Jam: adım 7, 3 resimden 3.
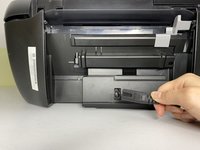
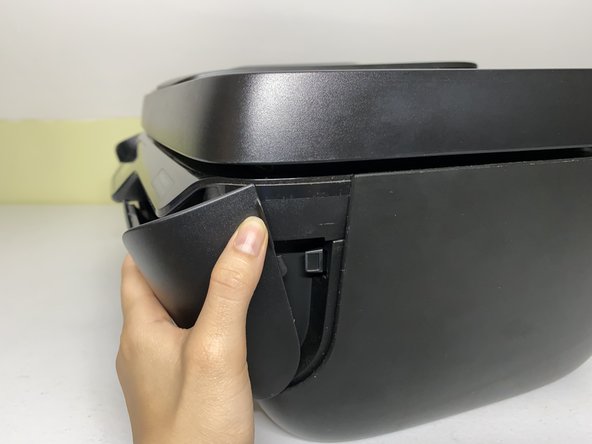
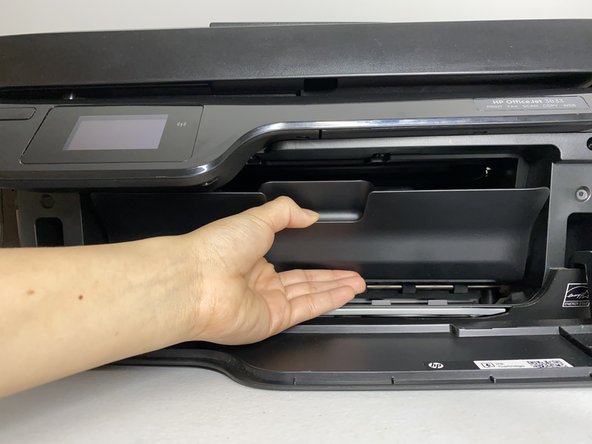
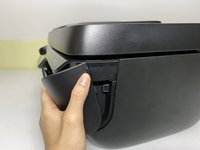
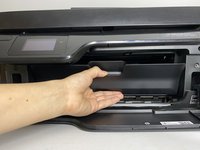
    • Pull back on the front sides of the printer to remove the front panel.

    • Then pull the handle inside to remove the ink cartridge panel.

  8. Repairing HP OfficeJet 3833 Paper Jam: adım 8, 2 resimden 1. Repairing HP OfficeJet 3833 Paper Jam: adım 8, 2 resimden 2.
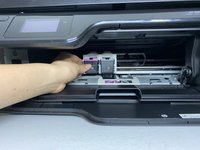
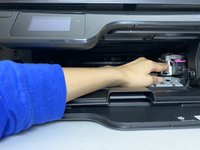
    • Slide the ink cartridge to the side.

    • This step must be done carefully to prevent damage to the printer.

  9. Repairing HP OfficeJet 3833 Paper Jam: adım 9, 2 resimden 1. Repairing HP OfficeJet 3833 Paper Jam: adım 9, 2 resimden 2.
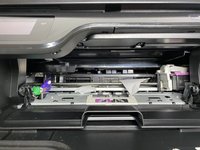
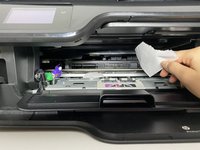
    • Search for and remove any debris.

  10. Repairing HP OfficeJet 3833 Paper Jam: adım 10, 1 resimden 1.
    • Put the printer on its side.

    • You may need to open the top half and lay it down to prevent the printer from falling.

  11. Repairing HP OfficeJet 3833 Paper Jam: adım 11, 2 resimden 1. Repairing HP OfficeJet 3833 Paper Jam: adım 11, 2 resimden 2.
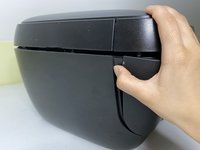
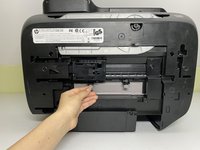
    • Locate the cleanout door on the bottom half of the printer.

    • Open the cleanout door to remove unwanted debris.

Bitiş Çizgisi
Ivory S. Mayorga

Üyelik tarihi: 09/16/20

193 İtibar

1 Kılavuz yazıldı

0 Yorum

Yorum Ekle

İstatistikleri Görüntüle:

Son 24 Saat: 1

Son 7 gün: 12

Son 30 gün: 45

Her zaman: 3,005