Ana içeriğe geç

Repairing HTC Droid Incredible LCD

Arşivlenmiş Kılavuz
Bu kılavuz sadece arşivsel amaçlarla muhafaza edilmiştir. Onarımınızı gerçekleştirmek için kılavuzun güncel halini kullanın.

Neye ihtiyacın var

  1. Repairing HTC Droid Incredible LCD, Battery: adım 1, 3 resimden 1. Repairing HTC Droid Incredible LCD, Battery: adım 1, 3 resimden 2. Repairing HTC Droid Incredible LCD, Battery: adım 1, 3 resimden 3.
    • Pry off back plastic, starting at the gap provided at the bottom of the phone. A spudger can be used to make this easier.

  2. Repairing HTC Droid Incredible LCD: adım 2, 2 resimden 1. Repairing HTC Droid Incredible LCD: adım 2, 2 resimden 2.
    • Remove battery, prying from the provided gap at the upper-right corner of the battery

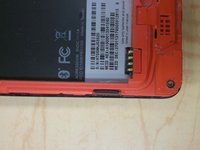
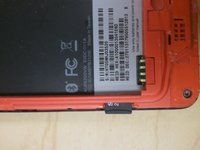
  3. Repairing HTC Droid Incredible LCD, Back Panel: adım 3, 2 resimden 1. Repairing HTC Droid Incredible LCD, Back Panel: adım 3, 2 resimden 2.
    • Depress MicroSD to eject it from the side of the case.

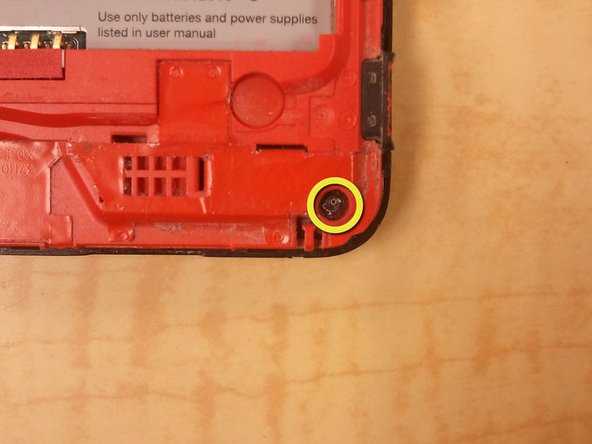
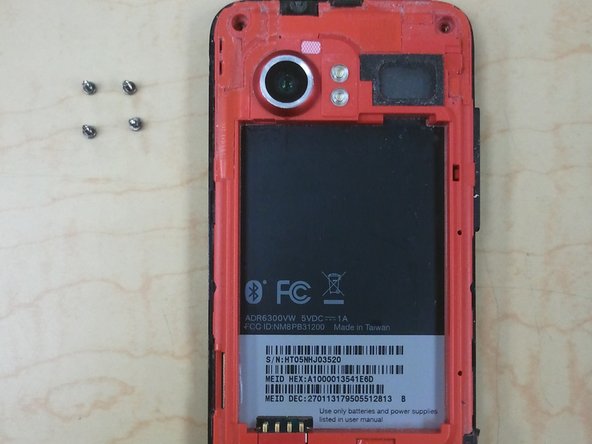
  4. Repairing HTC Droid Incredible LCD: adım 4, 3 resimden 1. Repairing HTC Droid Incredible LCD: adım 4, 3 resimden 2. Repairing HTC Droid Incredible LCD: adım 4, 3 resimden 3.
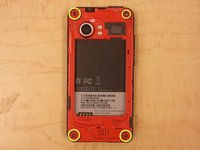
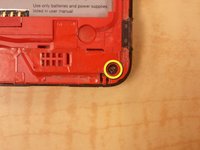
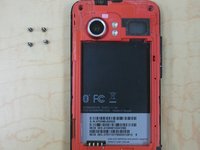
    • Remove 4 corner screws, you may have to remove a "VOID" sticker from one of the screw heads.

  5. Repairing HTC Droid Incredible LCD: adım 5, 3 resimden 1. Repairing HTC Droid Incredible LCD: adım 5, 3 resimden 2. Repairing HTC Droid Incredible LCD: adım 5, 3 resimden 3.
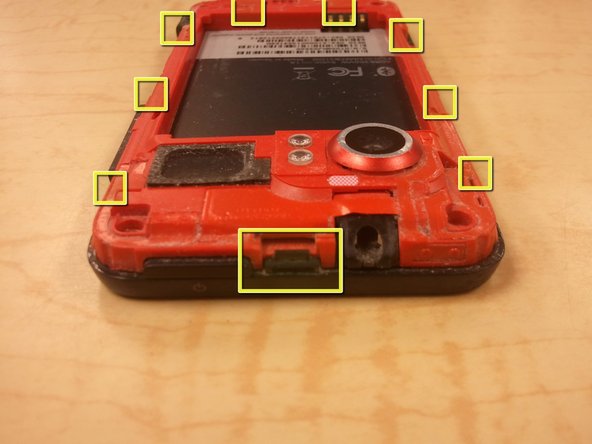
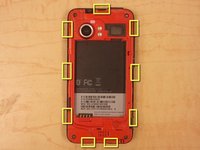
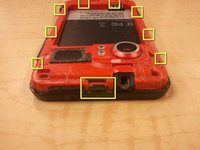
    • Using a spudger, unclip the nine clips holding the back panel to the front panel, highlighted in included pictures.

    • Start at the top, and work clockwise, being careful not to break the clips.

    • There are, 1, 3, 2, and 3 clips on each side, respectively.

    • After the clips are disengaged, there are no cables holding the back panel in place.

  6. Repairing HTC Droid Incredible LCD, Optical Track Pad: adım 6, 3 resimden 1. Repairing HTC Droid Incredible LCD, Optical Track Pad: adım 6, 3 resimden 2. Repairing HTC Droid Incredible LCD, Optical Track Pad: adım 6, 3 resimden 3.
    • Use your spudger to release the jaw clip holding the Optical Track Pad cable to the logic board.

    • Remove Optical Track Pad from logic board.

  7. Repairing HTC Droid Incredible LCD, Logic Board: adım 7, 1 resimden 1.
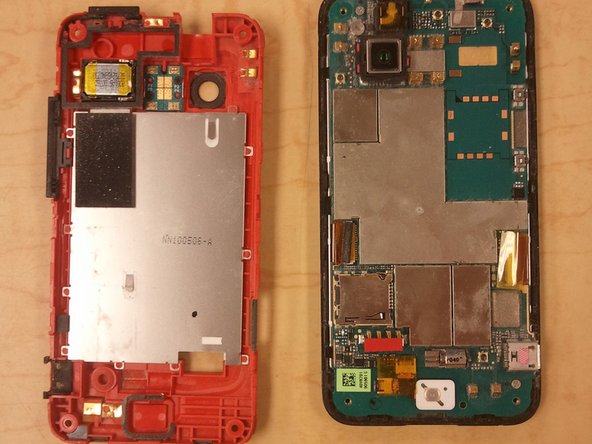
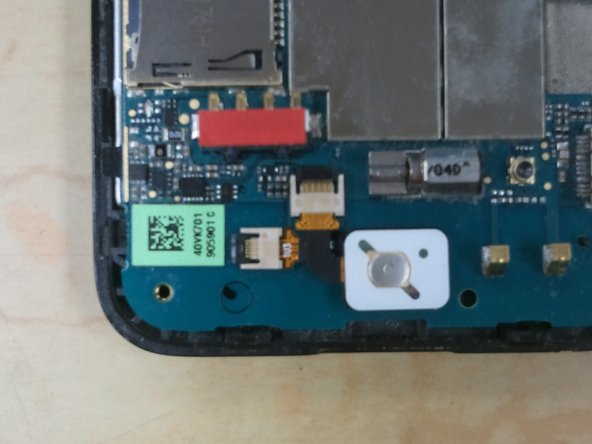
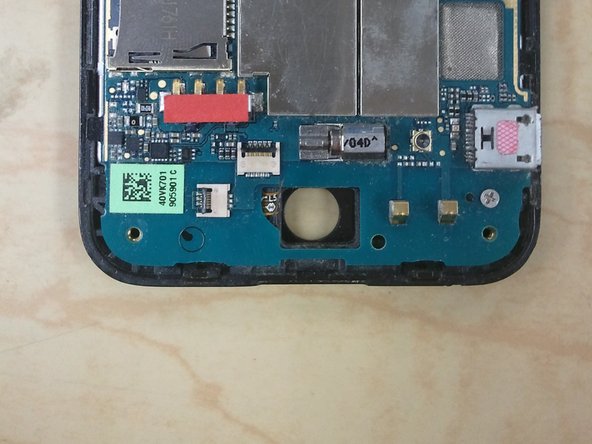
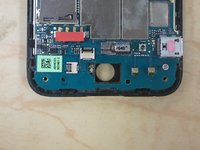
    • Use your spudger to release the remaining clips, disconnecting the ribbon cables from the logic board.

  8. Repairing HTC Droid Incredible LCD: adım 8, 2 resimden 1. Repairing HTC Droid Incredible LCD: adım 8, 2 resimden 2.
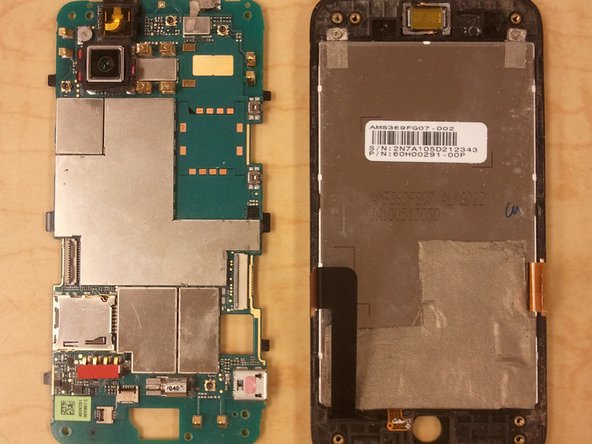
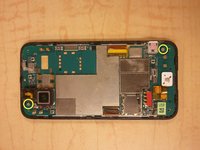
    • Remove 2 Phillips Screws holding the logic board to the front panel.

    • Gently lift the logic board off the front panel.

  9. Repairing HTC Droid Incredible LCD, LCD: adım 9, 2 resimden 1. Repairing HTC Droid Incredible LCD, LCD: adım 9, 2 resimden 2.
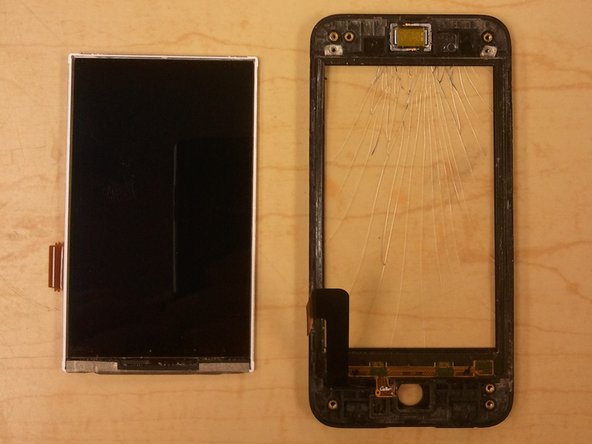
    • Remove the two phillips screws from the top of the LCD frame.

    • Use your spudger to pry the LCD out of the frame.

Sonuç

To reassemble your device, follow these instructions in reverse order.

4 farklı kişi bu kılavuzu tamamladı.

Mobile Rapid Response Unit

Üyelik tarihi: 05/07/12

1.941 İtibar

6 adet Kılavuz yazıldı

0 Yorum

Yorum Ekle

İstatistikleri Görüntüle:

Son 24 Saat: 0

Son 7 gün: 0

Son 30 gün: 0

Her zaman: 3,692