Ana içeriğe geç

Repairing a Clogged MakerBot Smart Extruder+

Neye ihtiyacın var

  1. Repairing a Clogged MakerBot Smart Extruder+, Repairing a Clogged MakerBot Smart Extruder+: adım 1, 1 resimden 1.
    • Place the extruder on a flat surface with the connection pins facing up.

  2. Repairing a Clogged MakerBot Smart Extruder+: adım 2, 1 resimden 1.
    • Remove the 4 screws on the outer edge of the extruder using the 2 mm hex wrench.

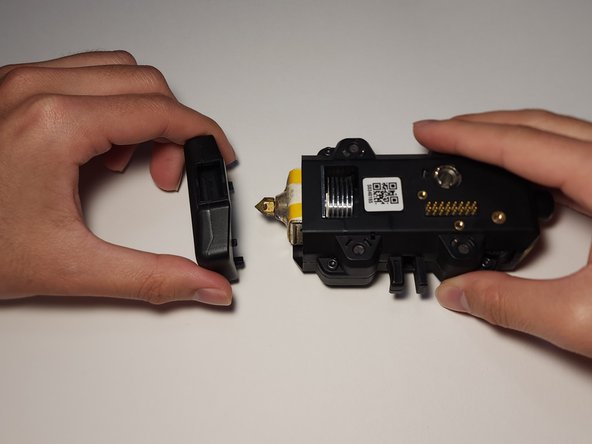
  3. Repairing a Clogged MakerBot Smart Extruder+: adım 3, 2 resimden 1. Repairing a Clogged MakerBot Smart Extruder+: adım 3, 2 resimden 2.
    • Remove the fan shroud from the extruder.

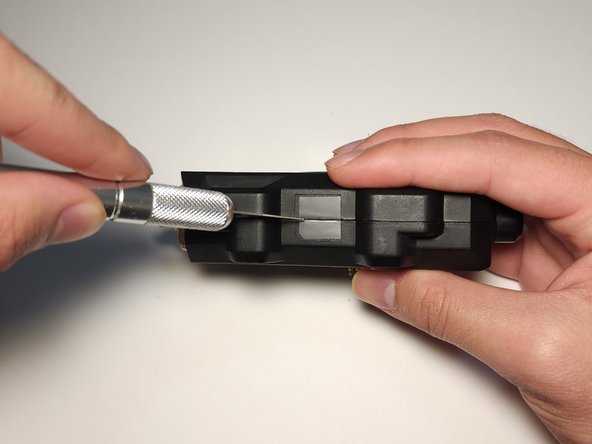
  4. Repairing a Clogged MakerBot Smart Extruder+: adım 4, 2 resimden 1. Repairing a Clogged MakerBot Smart Extruder+: adım 4, 2 resimden 2.
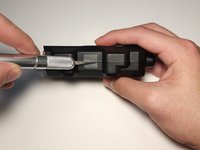
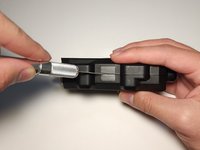
    • Turn the extruder on its side and cut through the black seal using the X-ACTO Knife.

  5. Repairing a Clogged MakerBot Smart Extruder+: adım 5, 2 resimden 1. Repairing a Clogged MakerBot Smart Extruder+: adım 5, 2 resimden 2.
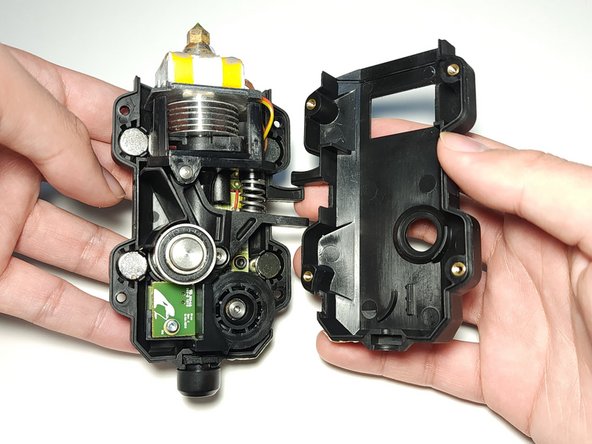
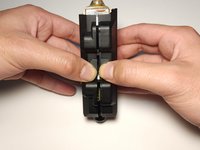
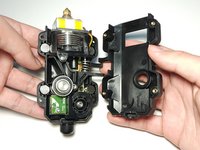
    • Gently pull the two halves of the extruder apart.

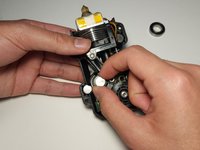
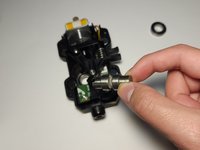
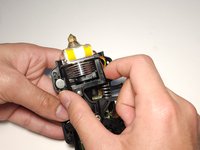
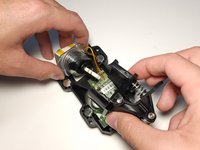
  6. Repairing a Clogged MakerBot Smart Extruder+: adım 6, 3 resimden 1. Repairing a Clogged MakerBot Smart Extruder+: adım 6, 3 resimden 2. Repairing a Clogged MakerBot Smart Extruder+: adım 6, 3 resimden 3.
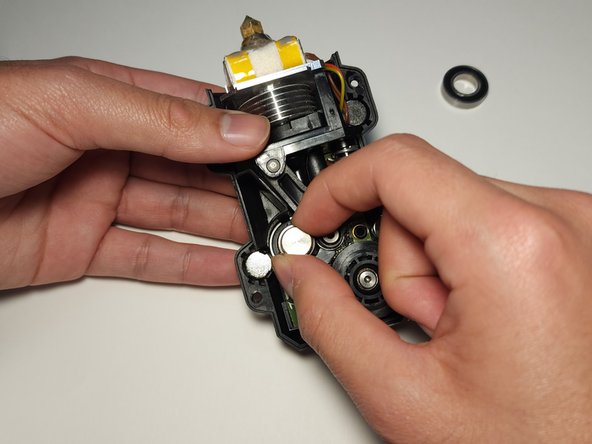
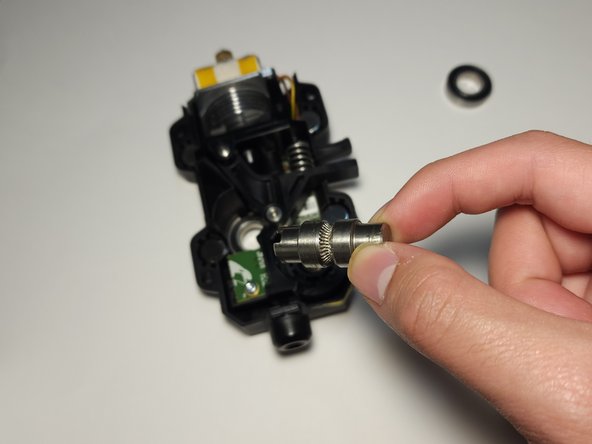
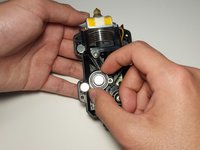
    • Remove the bearing and the hobbed bolt.

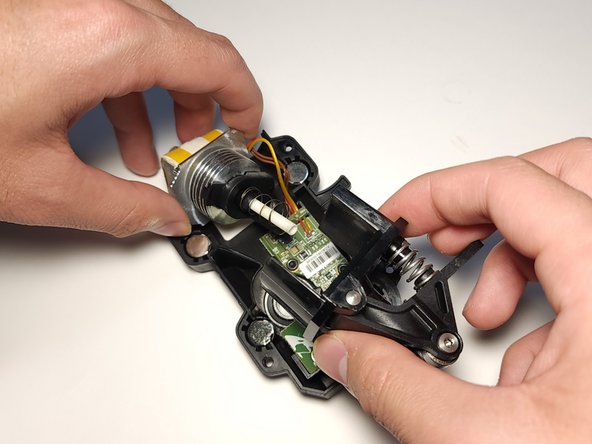
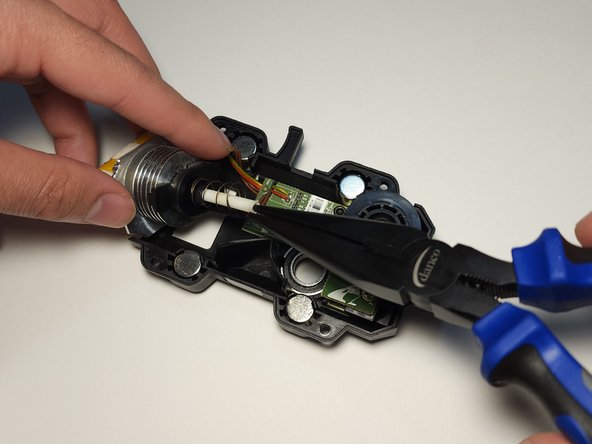
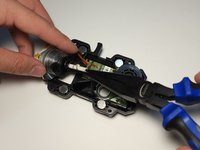
  7. Repairing a Clogged MakerBot Smart Extruder+: adım 7, 3 resimden 1. Repairing a Clogged MakerBot Smart Extruder+: adım 7, 3 resimden 2. Repairing a Clogged MakerBot Smart Extruder+: adım 7, 3 resimden 3.
    • Remove the freed nozzle and use needle nose pliers to pull out the filament that is clogging the extruder.

Sonuç

To reassemble your device, follow these instructions in reverse order.

Aidan Tadeo

Üyelik tarihi: 01/26/23

145 İtibar

1 Kılavuz yazıldı

Ekip

UC Davis, Team 1-6, Morris Winter 2023 UC Davis, Team 1-6, Morris Winter 2023 üyesi

UCD-MORRIS-W23S1G6

2 Üyeler

2 adet Kılavuz yazıldı

0 Yorum

Yorum Ekle

İstatistikleri Görüntüle:

Son 24 Saat: 0

Son 7 gün: 5

Son 30 gün: 43

Her zaman: 454