Giriş
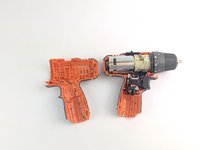
A damaged housing assembly will impede the users ability to properly insert the battery and undermines the drills durability in harsh working environments. Switching out the drill’s housing assembly requires a Hex 2.0 Screwdriver to remove the seven M3 X 14mm screws.
Neye ihtiyacın var
-
-
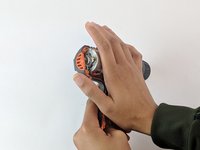
Eject the battery from the drill.
-
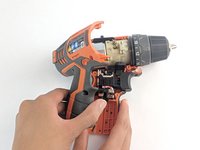
Unscrew the seven M3x15.3mm screws, with the 2mm hex screwdriver bit, that secures the Housing Assembly.
-
-


To reassemble your device, follow these instructions in reverse order. Also reinsert the battery to make sure the drill has power.
To reassemble your device, follow these instructions in reverse order. Also reinsert the battery to make sure the drill has power.
İptal et: Bu kılavuzu tamamlamadım.
2 farklı kişi bu kılavuzu tamamladı.
Ekip

USF Tampa, Team S1-G2, Leahy Spring 2019 USF Tampa, Team S1-G2, Leahy Spring 2019 üyesi
USFT-LEAHY-S19S1G2
4 Üyeler
10 adet Kılavuz yazıldı