Giriş
This guide explains and guides you through the process of replacing the LED flashlight found on the Ridgid R82005. If The LED on your Ridgid R82005 is malfunctioning or has stopped working, then it is likely that the light included needs to be replaced. The replacement of this part will require the disassembly of the product therefore it is advised to handle the parts with care as you remove them.
Neye ihtiyacın var
-
-
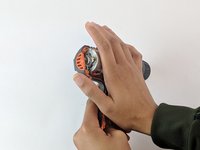
Eject the battery from the drill.
-
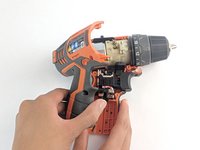
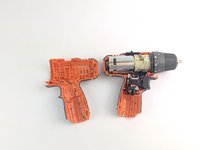
Unscrew the seven M3x15.3mm screws, with the 2mm hex screwdriver bit, that secures the Housing Assembly.
-
-


To reassemble your device, follow these instructions in reverse order.
To reassemble your device, follow these instructions in reverse order.
İptal et: Bu kılavuzu tamamlamadım.
2 farklı kişi bu kılavuzu tamamladı.

Ekip

USF Tampa, Team S1-G2, Leahy Spring 2019 USF Tampa, Team S1-G2, Leahy Spring 2019 üyesi
USFT-LEAHY-S19S1G2
4 Üyeler
10 adet Kılavuz yazıldı