Bu kılavuzda güncel değişiklikler var. En son onaylanmamış sürüme geçin.
Giriş
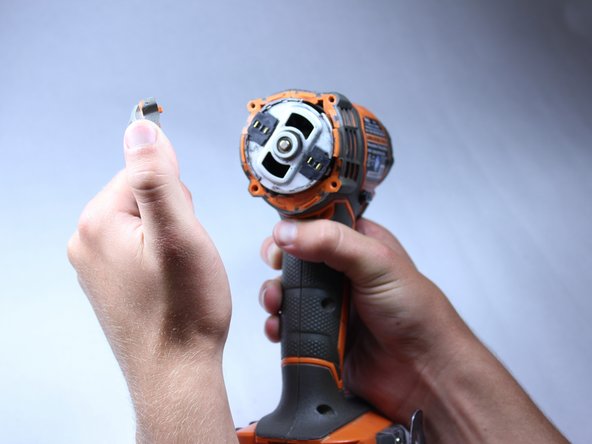
The direction switch determines if the drill is going to rotate clockwise or counterclockwise. If this is broken it can almost render the drill useless as it will be stuck in one direction. This is a fairly simple guide.
Neye ihtiyacın var
-
-
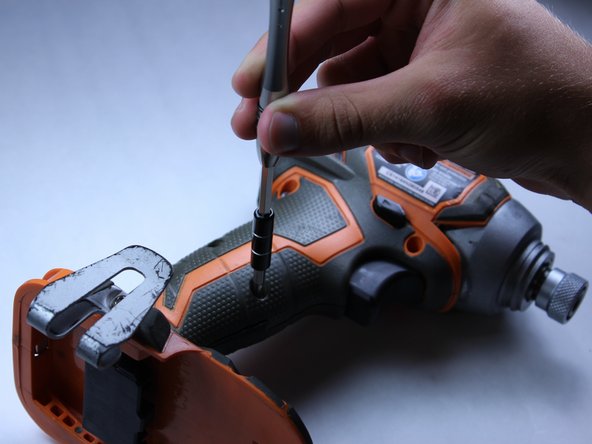
Use the flat side of a metal spudger to peel the black rubber cover off of the casing.
-
-


To reassemble your device, follow these instructions in reverse order.
To reassemble your device, follow these instructions in reverse order.
İptal et: Bu kılavuzu tamamlamadım.
2 farklı kişi bu kılavuzu tamamladı.
Ekip

Cal Poly, Team 15-5, Amido Spring 2015 Cal Poly, Team 15-5, Amido Spring 2015 üyesi
CPSU-AMIDO-S15S15G5
4 Üyeler
12 adet Kılavuz yazıldı