Bu kılavuzda güncel değişiklikler var. En son onaylanmamış sürüme geçin.
Giriş
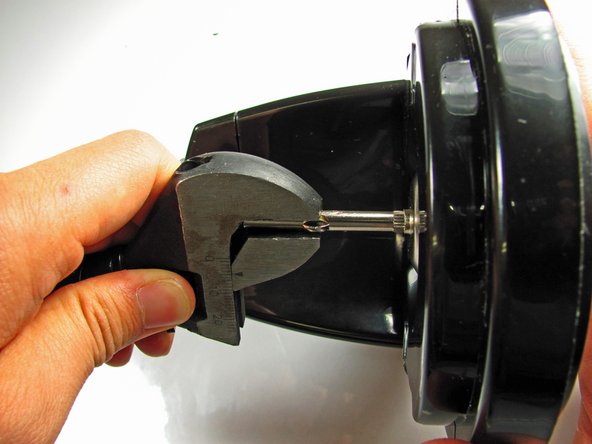
This guide will help you remove the safety latch for the container lid.
Neye ihtiyacın var
-
-
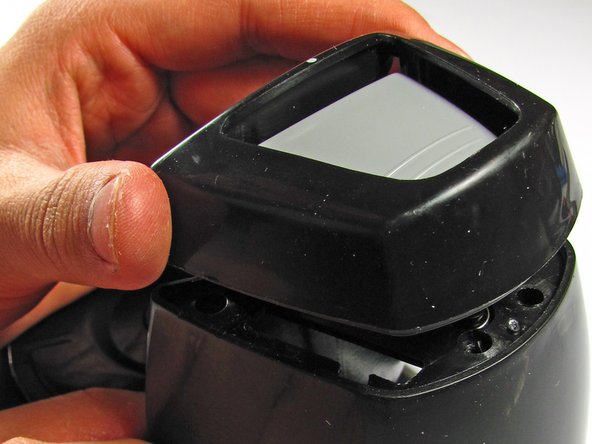
Twist the plastic lid counterclockwise to unlock it.
-
Lift the lid to remove it from the container.
-
-


Neredeyse bitti!
To reassemble your device, follow these instructions in reverse order.
Sonuç
To reassemble your device, follow these instructions in reverse order.

Ekip

Cal Poly, Team 4-29, Amido Fall 2013 Cal Poly, Team 4-29, Amido Fall 2013 üyesi
CPSU-AMIDO-F13S4G29
4 Üyeler
5 adet Kılavuz yazıldı