Ana içeriğe geç
Onarım Topluluğuna Katılın - Hesap Oluşturun

Rydis H68 Pro Bumper Replacement

Neye ihtiyacın var

  1. Rydis H68 Pro Bumper Replacement, Battery: adım 1, 2 resimden 1. Rydis H68 Pro Bumper Replacement, Battery: adım 1, 2 resimden 2.
    • Flip the vacuum over so that the wheels are facing you.

    • Use a Phillips #1 screwdriver to remove the four 10 mm screws that surround the battery cover.

    FixBot'a Sor

    Yorum Ekle

  2. Rydis H68 Pro Bumper Replacement: adım 2, 1 resimden 1.
    • Lift the battery cover up to reveal the battery.

    • Remove the battery.

    FixBot'a Sor

    Yorum Ekle

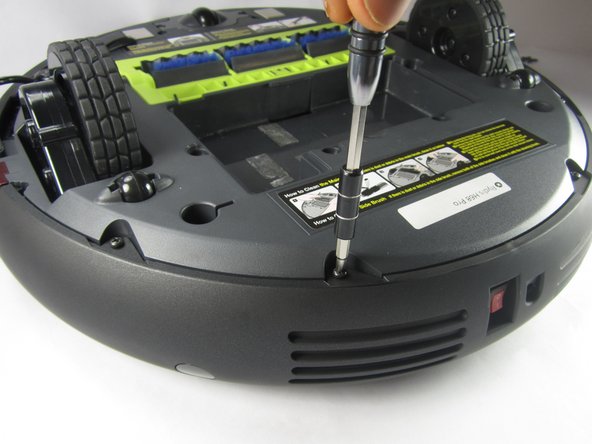
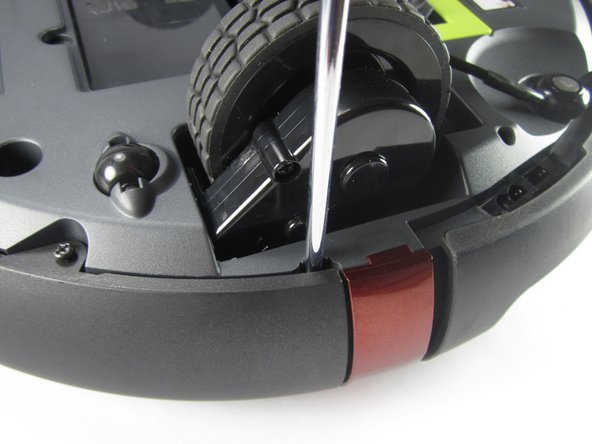
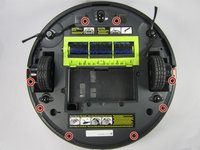
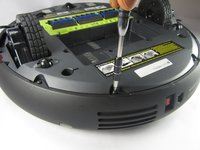
  3. Rydis H68 Pro Bumper Replacement, Bumper: adım 3, 3 resimden 1. Rydis H68 Pro Bumper Replacement, Bumper: adım 3, 3 resimden 2. Rydis H68 Pro Bumper Replacement, Bumper: adım 3, 3 resimden 3.
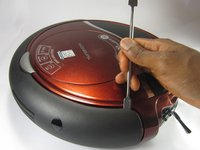
    • Remove the eight 10 mm Phillips #1 screws.

    FixBot'a Sor

    Yorum Ekle

  4. Rydis H68 Pro Bumper Replacement: adım 4, 3 resimden 1. Rydis H68 Pro Bumper Replacement: adım 4, 3 resimden 2. Rydis H68 Pro Bumper Replacement: adım 4, 3 resimden 3.
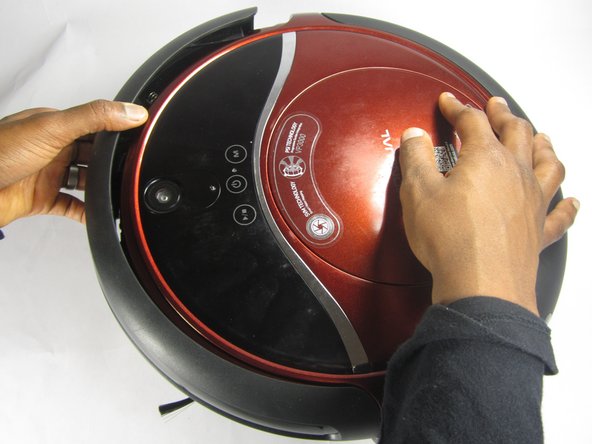
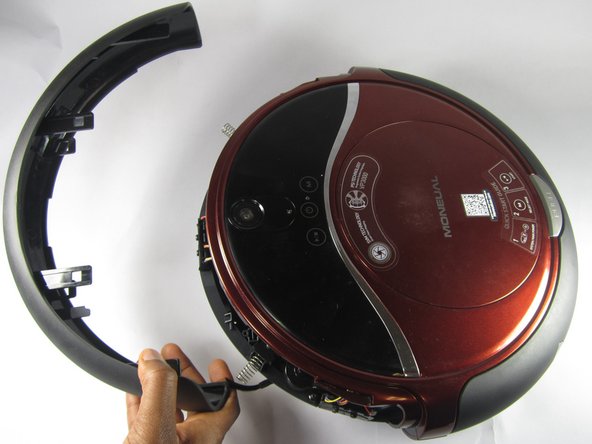
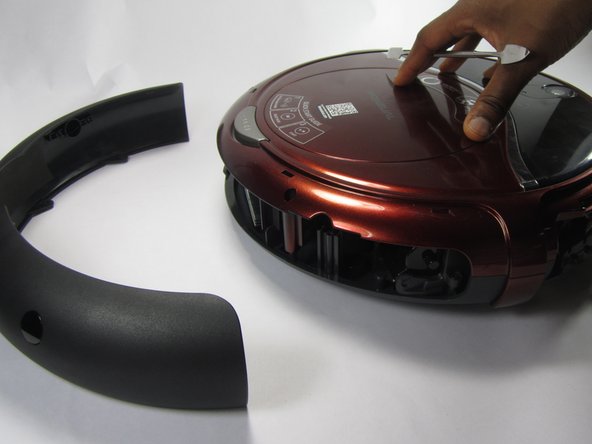
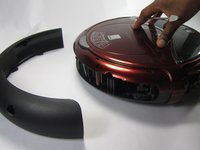
    • Hold the front bumper and pull it off.

    • It requires a lot of force to pull the bumper off.

    FixBot'a Sor

    Yorum Ekle

  5. Rydis H68 Pro Bumper Replacement: adım 5, 3 resimden 1. Rydis H68 Pro Bumper Replacement: adım 5, 3 resimden 2. Rydis H68 Pro Bumper Replacement: adım 5, 3 resimden 3.
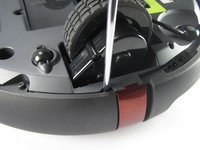
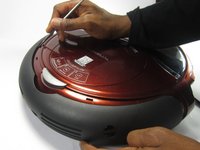
    • Pry off the back bumper by going around the entire top of the bumper with the metal spudger.

    FixBot'a Sor

    Yorum Ekle

Sonuç

To reassemble your device, follow these instructions in reverse order.

İptal et: Bu kılavuzu tamamlamadım.

Joe Balduz

Üyelik tarihi: 02/15/17

231 İtibar

2 adet Kılavuz yazıldı

Ekip

USFT-Lacy-S17S005G2 USFT-Lacy-S17S005G2 üyesi

Local Repair Groups

4 Üyeler

10 adet Kılavuz yazıldı

0Kılavuz Yorumları

Yorum Ekle

İstatistikleri Görüntüle:

Son 24 Saat: 1

Son 7 gün: 4

Son 30 gün: 19

Her zaman: 705