Bu sürüm, hatalı düzenlemeler içerebilir. En son doğrulanmış bellek kopyası dönün.
Neye ihtiyacın var
-
Bu adım çevrilmemiş. Çevrilmesine yardım edin
-
Detach the battery unit from the drill body by pressing the battery release buttons on both sides of the unit and pulling outwards.
-
-
Bu adım çevrilmemiş. Çevrilmesine yardım edin
-
Use a Torx T10 screw driver to unscrew all ten 13.5 mm screws from the drill casing to gain access to the interior.
-
-
Bu adım çevrilmemiş. Çevrilmesine yardım edin
-
Gently lift the casing from the drill body.
-
Take the casing completely off the drill body to gain access to the interior of the drill.
-
-
Bu adım çevrilmemiş. Çevrilmesine yardım edin
-
Gently lift the magnetic tray from the bottom of the drill body.
-
-
Bu adım çevrilmemiş. Çevrilmesine yardım edin
-
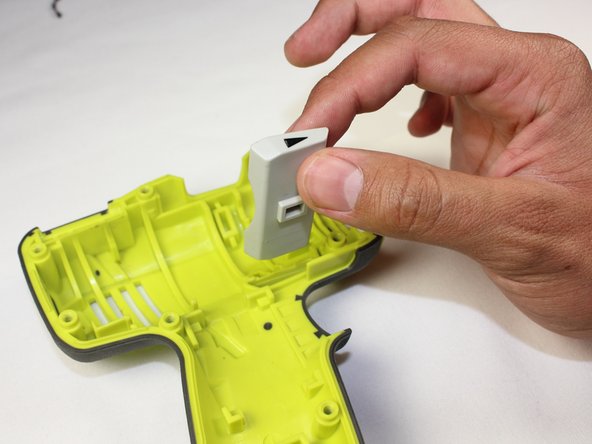
Grip the bit-clip and gently lift up to remove it from the case.
-
-
Bu adım çevrilmemiş. Çevrilmesine yardım edin
-
Rotate the Drill 180 degrees so that the top is facing you.
-
Lift the level gauge out from the top corner of the drill.
-
-
-
Bu adım çevrilmemiş. Çevrilmesine yardım edin
-
Lift the gear switch upwards from the top of the drill head.
-
-
Bu adım çevrilmemiş. Çevrilmesine yardım edin
-
Grip the battery clip and pull straight up to remove the metal battery contacts.
-
You can now clean the metal battery contacts with isopropyl alcohol.
-
-
Bu adım çevrilmemiş. Çevrilmesine yardım edin
-
Holding the direction select switch in place, grip both sides of the trigger assembly and lift it up and towards the base of the drill.
-
-
Bu adım çevrilmemiş. Çevrilmesine yardım edin
-
To separate the trigger assembly from the motor, use a soldering iron to melt the solder and pull gently on the red and black wires from the trigger.
-
-
Bu adım çevrilmemiş. Çevrilmesine yardım edin
-
Gripping the rear of the motor and the chuck, lift up.
-
-
Bu adım çevrilmemiş. Çevrilmesine yardım edin
-
Remove the copper springs. There are two on the either sides of the chuck and are loosely placed in the chuck's grooves.
-
-
Bu adım çevrilmemiş. Çevrilmesine yardım edin
-
Lift up on the direction toggle to remove it from the case.
-
-
Bu adım çevrilmemiş. Çevrilmesine yardım edin
-
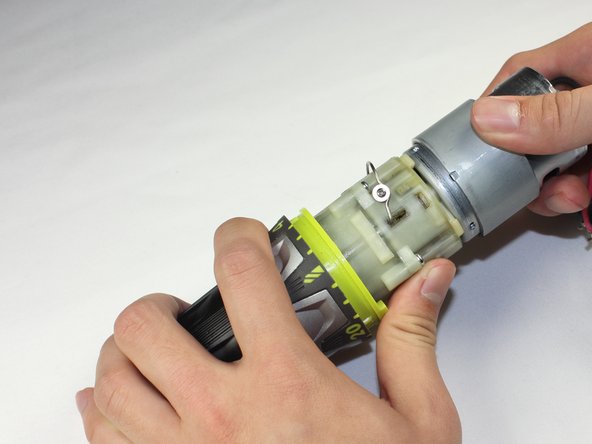
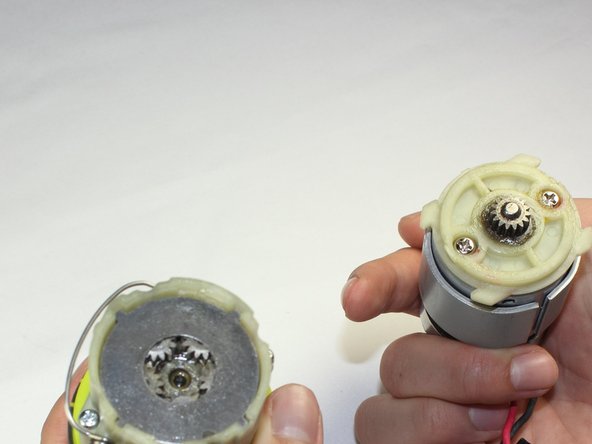
Hold the chuck and twist the motor clockwise and then pull apart to separate the motor from the chuck.
-
-
Bu adım çevrilmemiş. Çevrilmesine yardım edin
-
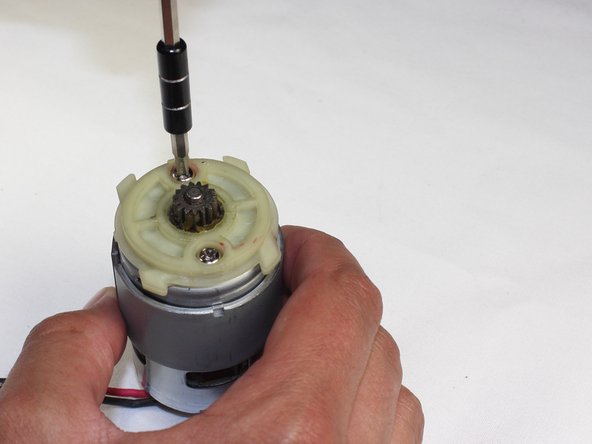
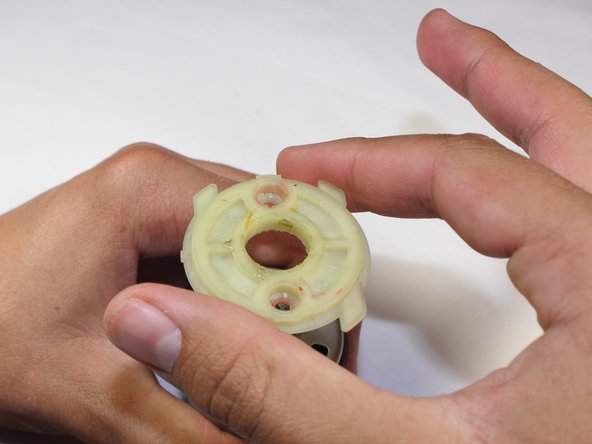
Unscrew the two 10mm Philips #1 screws to remove the plastic spacer. Be careful not to lose the metal ring washers that come with the screws.
-


İptal et: Bu kılavuzu tamamlamadım.
4 farklı kişi bu kılavuzu tamamladı.

Ekip

Cal Poly, Team 17-6, Forte Spring 2015 Cal Poly, Team 17-6, Forte Spring 2015 üyesi
CPSU-FORTE-S15S17G6
4 Üyeler
10 adet Kılavuz yazıldı