Giriş
Use this guide to replace the motor in your Ryobi P235 impact driver if it is overheating or under powered when the battery is fully charged.
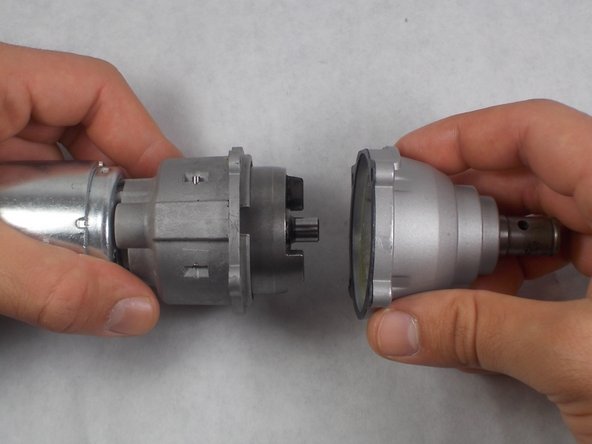
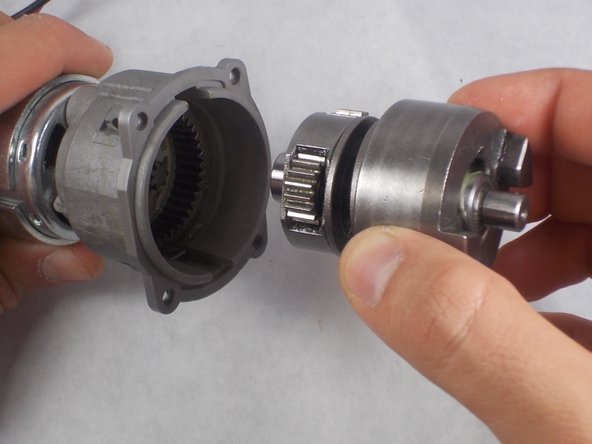
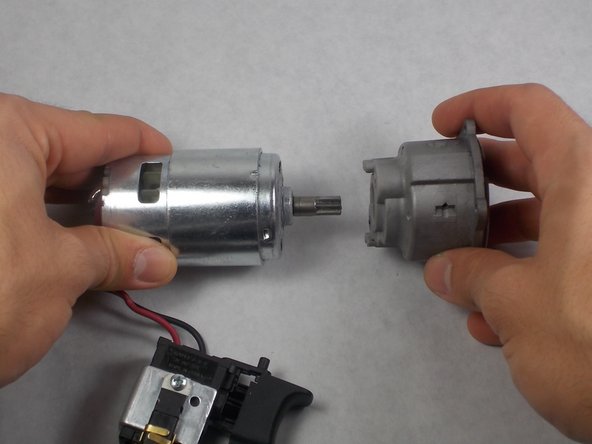
The motor is what converts the power stored in the battery to the physical power used to spin the cam shaft and hammer assembly. Since the motor requires the most steps and is the most difficult part to replace, it is important to keep an eye out for any cracked or broken components while taking apart your impact driver.
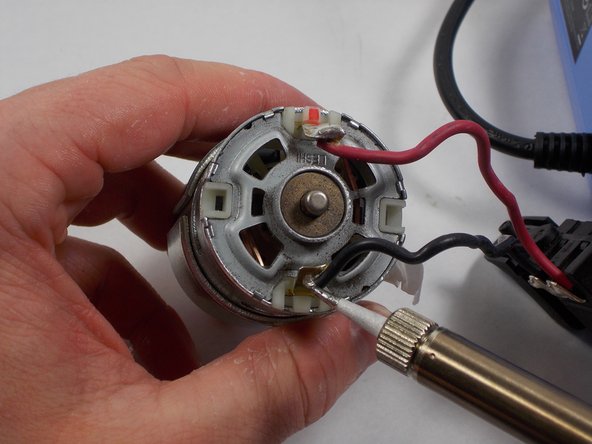
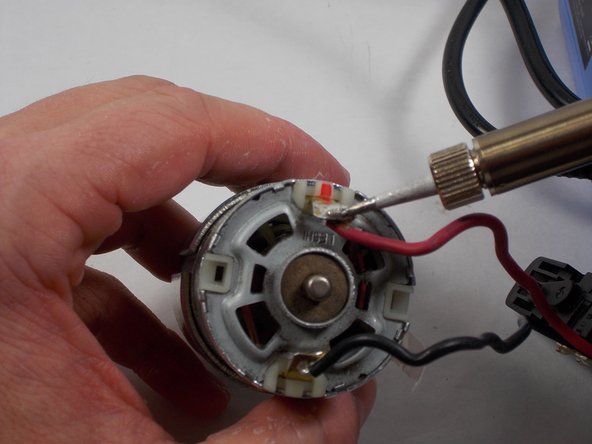
When you reach steps 12 and 13, the wires are soldered to the motor so a soldering iron will need to be used to disconnect them from the old motor and then reattach them to the new one.
Neye ihtiyacın var
-
-
Use a Phillips #2 screwdriver to remove the eight 16 mm screws that secure the housing.
-
-


To reassemble your device, follow these instructions in reverse.
To reassemble your device, follow these instructions in reverse.
İptal et: Bu kılavuzu tamamlamadım.
Bir başkası bu kılavuzu tamamladı.
Ekip

UMass Dartmouth, Team S4-G2, Saloman Fall 2019 UMass Dartmouth, Team S4-G2, Saloman Fall 2019 üyesi
UMASSD-SALOMAN-F19S4G2
3 Üyeler
6 adet Kılavuz yazıldı