Giriş
If the shell of your Ryobi P501G is damaged or compromised, you might want to think about replacing it. A damaged shell might be the result of wear and tear, or overuse. The opening up is not too complex and does not require a lot of experience. You will need the indicated screwdrivers to accomplish the task. There are no warnings or potential hazards when replacing this part.
Neye ihtiyacın var
-
-
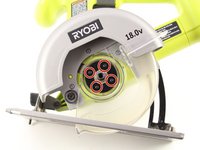
Locate the area where the blade is connected to the motor, where the circular covering is on the Ryobi P501G.
 FixBot'a Sor
-
-
-
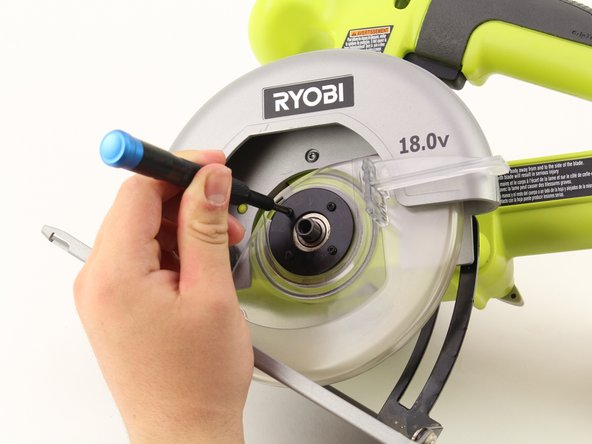
Unscrew clockwise and remove the bearing in the middle, connecting the blade to the motor. This will also allow removal of the blade guard.
-
-
-
-
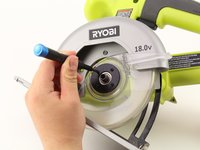
Remove the four black screws holding the black bearing and remove the bearing itself.
-
-
-
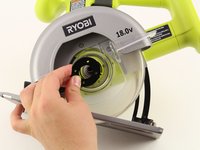
Once the black bearing is off, remove the transparent cover of the blade.
-
Once the cover is off, remove the blade.
-
-
-
Remove the three screws on the inside base of the metal casing of the blade.
-
Pull the metal blade casing off of the Ryobi P501G body.
-
-
-
Remove all of the screws located on the right side of the saw.
-
Separate the right side of the saw from the left side by pulling away once all of the screws are removed.
-
Pull back the shell to access the housed parts underneath.
-





To reassemble your device, follow these instructions in reverse order.

Ekip

Cal Poly, Team S1-G2, Maness Spring 2019 Cal Poly, Team S1-G2, Maness Spring 2019 üyesi
CPSU-MANESS-S19S1G2
4 Üyeler
7 adet Kılavuz yazıldı
