Giriş
Use this guide to remove/replace your M.2 SSD drive from your computer.
If you haven't bought a drive yet, and you're not sure whether to get a SATA or NVMe drive, NVMe drives are faster than SATA, but are not supported on all motherboards and are generally more expensive, so check that your motherboard supports your chosen drive.
Neye ihtiyacın var
-
-
Turn off your computer if it is on.
-
Unplug all cables at the back and the front of your computer.
-
Make sure to turn off the power supply by putting the switch at the "O" position.
-
-
-
Remove the side panel to gain access to the inside of your computer. To access the side panel, (except as described below) you need to remove the screws on the rear of the case, then slide the case to remove it.
-
In my case, with a DarkWitcher case from Empire Gaming, I need to unscrew 4 screws to lift and remove the side panel.
-
-
-
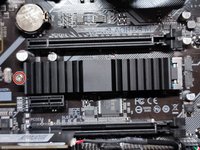
Locate the M.2 slot on your motherboard. If you don't see it, it may be hidden under the graphics card, you can check in the motherboard's manuel to find where it is.
-
-
-
-
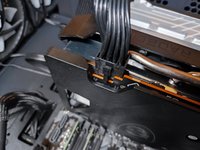
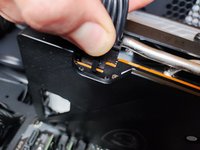
Otherwise, unplug the power cable from the graphics card by levering the clip on the connector and remove it.
-
-
-
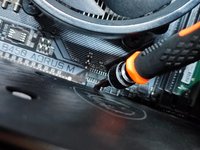
Remove the screws holding the graphics card in place.
-
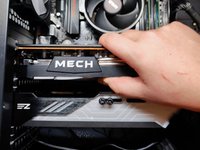
Push on the clip at the right of the GPU slot.
-
Remove the graphics card by gently lifting it out. You can use a plastic spatula to do this.
-
-
-
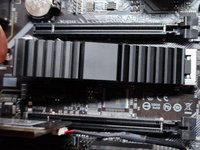
If not, remove the screw holding the heatsink in place.
-
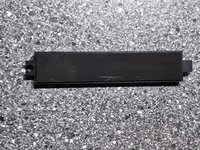
Then remove the heat sink by lifting it up.
-
-
-
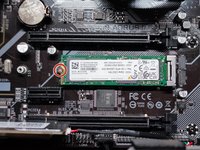
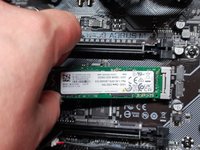
Remove the screw securing the disk in place.
-
Pull the drive to the left to take it out of the slot.
-
-
-
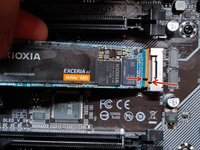
Align the notch on the slot with the notch on the drive.
-
Insert the new drive in the slot.
-
-
-
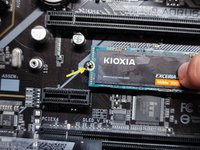
Press slightly on the disc to engage. Align the semi-circle at the end of the disc with the hole in the screw.
-
Screw the screw.
-


To reassemble you device, follow the instructions in reverse order beginning by the sixth step.
İptal et: Bu kılavuzu tamamlamadım.
6 farklı kişi bu kılavuzu tamamladı.
Bu çevirmenlere özel teşekkürler:
100%

Bu çevirmenler dünyayı onarmamıza yardım ediyor! Katkıda bulunmak ister misiniz?
Çeviriye Başlayın ›
