Giriş
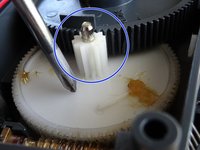
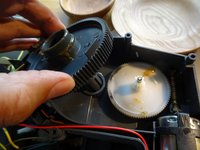
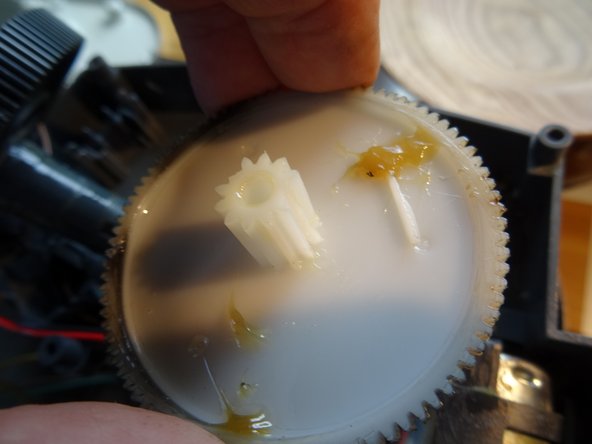
If your device sputters and doesn't make coffee anymore, it's likely that you have a worn out cogwheel. This guide will show you how to replace it.
You will need to open the device and remove the heating block. This guide shows you how to disconnect the heating block. But this isn't absolutely necessary and you can skip steps 11-17 - if you want. The model shown here is a Saeco Royal Sup 014 but other models are very similar.
These instructions may also help with other Saeco models and with coffee makers from Philips and Gaggia—they are all made by the same manufacturer and have a very similar design.
Neye ihtiyacın var
-
-
The coffeebean supply is fixed with two screws. Unscrew them and lift it off.
-
There is a black rubber lid under the bean hopper that you can easily lift off, leaving a large opening.
-
The adjuster of the grinder has to be solved. Mark the position or just take a picture. This type is fixed with a screw, others are only sticked together.
-
-
-
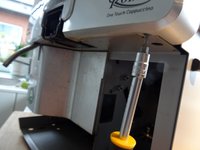
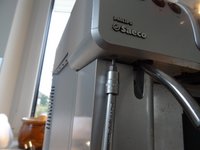
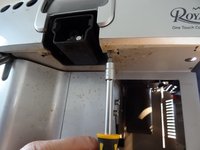
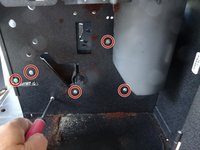
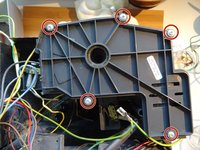
The screws are situated on the underneath of the cover. This type is held by four screws.
-
-
-
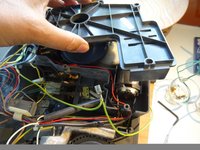
Now the cover can be raised: first grip on left and right rear side and lift about 10 cm (4 in). Sometimes the cover jams a little bit.
-
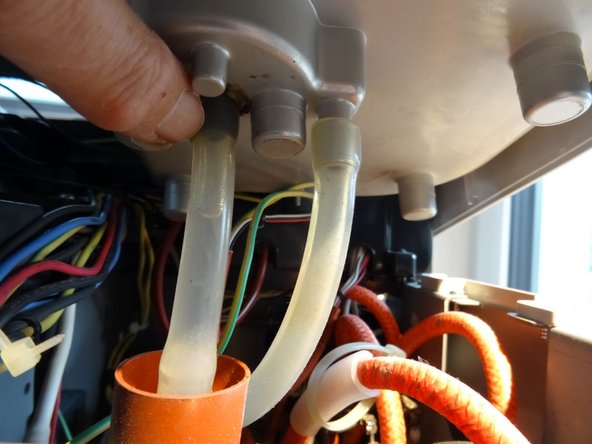
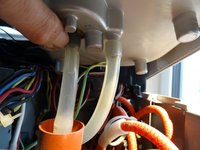
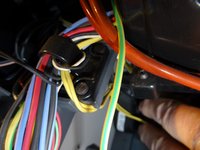
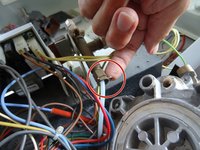
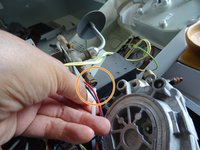
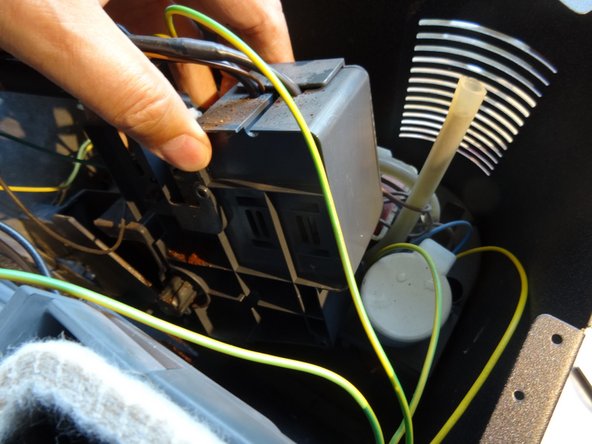
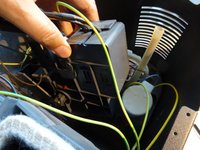
Solve the hoses which lead to the water tank. Perhaps you have to pull out some contacts, (e.g. the yellow-green protection lead), don´t forget to put them on again later.
-
The cover can be drawn aslant towards the front, sliding it over the hot water pipe.
-
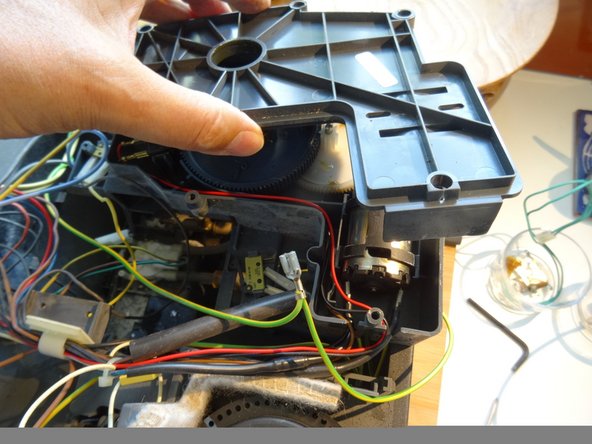
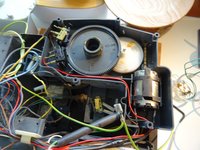
Most repairs can be done with the cover being laid up partially , it must not be completely removed.
-
-
-
This is what the removed thermoblock looks like. This one was 14 years old and leaking in various places.
-
-
-
-
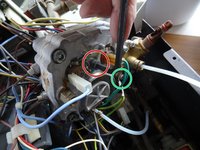
The Allen screw, which holds the holder of the two thermocouples, was not easy to open...
-
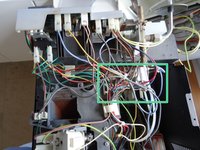
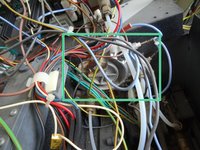
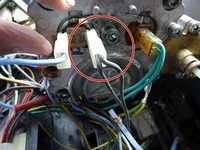
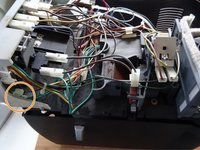
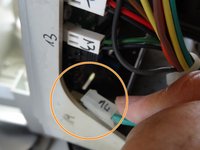
Therefore, the plug on the electronics with the two green cables was pulled out. The plug has the mark 14 and is at the very bottom of the electronics.
-
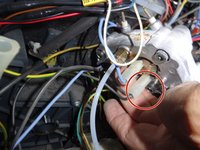
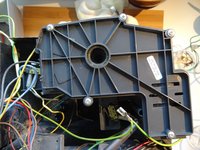
Disconnect the plug with the yellow-green grounding wire from the support valve.
-
-
-
In order to remove the brewing group, you first have to unscrew the Phillips screw with which the inlet nozzle is fastened.
-
Then, you can take the brew group out with a lot of force. At the same time, the inlet nozzle loosens and gets stuck in the support valve, which there it can be easily removed.
-
-
-
The brew group is unlikely to be used properly because the drive shaft is not yet in the correct position. The machine does it by itself, but the microswitches have to be tricked into it: insert small cardboard strips until the switches click.
-
Engage the machine without brew group and the engine should go to it's home position. Now you can remove the cardboard strips and insert the brewing group.
-
To re-assembly your device, follow the steps above in reverse order.
To re-assembly your device, follow the steps above in reverse order.
İptal et: Bu kılavuzu tamamlamadım.
2 farklı kişi bu kılavuzu tamamladı.
Bu çevirmenlere özel teşekkürler:
100%
Bu çevirmenler dünyayı onarmamıza yardım ediyor! Katkıda bulunmak ister misiniz?
Çeviriye Başlayın ›


