Giriş
If your laptop does not hold a charge or doesn't turn on unless it is plugged into its charger, the battery may have went bad. To keep your laptop running optimal and maintain a high charge duration, a battery replacement may be necessary.
Neye ihtiyacın var
-
-
-
Place the computer upside down.
-
Remove 2 rubber pads, by prying up on them.
-
Remove the seven 6.5mm screws on exterior of computer.
 FixBot'a Sor
-
-
-
Remove the panel by sliding it down and lifting it away from the computer.
-
Remove the four 4.4mm screws that are underneath the panel.
-
Remove the two 6.5mm screws that were underneath the rubber pads.
-
-
-
-
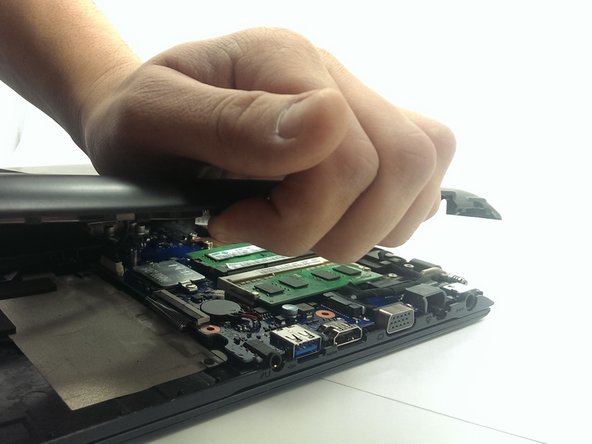
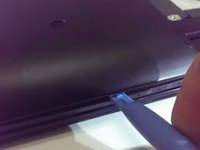
Using the plastic opening tool, pry plastic panel away from computer.
-
Remove the panel from computer, once all tabs are broken free.
-
-
-
Remove the four 3.5mm screws holding the battery.
-
Peel back the tape securing the wires to the battery.
-
Lift and remove the battery from its location.
-
-
-
Disconnect the battery harness from computer.
-
Completely remove the battery and replace it.
-
-




To reassemble your device, follow these instructions in reverse order.
İptal et: Bu kılavuzu tamamlamadım.
4 farklı kişi bu kılavuzu tamamladı.

Ekip

Michigan Tech, Team 1-7, Lauer Spring 2015 Michigan Tech, Team 1-7, Lauer Spring 2015 üyesi
MTU-LAUER-S15S1G7
2 Üyeler
45 adet Kılavuz yazıldı
