Bu sürüm, hatalı düzenlemeler içerebilir. En son doğrulanmış bellek kopyası dönün.
Neye ihtiyacın var
-
Bu adım çevrilmemiş. Çevrilmesine yardım edin
-
Use Phillips 0 Screwdriver to remove two (2), 10 mm rear screws.
-
Use the iFixit opening tool to help separate the top plastic casing from the bottom metal casing.
-
-
Bu adım çevrilmemiş. Çevrilmesine yardım edin
-
Use Phillips 0 screwdriver to remove two (2), 10 mm screws from the plastic cover.
-
Remove plastic cover from board.
-
-
Bu adım çevrilmemiş. Çevrilmesine yardım edin
-
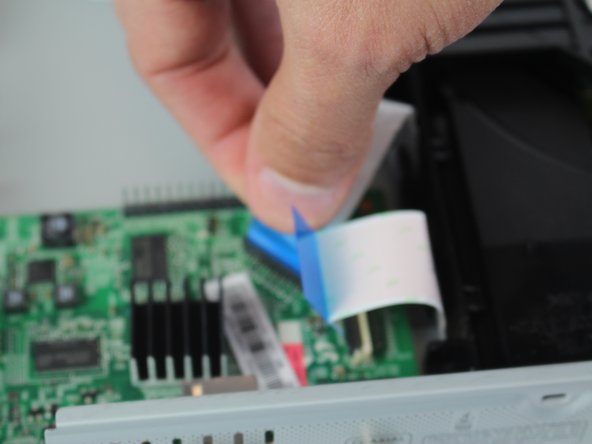
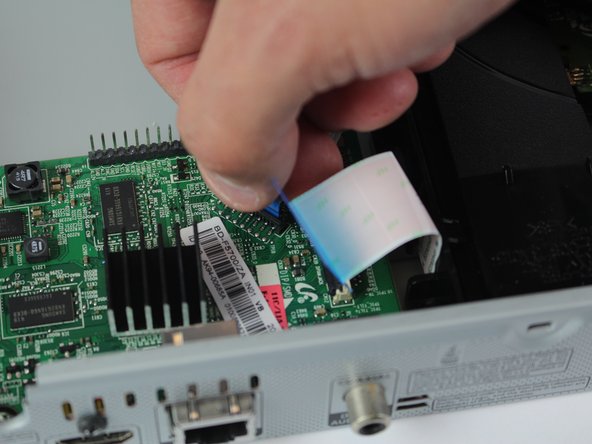
Pull upward on back of the black and white wire to dislocate the black tab piece from device.
-
To remove the cord from the device entirely, press on the white tab in the device and gently pull.
-
-
Bu adım çevrilmemiş. Çevrilmesine yardım edin
-
Insert the iFixit Opening tool into the black tab on the power cord, and use leverage to open the black tab.
-
Pull the tab off the wire so that it can be placed on the replacement cord.
-
-
-
Bu adım çevrilmemiş. Çevrilmesine yardım edin
-
Firmly grip the hard plastic tab attached to the base and pull upwards.
-
-
Bu adım çevrilmemiş. Çevrilmesine yardım edin
-
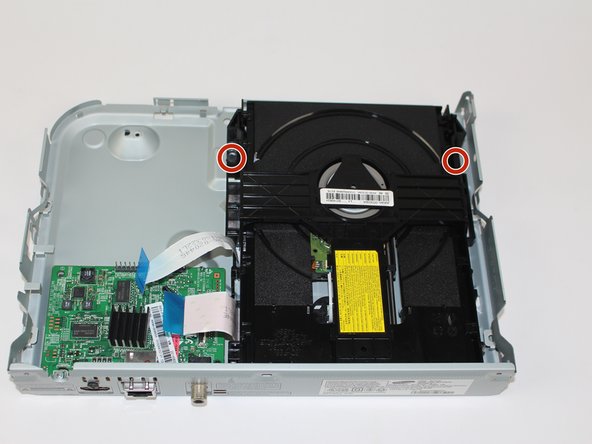
Remove the two 7mm screws with a Phillips #1 screwdriver.
-
-
Bu adım çevrilmemiş. Çevrilmesine yardım edin
-
Pinch both tabs on the side of the disc tray, push towards the front, and lift the disc tray out to remove.
-
-
Bu adım çevrilmemiş. Çevrilmesine yardım edin
-
Remove the 10 mm screw using a Phillips #1 screwdriver.
-
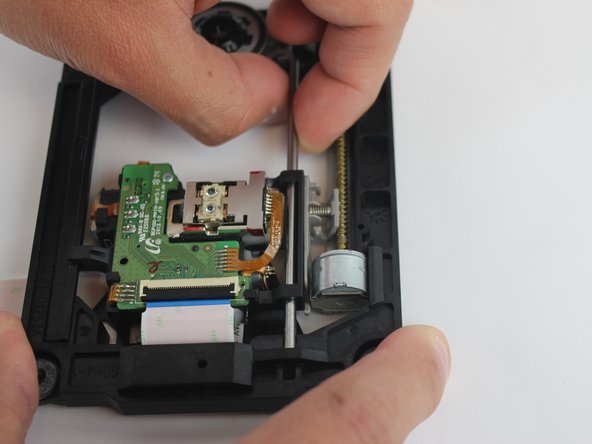
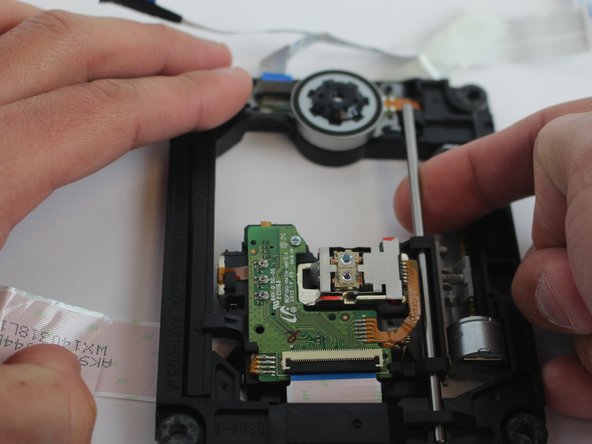
Remove the small metal bar by pulling it outwards.
-
-
Bu adım çevrilmemiş. Çevrilmesine yardım edin
-
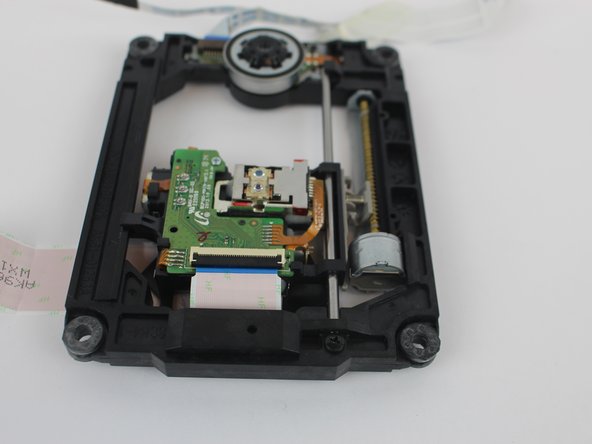
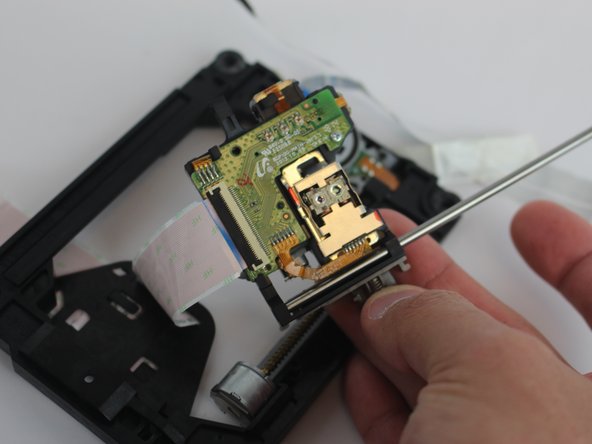
Flip the disc tray over so the laser points downward.
-
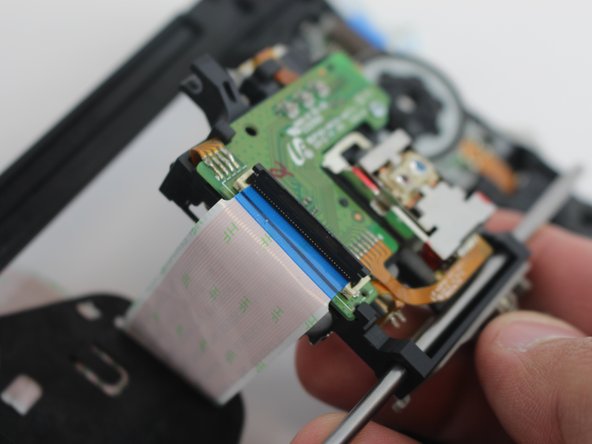
Pull the disc reader out of the disc tray.
-


İptal et: Bu kılavuzu tamamlamadım.
2 farklı kişi bu kılavuzu tamamladı.
Ekip

USF Tampa, Team S16-G4, Boczar Spring 2018 USF Tampa, Team S16-G4, Boczar Spring 2018 üyesi
USFT-BOCZAR-S18S16G4
4 Üyeler
4 adet Kılavuz yazıldı