Ana içeriğe geç

Samsung Galaxy A50 Display Assembly with Frame Replacement

Neye ihtiyacın var

Videoya Genel Bakış

  1. Samsung Galaxy A50 Display Assembly with Frame Replacement, LCD Display Assembly replacement: adım 1, 3 resimden 1. Samsung Galaxy A50 Display Assembly with Frame Replacement, LCD Display Assembly replacement: adım 1, 3 resimden 2. Samsung Galaxy A50 Display Assembly with Frame Replacement, LCD Display Assembly replacement: adım 1, 3 resimden 3.
    • Display Touch Screen Digitizer Assembly with Frame for Samsung Galaxy A50

  2. Samsung Galaxy A50 Display Assembly with Frame Replacement, Battery cover removal: adım 2, 3 resimden 1. Samsung Galaxy A50 Display Assembly with Frame Replacement, Battery cover removal: adım 2, 3 resimden 2. Samsung Galaxy A50 Display Assembly with Frame Replacement, Battery cover removal: adım 2, 3 resimden 3.
    • Heat up the back cover to loosen the adhesive.

    • To separate the back cover use a Suction Cup and plastic tools.

  3. Samsung Galaxy A50 Display Assembly with Frame Replacement, Middle frame removal: adım 3, 3 resimden 1. Samsung Galaxy A50 Display Assembly with Frame Replacement, Middle frame removal: adım 3, 3 resimden 2. Samsung Galaxy A50 Display Assembly with Frame Replacement, Middle frame removal: adım 3, 3 resimden 3.
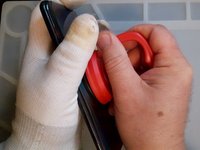
    • Remove the SIM tray.

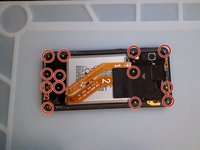
    • Remove the Philips Screws.

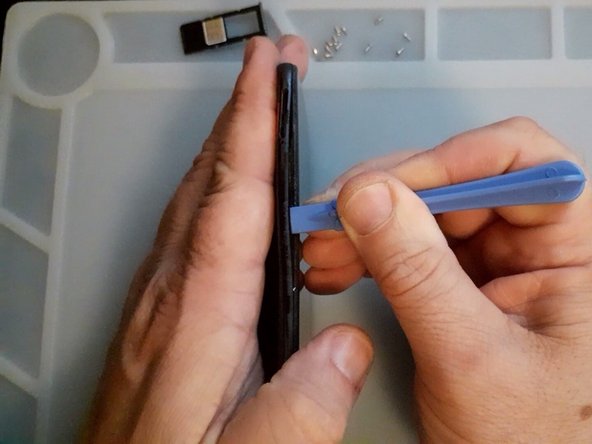
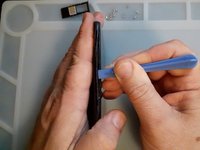
    • Again use plastic tools to separate the middle frame.

  4. Samsung Galaxy A50 Display Assembly with Frame Replacement, Test the new spare part: adım 4, 3 resimden 1. Samsung Galaxy A50 Display Assembly with Frame Replacement, Test the new spare part: adım 4, 3 resimden 2. Samsung Galaxy A50 Display Assembly with Frame Replacement, Test the new spare part: adım 4, 3 resimden 3.
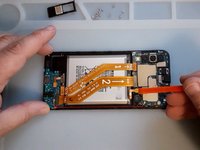
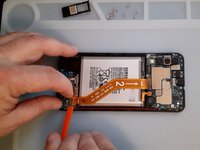
    • First disconnect the Battery.

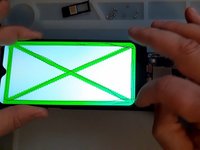
    • Test the new spare part before the installation.

  5. Samsung Galaxy A50 Display Assembly with Frame Replacement, Logic board removal: adım 5, 3 resimden 1. Samsung Galaxy A50 Display Assembly with Frame Replacement, Logic board removal: adım 5, 3 resimden 2. Samsung Galaxy A50 Display Assembly with Frame Replacement, Logic board removal: adım 5, 3 resimden 3.
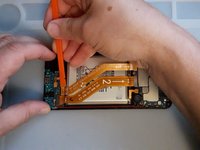
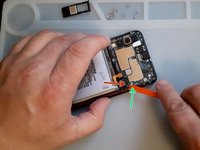
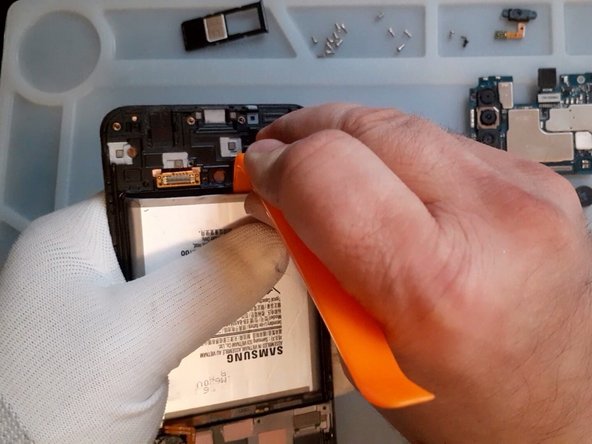
    • Disconnect and remove the Main Flex Cable.

    • Remove the black Philips screw, it's shorter then the middle frame screws.

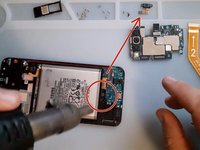
    • Disconnect the coaxial antenna cable.

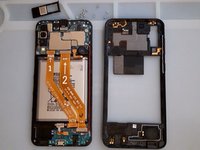
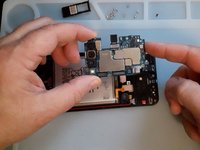
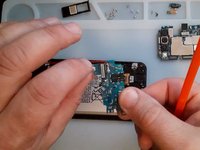
    • Now you can remove the logic board.

  6. Samsung Galaxy A50 Display Assembly with Frame Replacement, Sub board removal: adım 6, 3 resimden 1. Samsung Galaxy A50 Display Assembly with Frame Replacement, Sub board removal: adım 6, 3 resimden 2. Samsung Galaxy A50 Display Assembly with Frame Replacement, Sub board removal: adım 6, 3 resimden 3.
    • First remove the Fingerprint sensor.

    • The screws for the Fingerprint are shorter.

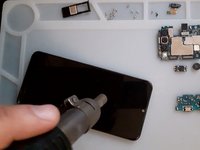
    • It's better to use hot air before to disassemble the sub-board.

    • Reminder - only plastic tools :)

  7. Samsung Galaxy A50 Display Assembly with Frame Replacement, Battery removal: adım 7, 3 resimden 1. Samsung Galaxy A50 Display Assembly with Frame Replacement, Battery removal: adım 7, 3 resimden 2. Samsung Galaxy A50 Display Assembly with Frame Replacement, Battery removal: adım 7, 3 resimden 3.
    • Again, hot air, plastic tools and very slowly remove the battery.

  8. Samsung Galaxy A50 Display Assembly with Frame Replacement: adım 8, 1 resimden 1.
    • All's Well That Ends Well

Sonuç

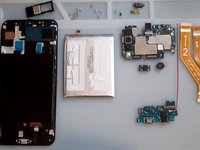
To reassemble your device, follow these instructions in reverse order.

4 farklı kişi bu kılavuzu tamamladı.

ZFix

Üyelik tarihi: 12/09/13

191.308 İtibar

330 adet Kılavuz yazıldı

Ekip

Master Techs Master Techs üyesi

Community

322 Üyeler

2.535 adet Kılavuz yazıldı

Bir Yorum

The frame I bought doesn't have the place for earspeaker surrounded by little "walls", so it's very loose and doesn't have contact with the board. Anyone experienced this?

knezi - Yanıt

Yorum Ekle

İstatistikleri Görüntüle:

Son 24 Saat: 4

Son 7 gün: 63

Son 30 gün: 304

Her zaman: 13,443